This dress has been in the making since December, and I am so glad to see that my vision came to life and that I am finally able to share it with you! This make is actually a make for the Minerva blog, with fabric sponsored by them. But with so much to write and so many pictures to share I decided to post a longer version of my blog post with more details and more pictures on my personal blog, too. Head over to the Minerva blog for the shorter version of this blog post.
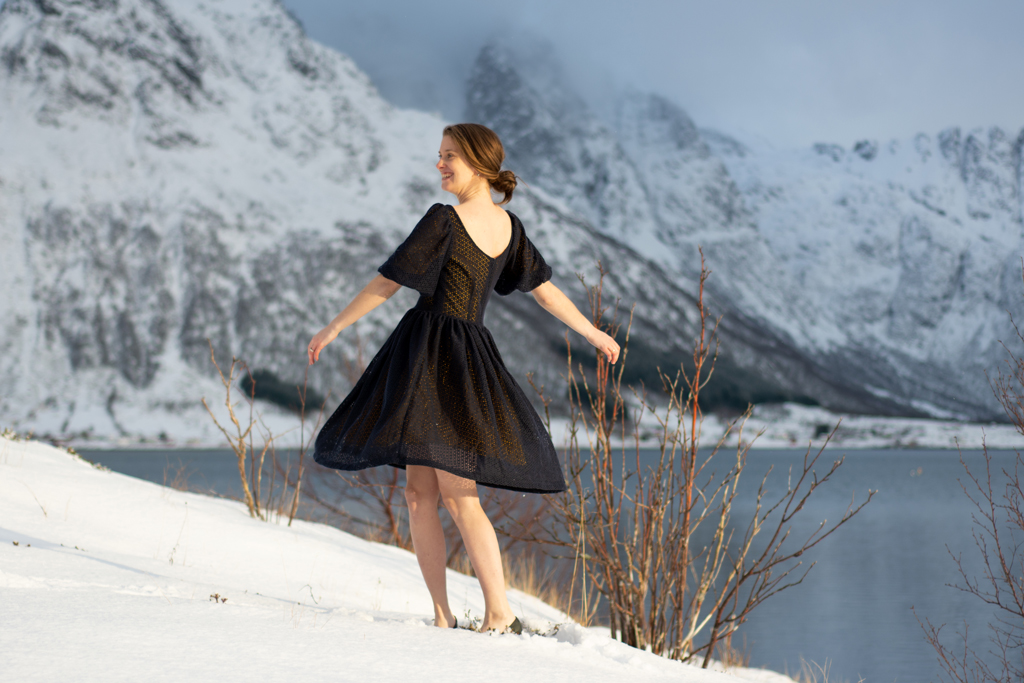
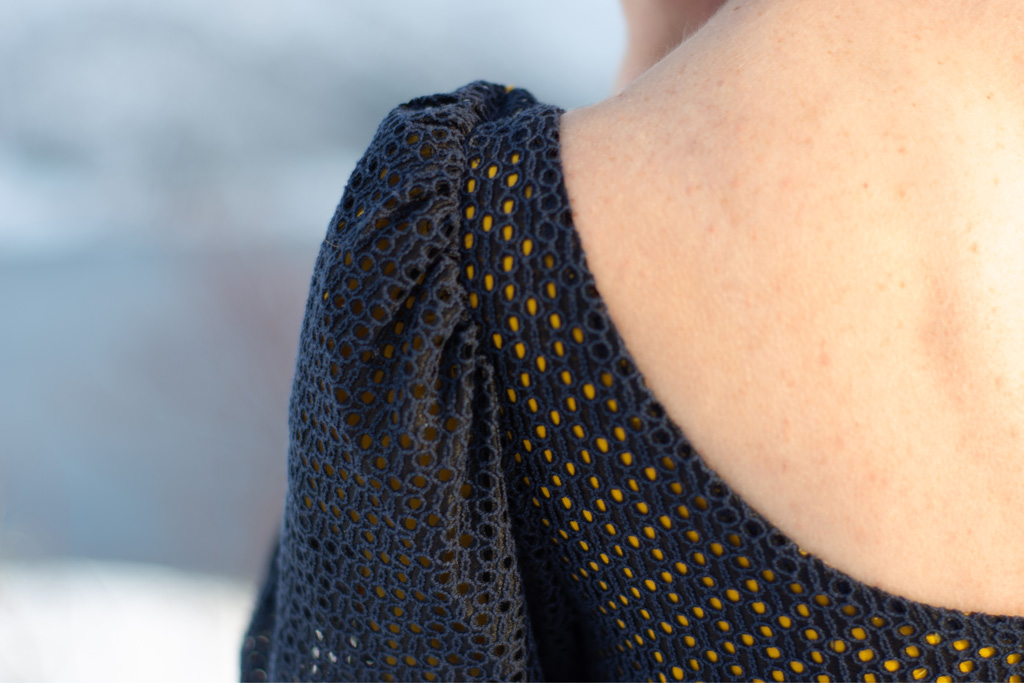
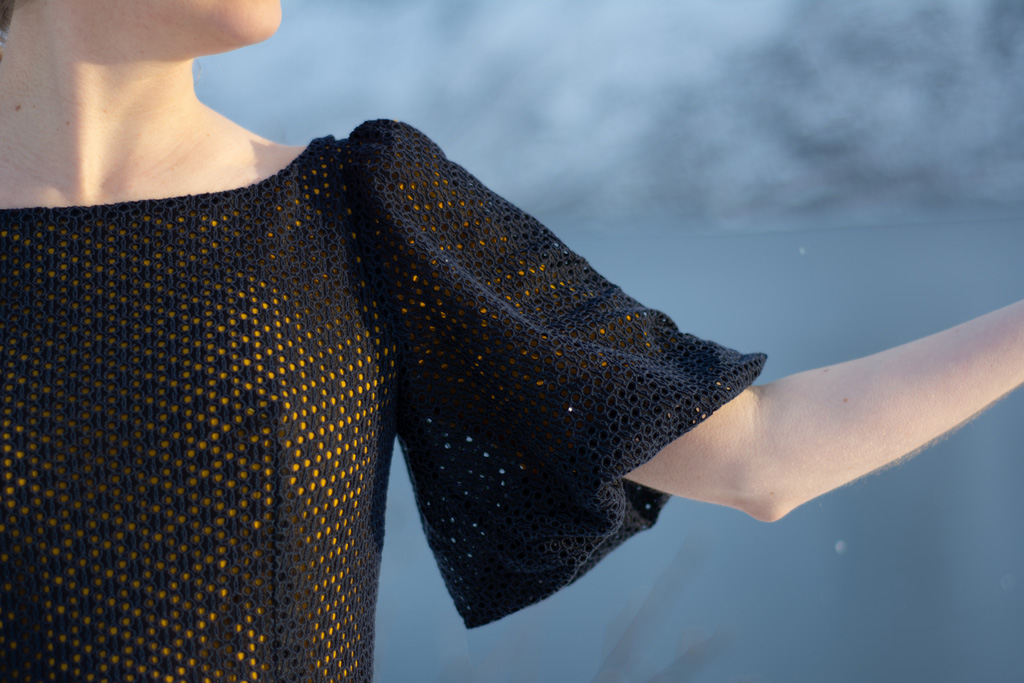
When browsing through the Minerva website, a fabric from Lady McElroy caught my eye. Lady McElroy is usually known for their beautiful unique prints – lots of flowers, birds, insects and the like, a fun mix that often makes me wonder whether we’re actually looking at an old British tapestry or a quirky modern print. I love their prints, and I’ve used several of them (have a look at my Suki Kimono, the Phoenix Blouse, the Henrietta Maria Blouse, this circle skirt or my Florence Dress) But this time around a completely different kind of fabric caught my eye: a navy corded lace. I’ve seen some lace/eyelet skirts and dresses on Instagram lately that captured my attention, so my mind was immediately set on making something with a colourful lining. I thought of burgundy, forest green, light blue and other colours as a lining, but ended up with this golden viscose fabric. I would have preferred working with a slightly sturdier cotton voile, but all the other fabrics where too yellow in my opinion, and I had set my mind on a warm and golden colour for a lining. The golden colour is perfect, in my opinion, since it makes the dress very versatile – it can work as a lovely summer dress, or a dress for festive occasions, too
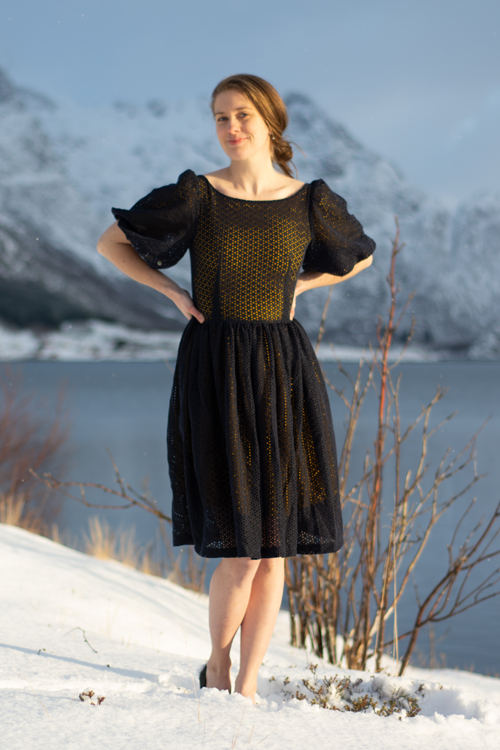
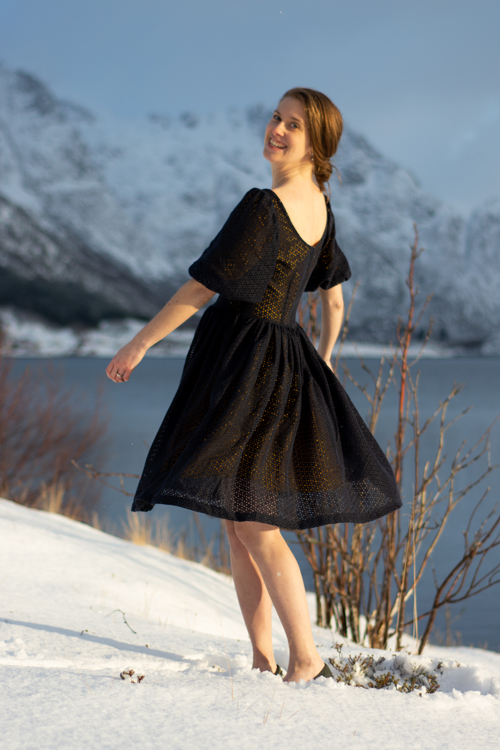
The corded lace is rather lightweight and even if it’s listed as a non-stretch fabric, I find it has a slight amount of give, making it easy to work with. The viscose fabric is lightweight and slightly see-through, so I wouldn’t recommend it as a fabric for a dress. It’s one of those shifty viscose fabrics that change their shapes completely within a second after cutting, which is probably one of the reasons why viscose is known as a “difficult fabric” – even though it really depends on how the viscose is woven or knitted! I’ve worked with beautiful viscose fabrics that weren’t too difficult to handle, but this one most definitely belongs in the first category. Nevertheless, it worked nicely as a lining and feels very comfortable against my skin.
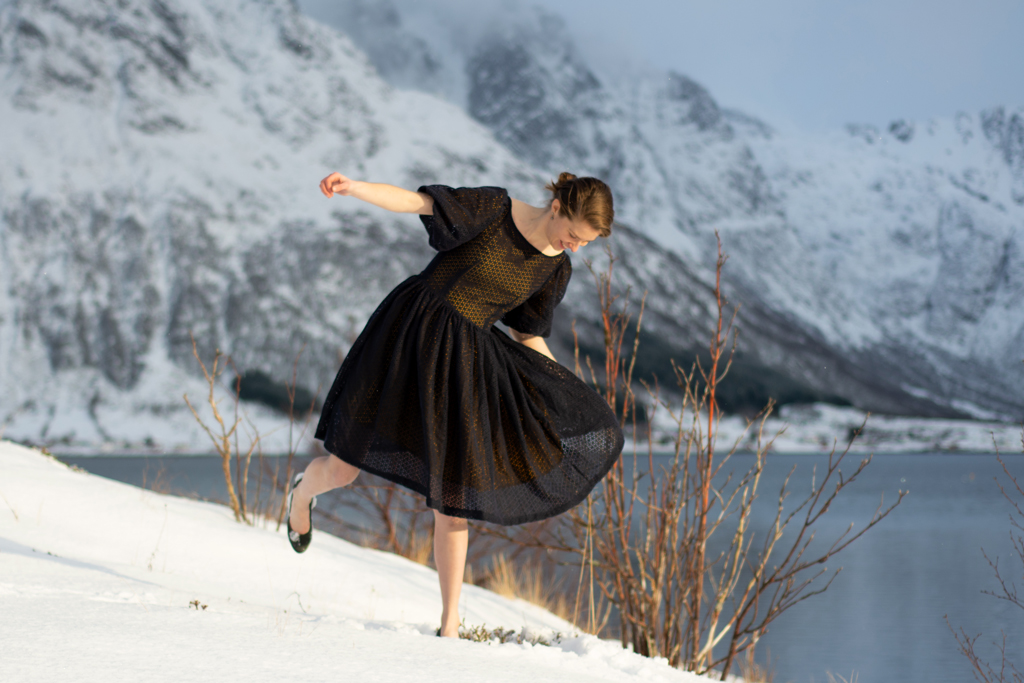
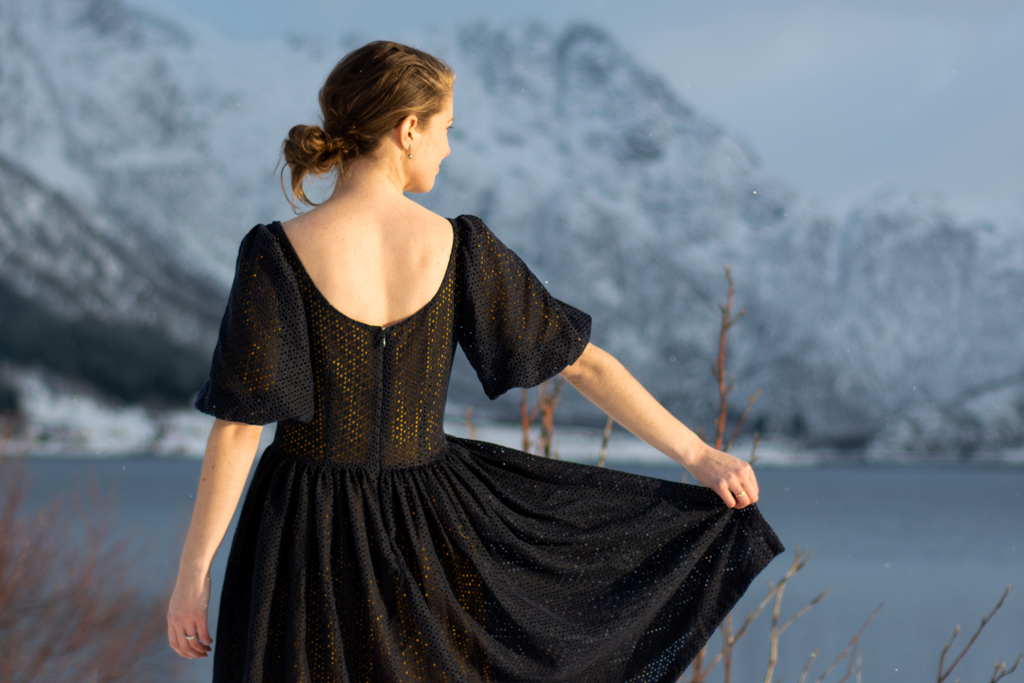
At first, I thought of making the Della Dress by Mingo & Grace – leaving the sleeves unlined and pleating the skirt. But once I felt how soft the lace was, I started to think of the Minna Dress by the rather new Danish pattern company Schultz Apparel instead. I love the aesthetics of this company – classic, with a fun and romantic twist, without being too girly. The Minna Dress comes with a couple of different skirts, sleeves and necklines, with or without buttons at the front. My personal favourite is the version with big poofy sleeves and a deep round neckline at the back.
A fitted woven bodice can be difficult to fit, but I was pleasantly surprised when I realized that the grading at Schultz Apparel seems to work quite nicely for my body. I sized up to a sie 36, rather than my usual size 34, since I am pregnant. However, the Minna comes with 2 cm seam allowances at the side seams and the shoulders, so I could have gotten away with a size 34, using a smaller seam allowance. I also lengthened the bodice a bit, since I am 175 cm tall, while the pattern is designed for a body height of 168 cm. I am a bit too far along to have a regular dress fit nicely at the waist, but I didn’t want to raise the waist, since I want this dress to last a long time beyond pregnancy. That meant I had to hurry to get it done! I will probably need to take the dress in a bit after my pregnancy, but the side seams and the darts should make that possible without too much of a hassle. With a view to easier access later on I didn’t attach the bodice lining and outer bodice to each other at the waist. After adjusting the dress, I will stitch the lining to the bodice by hand with invisible stitches.
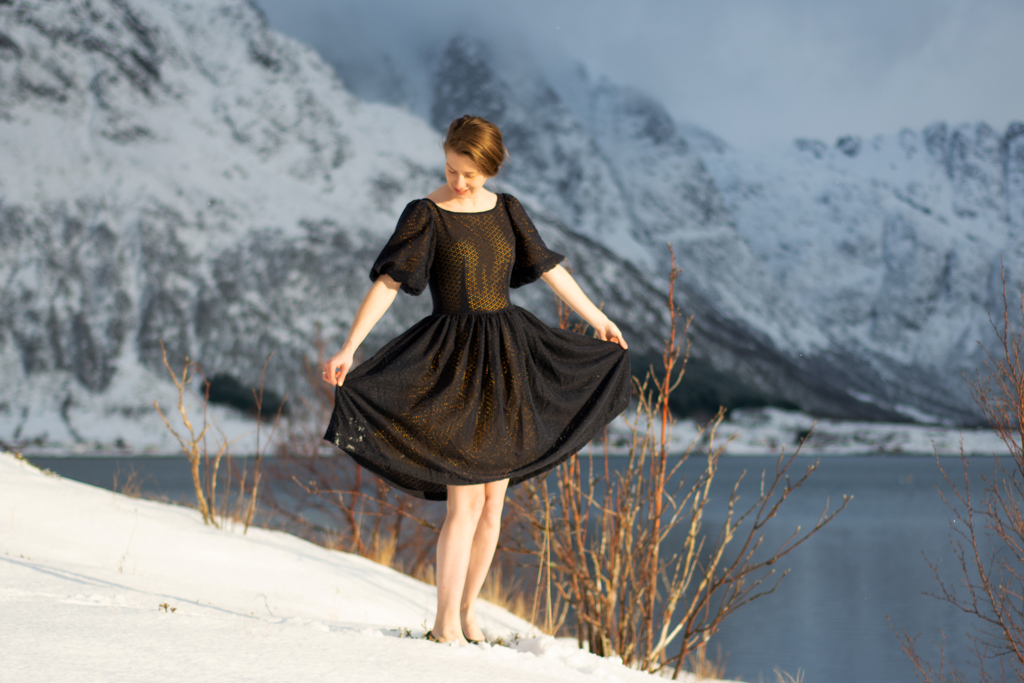
The original dress doesn’t include a lining for the skirt, either. For obvious reasons I had to add one to my dress. I added another gathered skirt but used quite a bit less fabric for it to avoid too many gathers at the waist. I considered adding an A-line skirt instead but didn’t want to deal with the curved seams. So a gathered rectangle it was! I might take the underskirt in a little more when adjusting the dress, simply to reduce the number of ruffles even further.


I also took out a tiny bit of fabric at the chest, the same way I did with my Emery Dress. It’s called a hollow chest adjustment and it’s very easy to do. There are several possibilities to remove excess fabric at the chest. For me, removing a bit of fabric close to the neck along the middle of the front bodice, tapering to nothing towards the waist works nicely. Just make sure to square the waist seam afterwards, otherwise your waist seam will be a bit curved towards the side seams. Other than that, I didn’t make a single change. That’s pretty good for a fitted woven bodice!

Sewing the Minna isn’t too complicated, especially when you choose the version without the button placket. The instructions are thorough and illustrated. The only part that confused me was how to attach the lining within the second sleeve. It turned out not to be that complicated – simply follow the instructions closely and kind of “flip” the seam allowance of the sleeve lining around to match the right side of the seam allowance of the bodice lining. It took me some time to figure this out, and I wished for a single extra sentence in the instructions to make this clearer.
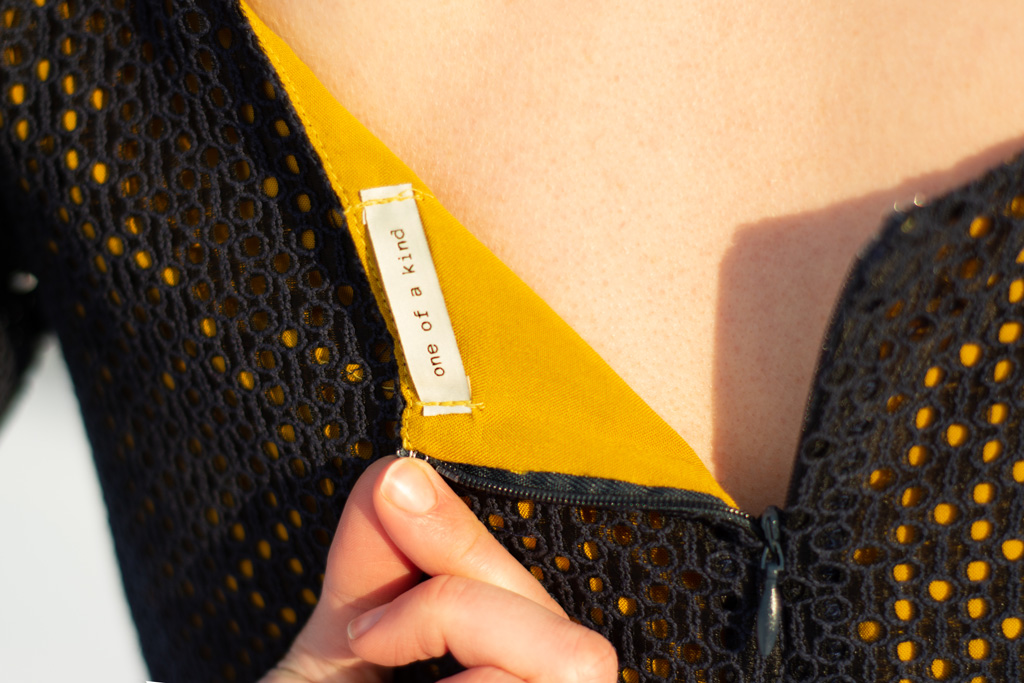
I rarely remember to add labels to my makes, but this time I did, and I had just the right label from Kylie and the Machine, bought from Hello Heidi Fabrics. Thanks to Mettler I also had the perfect shade of yellow to attach it to my lining.
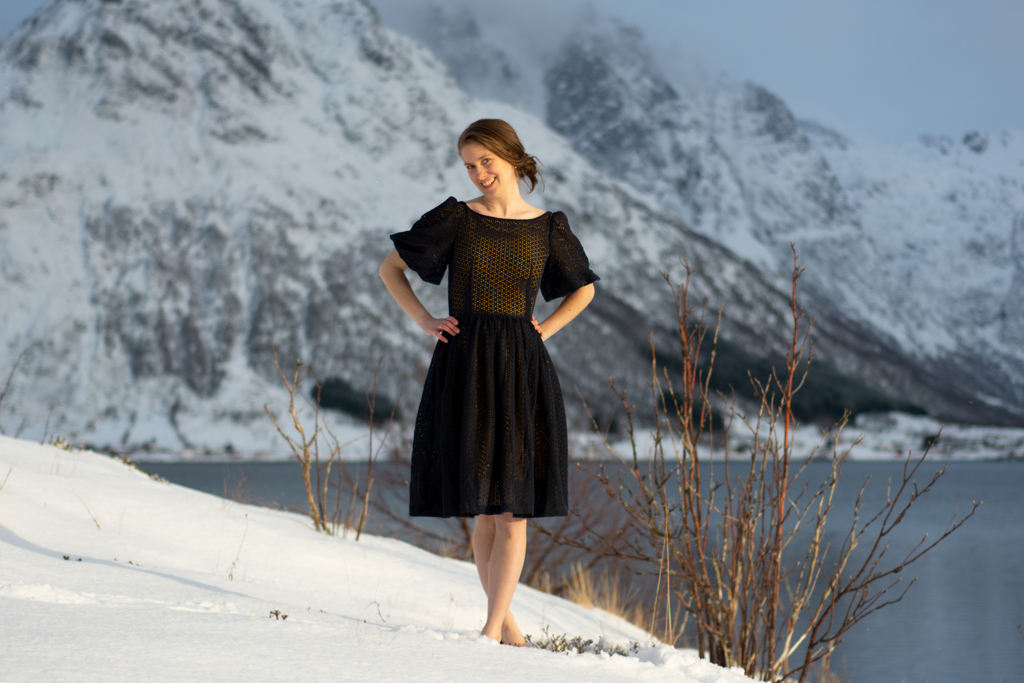
The instructions will also tell you to understitch the neckline, which you should certainly do to make it lay nicely. However, the instructions state that you will have to do this in three steps, since the sleeves will be in your way, preventing you from understitching the whole neckline in one go. I am not sure what I did, but I managed to understitch the whole neckline in one go without any problems. It did require some fabric pushing and pulling, and partly a kind of awkward sewing position, trying to find the neckline underneath of other layers of fabric. But it worked and gave me a beautiful neckline.
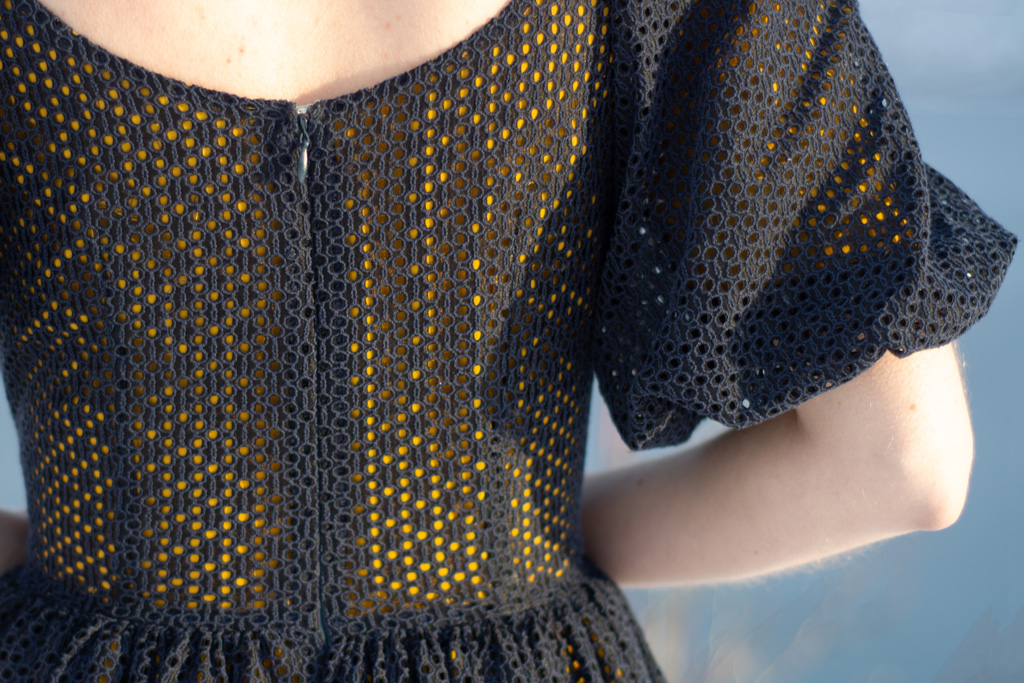
I also made an (unintended) small change by adding the zipper to the back, while using the version of the skirt with two panels. Usually, you will use three panels, giving you a seam at the back, when adding a back zipper, and a side zipper when working with a skirt made of two panels. I could have cut the back panel into two parts and added the zipper as instructed. Instead, I only cut the back panel open as far as I needed the zipper to go. That way I avoided a visible seam allowance along the whole back of my dress. Adding an invisible zipper without a back seam can be a little tricky, but my fabric is quite forgiving, and it doesn’t show.


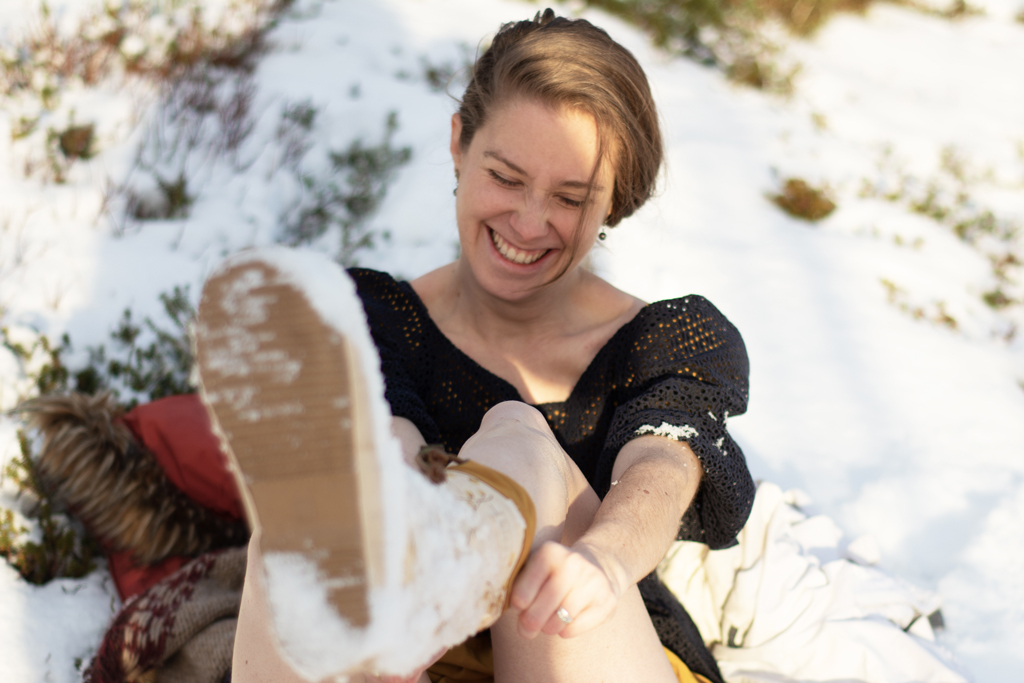
I really enjoyed taking these pics – we were so lucky with the weather, the light, the snow and everything else. I will probably not wear the dress anymore until after giving birth, but it’s hanging here, waiting to be worn a lot next summer! Oh – and for your amusement only: A pic of me trying to change from snow pants and boots into dress and heels in the snow. Thank you for this charming and elegant picture, dear husband!
– The fabric was gifted to me from Minerva in exchange for posting the make on their website. The thread was given to me by Mettler Amman. The label and the pattern were bought by myself. –


[…] I loved my first make with a pattern from Schultz Apparel (the Minna Dress over here), I always wanted to try another one, and after sewing) my Liberty Blouse I wanted to use the other […]