I’m sure you know the feeling: You see a fabric and it inspires you to make something from it? That was exactly what happened when I saw this photo by 1000Stoff on Instagram, showing the most beautiful thick cotton knit. My immediate reflex was wanting to buy the fabric in dark blue or grey, but after some thinking I decided to go for the soft blush colourway – I can’t always buy the same dark saturated colours! The fabric is sold out in blush (I don’t seem to be the only one loving this colour!), but it’s still available in blue, grey and olive.
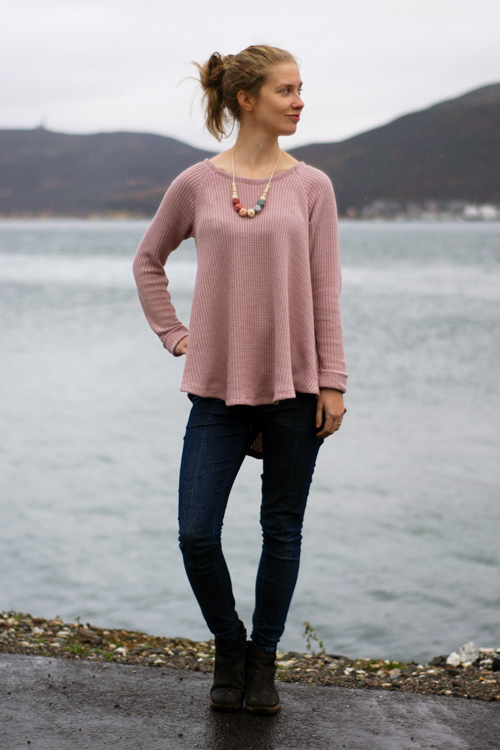
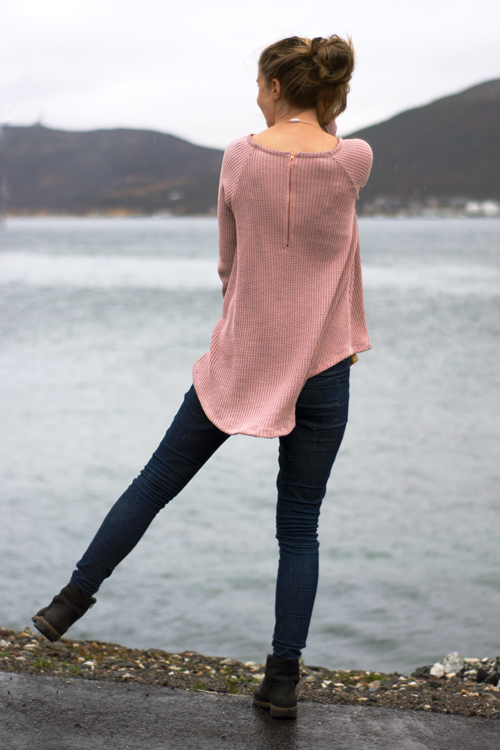
The fabric arrived and I loved it as much in real life as on the pictures. It’s soft, drapey and heavy. It’s actually not 100% cotton, but includes 30% poly. Usually not my favourite, but I let it pass for this gorgeous fabric. It’s still mainly cotton and I guess the poly gives this heavy knitted fabric some more stability. And that’s good for sustainability, too – right?
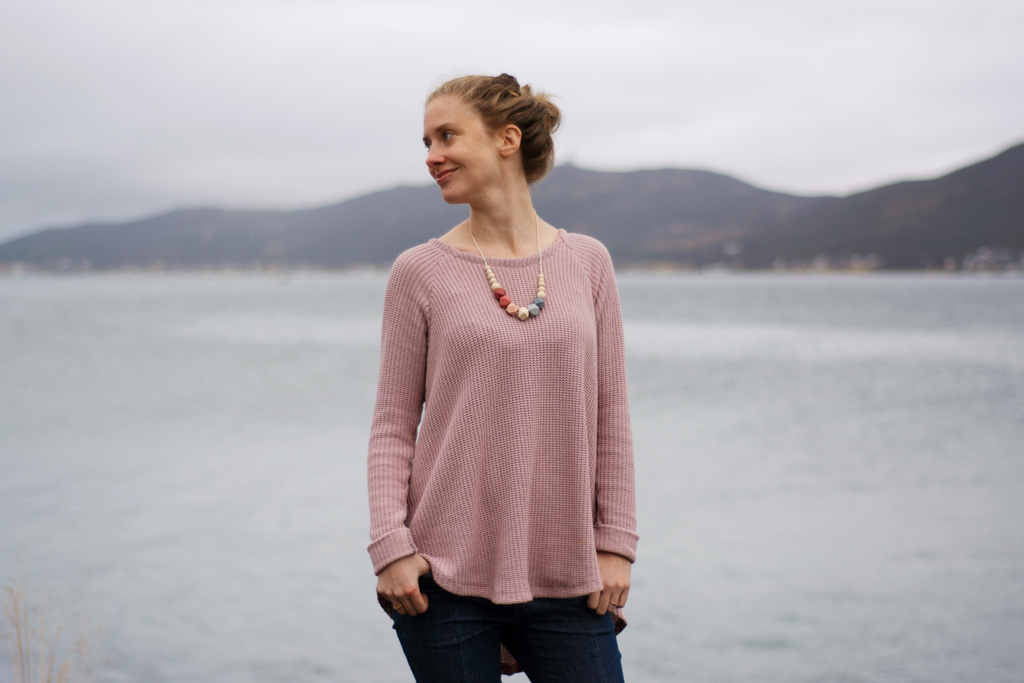
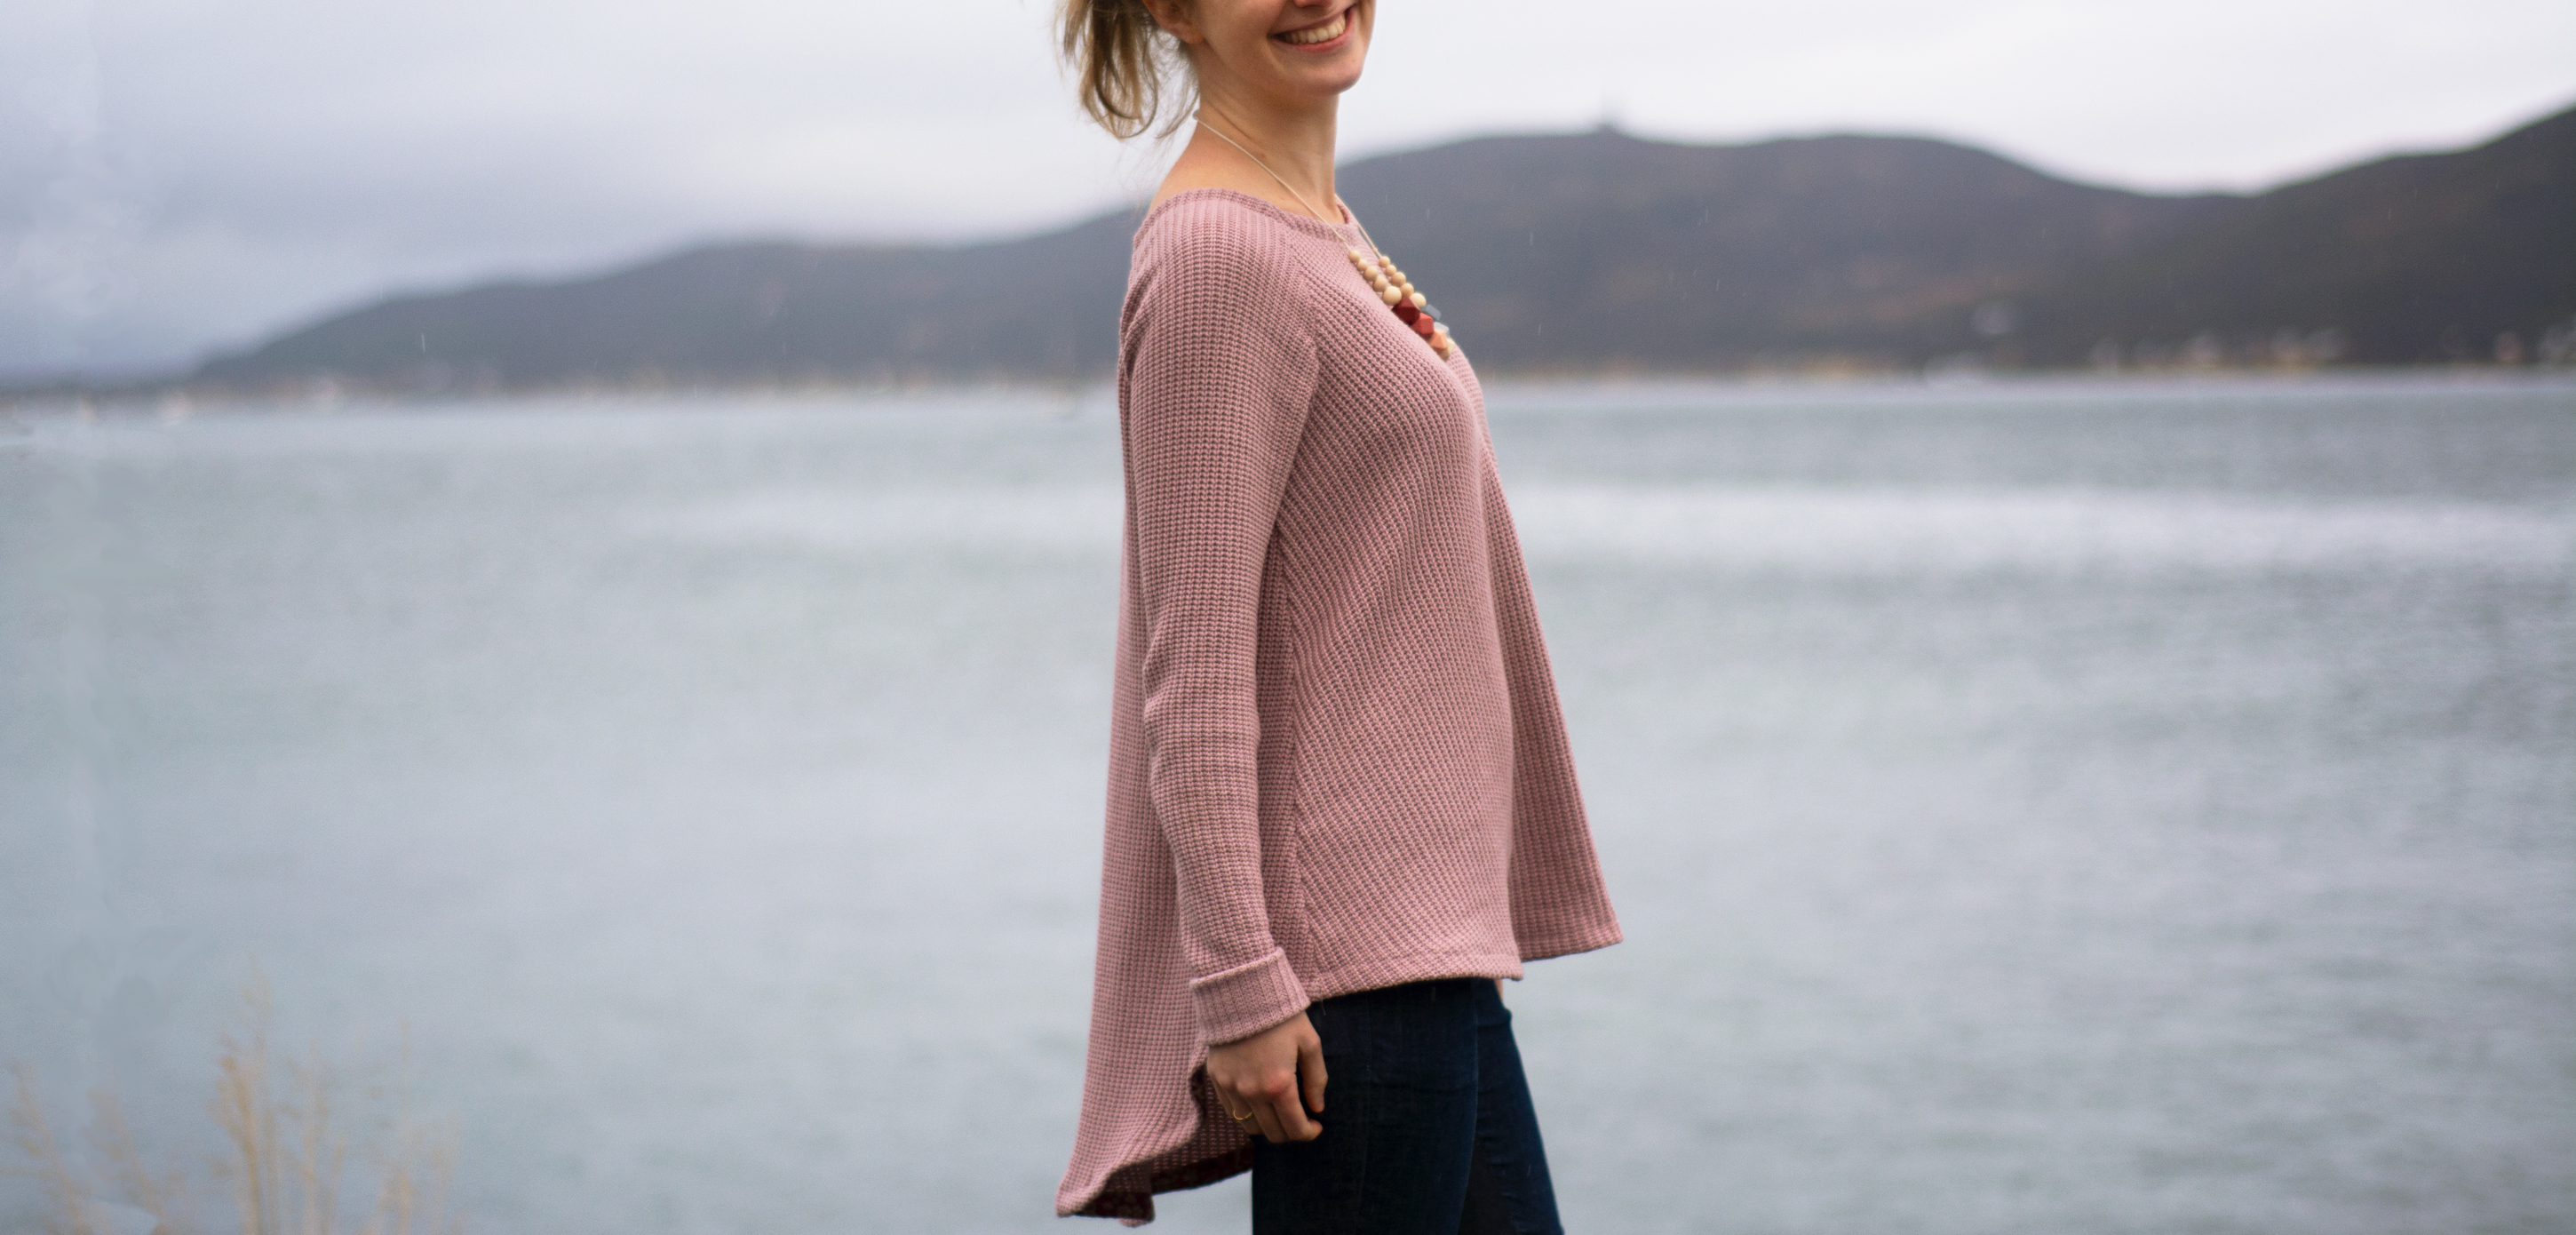
I knew immediately that I wanted to make some kind of slouchy sweater with this fabric. Nothing with an intricate pattern, just a basic pattern letting the fabric shine. I decided that ,since the fabric is so heavy, I wanted to sew a raglan. This way I didn’t need to worry about the shoulder seams stretching out when using a raglan pattern. After some thinking I went for a tried and true pattern: The Waterfall Raglan by Chalk and Notch. I knew the raglan fits me well around the bust and shoulder area and the wide design of the Waterfall Raglan was perfect for the wide and slouchy look I was looking for.
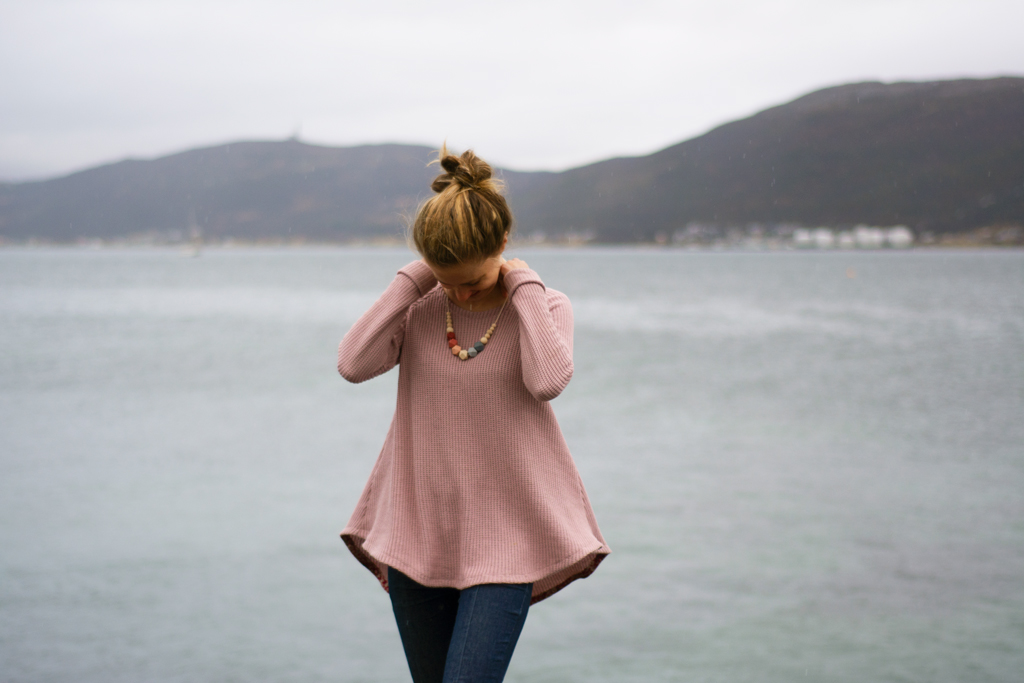
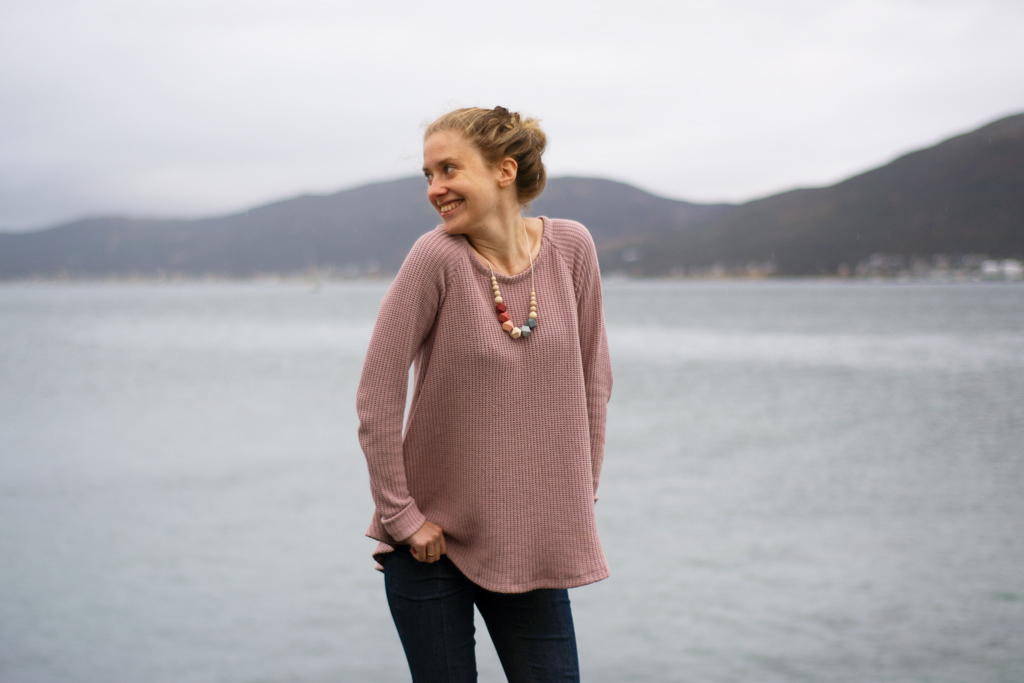
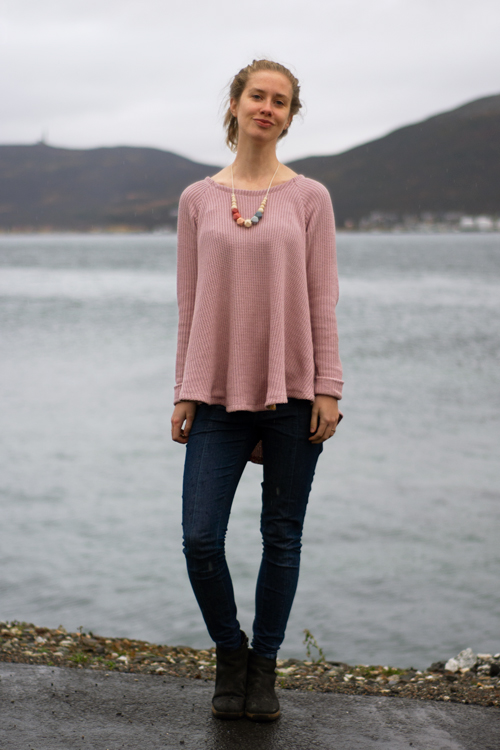
The Waterfall Raglan comes with ruffles at the hem – something I obviously didn’t need for my sweater. But the Waterfall Raglan can easily be made without the ruffles, in that case the bodice simply needs to be lengthened. I decided to print the dress version of the pattern and shorten it, instead of lengthening the bodice a lot. I removed about 18 cm/ 7″ from the total length of the dress. I wanted the back to be slightly longer than the front, so I kept the middle back 3 cm/1 1/4″ longer and re-drew the curve of the back.
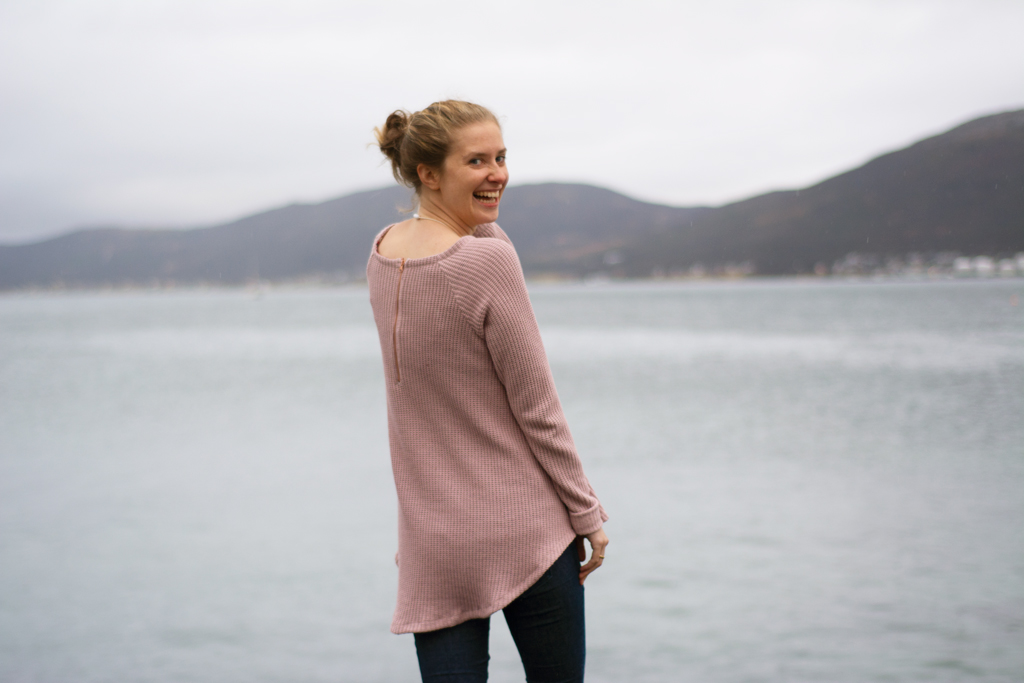
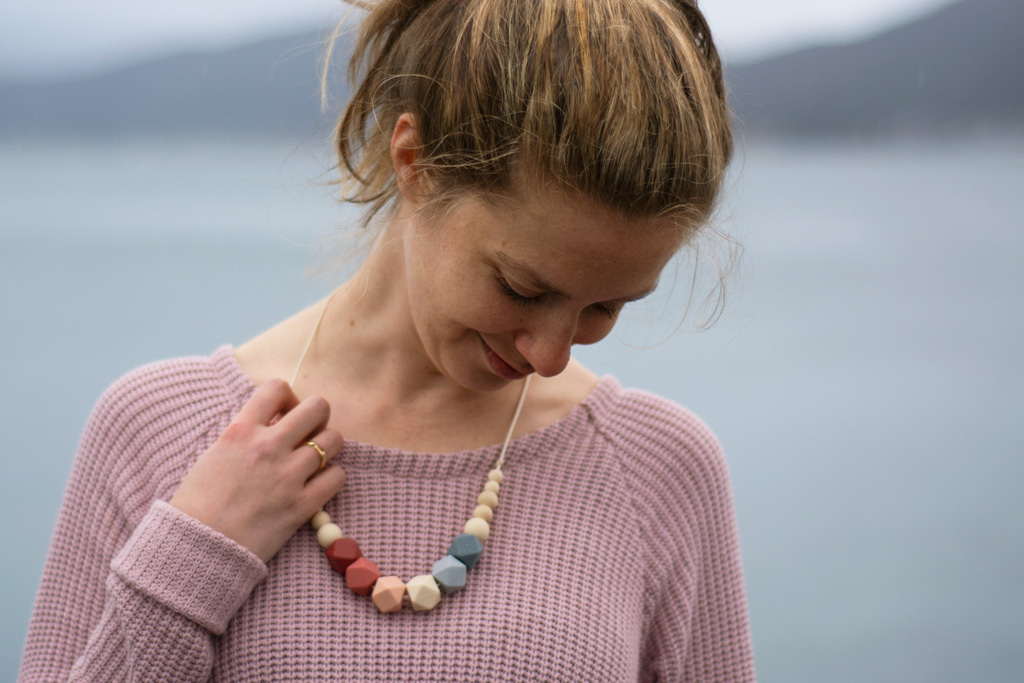
I also lengthened the sleeves a fair bit, since I wanted to hem these by simply turning the sleeves up twice, creating a thick cuff. Hemming a knit fabric like this by turning the fabric up once or twice doesn’t always look very pretty, so this seemed to be a good solution. I simply tacked the cuff down with a few stitches. To finish the hem and the neckline I opted to use bias binding.
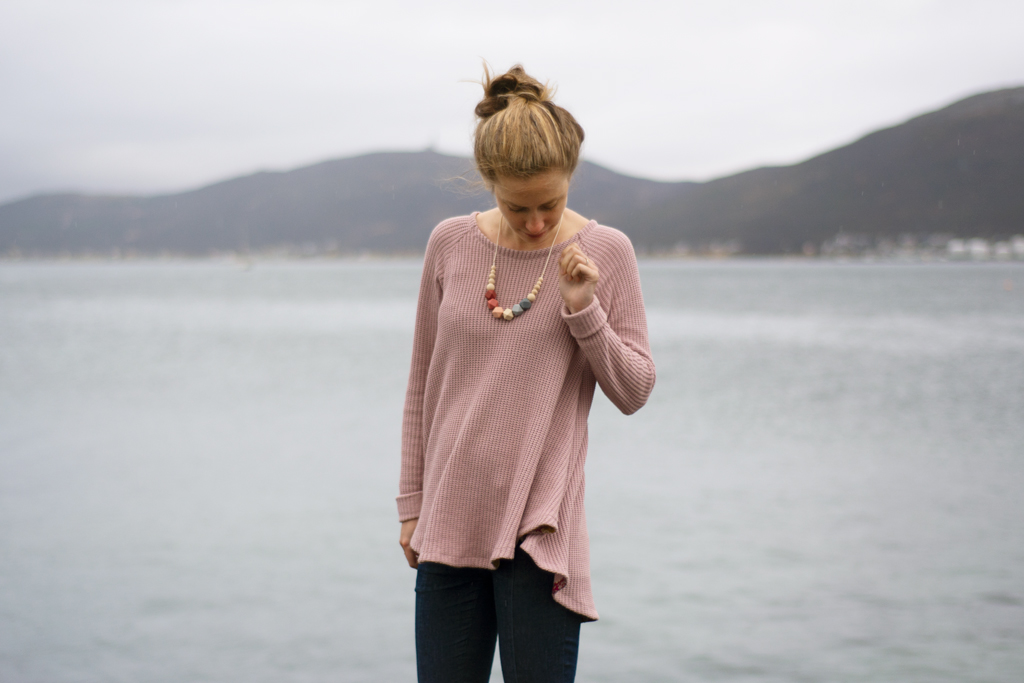
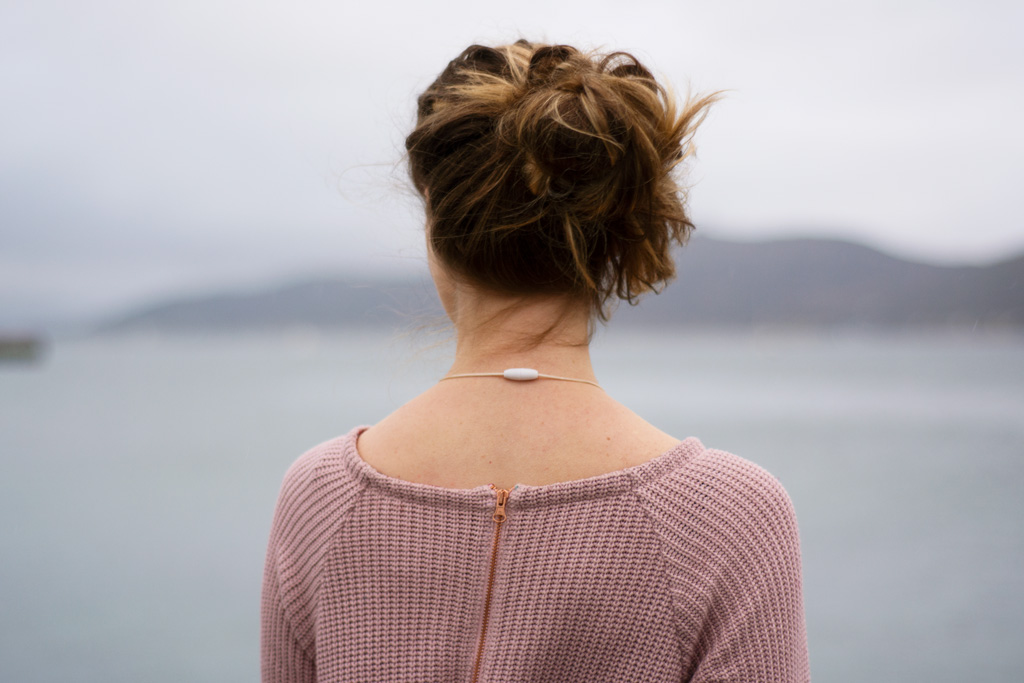
Lara, the owner of 1000Stoff, was so kind to send two complimentary zippers with my order. One of these was the exact same blush colour of the fabric and the zipper itself had a lovely copper colour. I hadn’t planned on adding a zipper to my sweater, but after seeing the zipper and the fabric together I loved the idea of a long metal zipper at the back of my Waterfall Raglan. Isn’t it just the absolutely perfect zipper for this project?
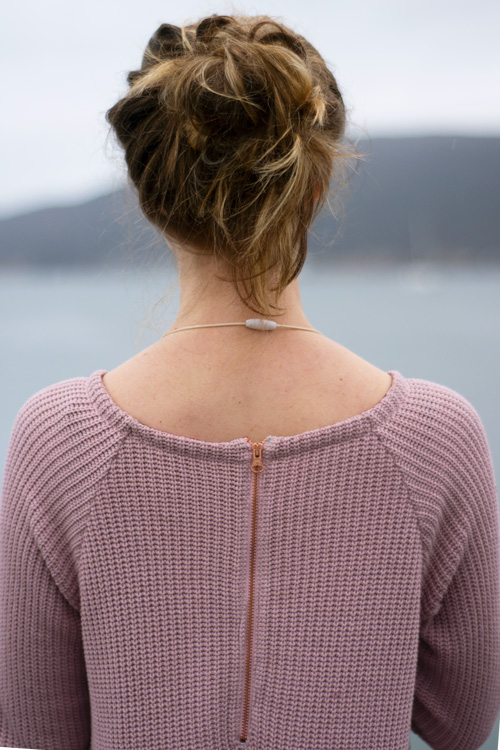
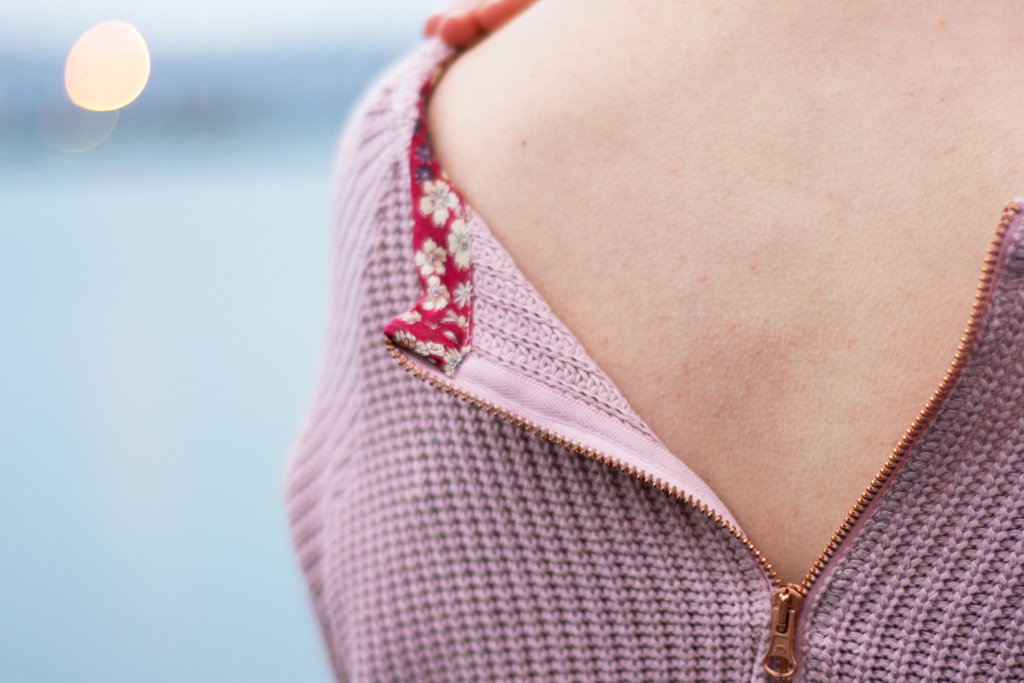
Since the fabric is rather heavy, I added stay tape to the raglan seams. Sewing the four sweater pieces together was done in no time at all. I used my serger and I didn’t even need to adjust it to make it work. Adding the zipper in the back was very easy, too – the knitted “lines” on the fabric made it easy to know where to sew. I actually used basically the same technique as described in the instructions for the Wedgwood Skirt, a pattern I’ve sewn several times (here and here) already.
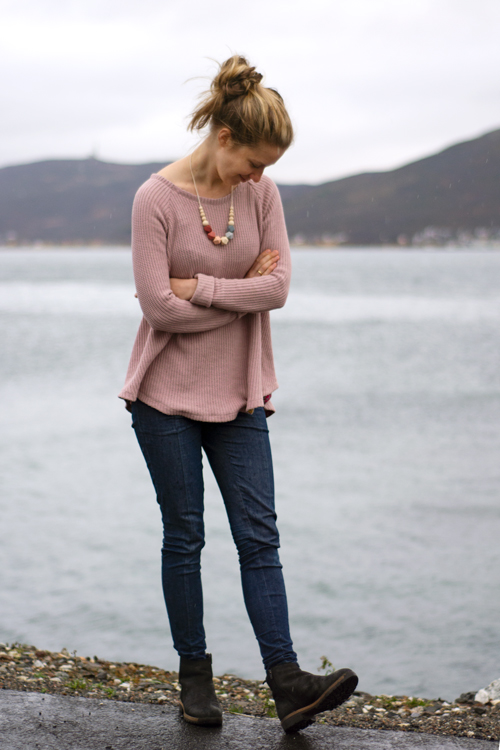
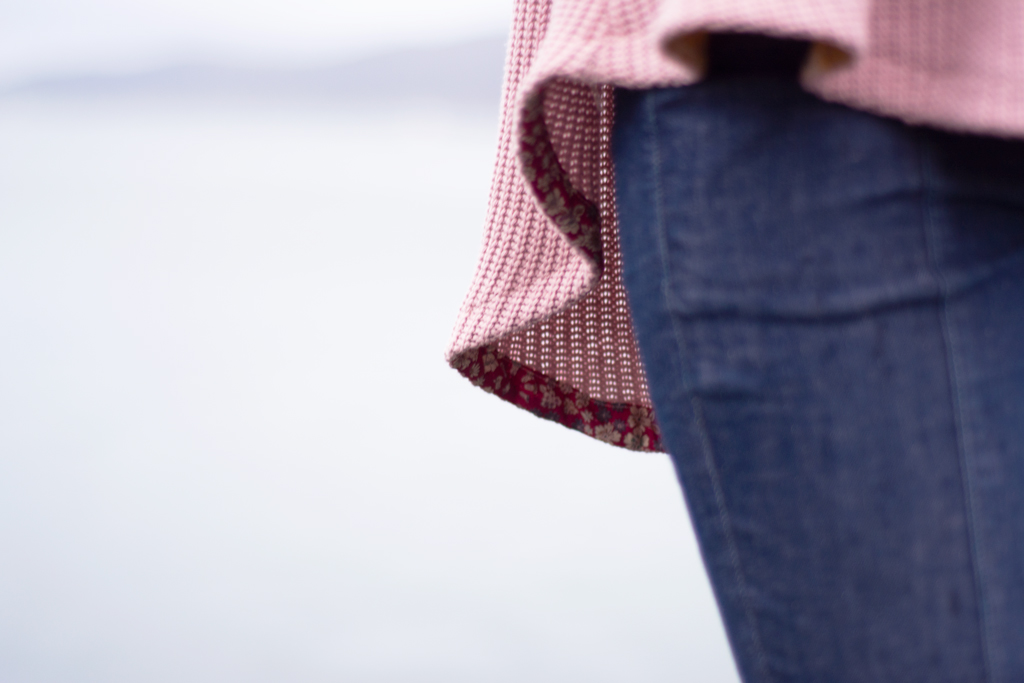
I had some incredibly soft floral bias binding at home, perfect for finishing the neckline and the hem of my sweater. I actually bought it from both Stylemaker Fabrics and Fancy Tiger Crafts in Denver, while I visited last year. Finishing the neckline worked just as I had hoped, but while looking through my stash I found a really cool black leather-look bias binding and thought it might be a great contrast for the soft blush fabric. Unfortunately, after adding it, I realized the bias binding was too heavy for this drapey fabric and the wide hem. It looked ridiculous! Imagine this sweater with an added horsehair braid at the hem…
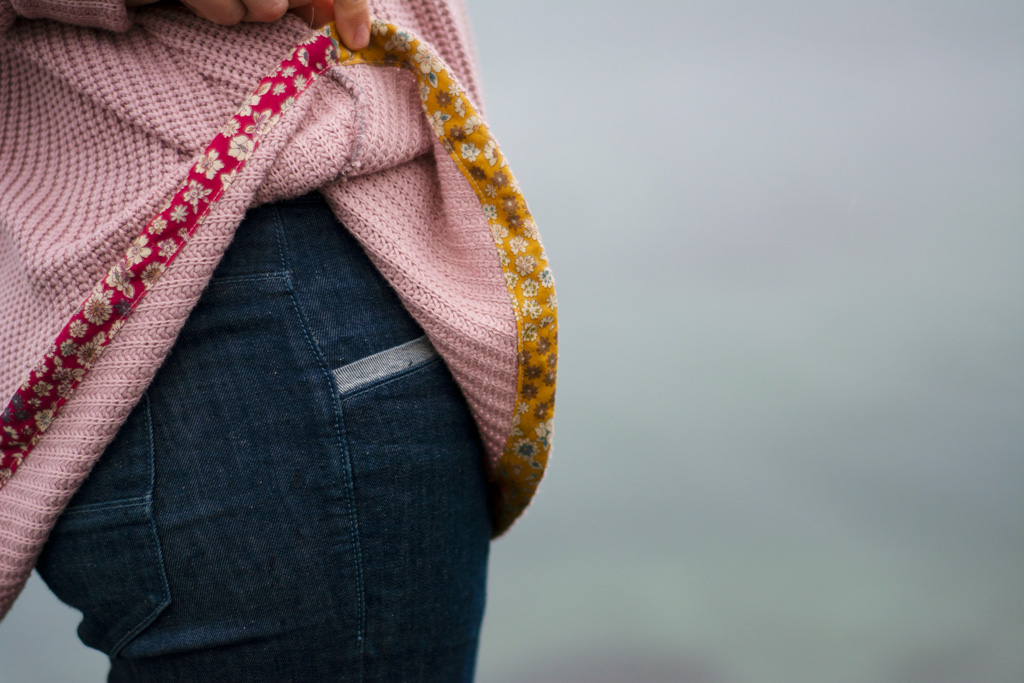
So naturally I had to unpick everything. And let me assure you – it took a long, long time. I actually cheated a little – I only unpicked the second seam and cut the bias binding off. That way I only lost about 0,5 cm/ 1/4″ in length, something I could live with. I didn’t have enough red floral bias binding to hem the entire sweater, but I did have the same bias binding in a yellow colourway. I decided to hem the back of the sweater with the red bias binding, since that one would be slightly visible because of the high-low hem. The front of the sweater is hemmed with the yellow bias binding. And I actually really like the result! Same pattern, different colours – it just adds some interest to the sweater. I love such hidden details!
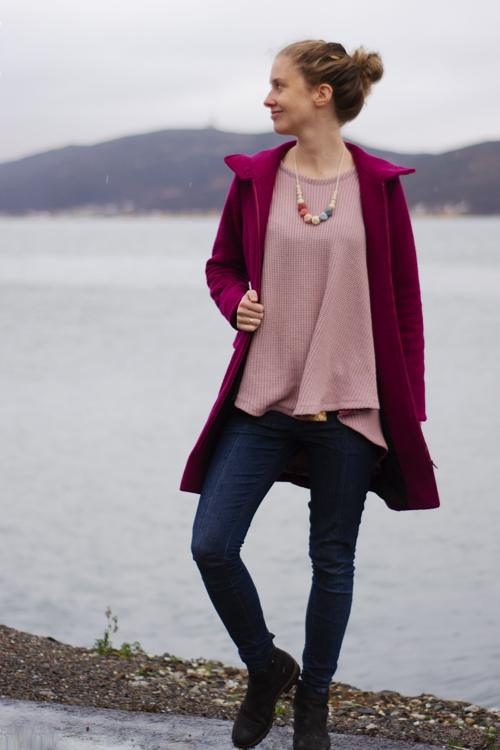
I’ve been wearing this sweater all the time since I made it – it’s so comfortable and I feel pretty wearing it. And I realized I have some perfect accessories to go with it! I didn’t make the pink coat on the next pic myself, but I just had to include it. I love wearing these two things together – the colours together make me so happy during our grey and cold autumn. I also love wearing my nursing necklace along with it (a necklace made out of silicone, suitable for a baby to chew on and pull at it) with it. By the way – the jeans I am wearing are the Jamie Jeans by Named. Who would have thought I would be so happy in such a pink outfit?
– I am part of the Indiesew blogger team and get compensated for this blog post. However, all opinions are, as always, my own. –

Came across this via IndieSew and WOW! I love this so much. If I saw this top in a store I would totally buy it! Great job!
I love this sweater – especially its length. I always like to cover my bottom when wearing trousers in public.
[…] Waterfall Raglan Sweater for autumn […]