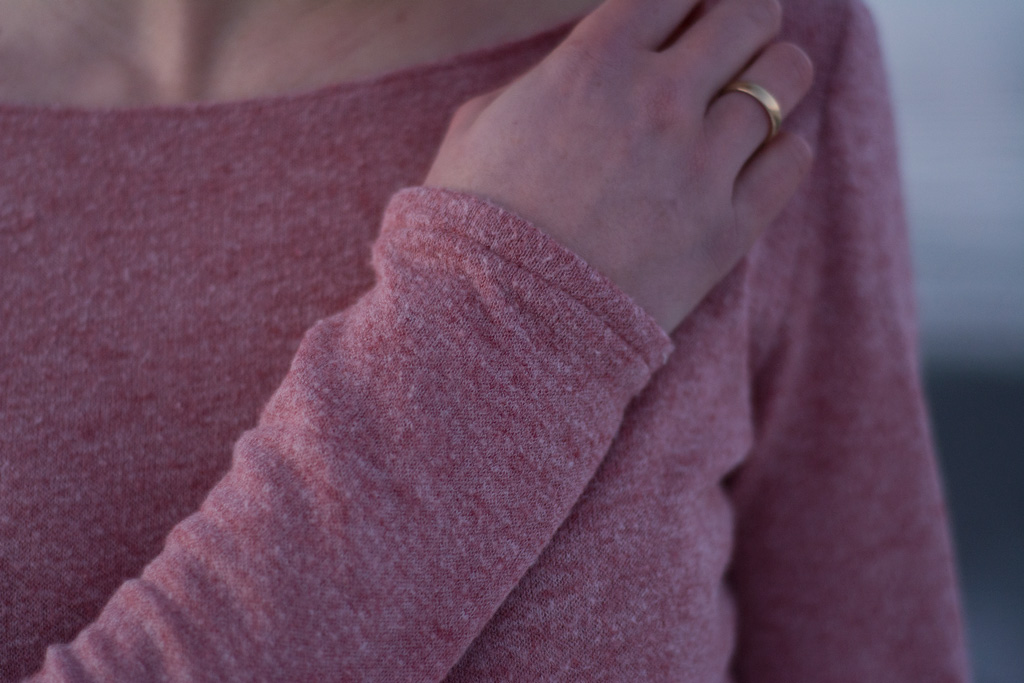
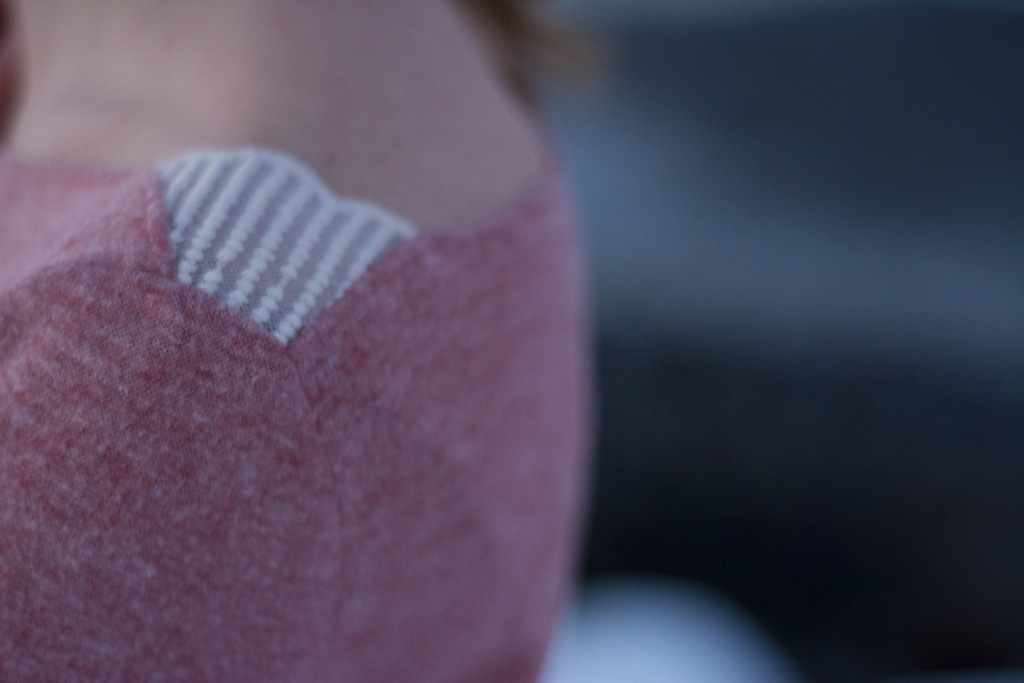
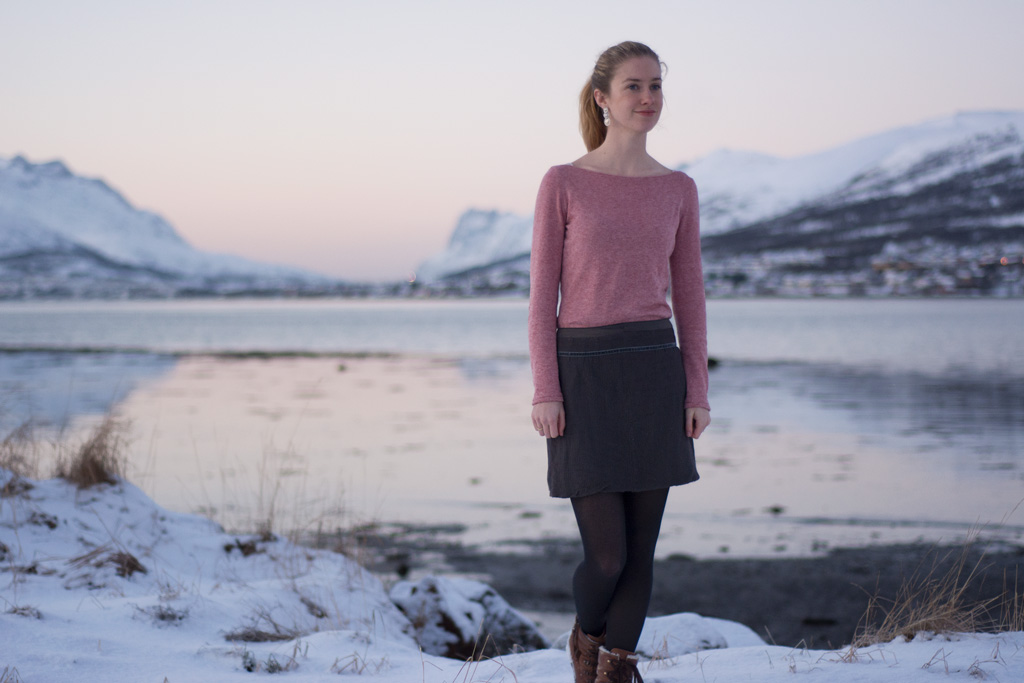
I’ve been dying to show you my new Miss Marlene top by the German designer Fritzi + Schnittreif! I’ve seen this pattern from time to time and loved how simple it was, while the shoulder accents gave it some visual interest. Naturally I was over the moon when Annika from Näh-Connection decided to translate the pattern to English and to sell it in her shop!


At first I thought of making a simple top with floral accents at the shoulders, but then I got the idea of using some fabulous soft pink and super soft viscose knit from 1000 Stoff for the top and to add lace with a scalloped edge as accents. And I have to say – it turned out exactly as I hoped it would!

When using regular fabric as an accent at the shoulders, you’re supposed to cut the accent on the fold and to fold it in half. The only change I had to make was to not cut the accent on the fold. That’s a pretty easy hack, isn’t it?

The rest of the top is more than simple to sew. I’m not so sure about the sizing of the top, the pattern is drawn by hand and much more simple than many patterns on the English-speaking market, but since it’s such a simple design, except for the accents at the shoulders, getting the sizing and the fit right shouldn’t really be an issue for anyone who has made a knit top for themselves before. The shirt fits pretty loose on me, but although I often make things that are rather tight-fitting, I liked the combination of really girly and romantic with a more “easy-going” and wide fit at the waist and hips. All in all I’m super happy with the shirt!


In my second blog post about my Asta Dress, I already mentioned that I recently realized I might need to make a forward shoulder adjustment more often. The Miss Marlene was actually the pattern which really made me understand this for the first time. The accents, which are supposed to sit right on top of the shoulder, end up more towards the back of my shoulders, and the contrast makes it fairly obvious. This top, which doesn’t have real shoulder seams, might be a little unusual to adjust, but I think next time I make a Miss Marlene, I’ll re-draw the front of the shirt to be a little lower where the accent is supposed to be added, and the back neckline a little bit higher right at the shoulders. I guess that should to the trick!

I’m not very used to working with this kind of lace with a poly mesh netting, so the first thing I nearly managed to do was melting the mesh. Whoops! Luckily I was pretty careful, so that only one or two of the tiny mesh threads melted. And I actually managed to mend the mesh in a way that makes it nearly impossible to see, even for me! As I’m definitely not a mending expert, that makes me pretty proud.


Oh, and you don’t even know the best thing yet! There isn’t just a Miss Marlene pattern, there’s a Marlene pattern for girls, too! So you can make matching outfits for yourself and the little girls in your life! Both patterns are 15% off in the Näh-Connection shop until next Monday, no code needed.

– As part of the Näh-Connection ambassador team, I received the pattern for free. However, all opinions are, as always, my own. –


What a pretty colour! I like the shoulder inserts too. I feel your pain about forward shoulders. I have the exact same problem myself and it’s go to the point where I just adjust patterns now without even checking them first because I know it wont fit or feel right unless I do
[…] pattern I chose is Frau Marlene by Fritzchen Schnittreif. I already blogged one version here and I actually have another unblogged sweater, too (have a look at the next photo!) – maybe […]