For the first time ever trying to figure out what to sew for this Indiesew post wasn’t that easy! Usually I always have tons of ideas whenever browsing the Indiesew homepage. This time around, with a pretty big baby belly, the decision what to sew wasn’t as easy. I’m trying to sew garments that I can easily wear after my pregnancy, too – and a lot of things just don’t fit anymore!
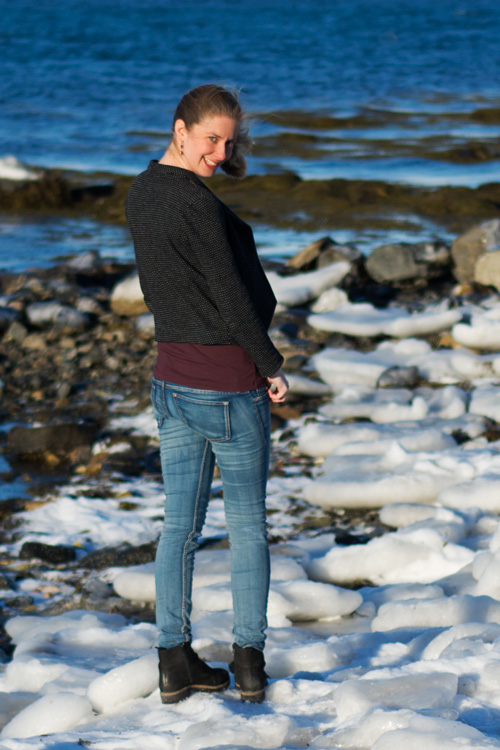
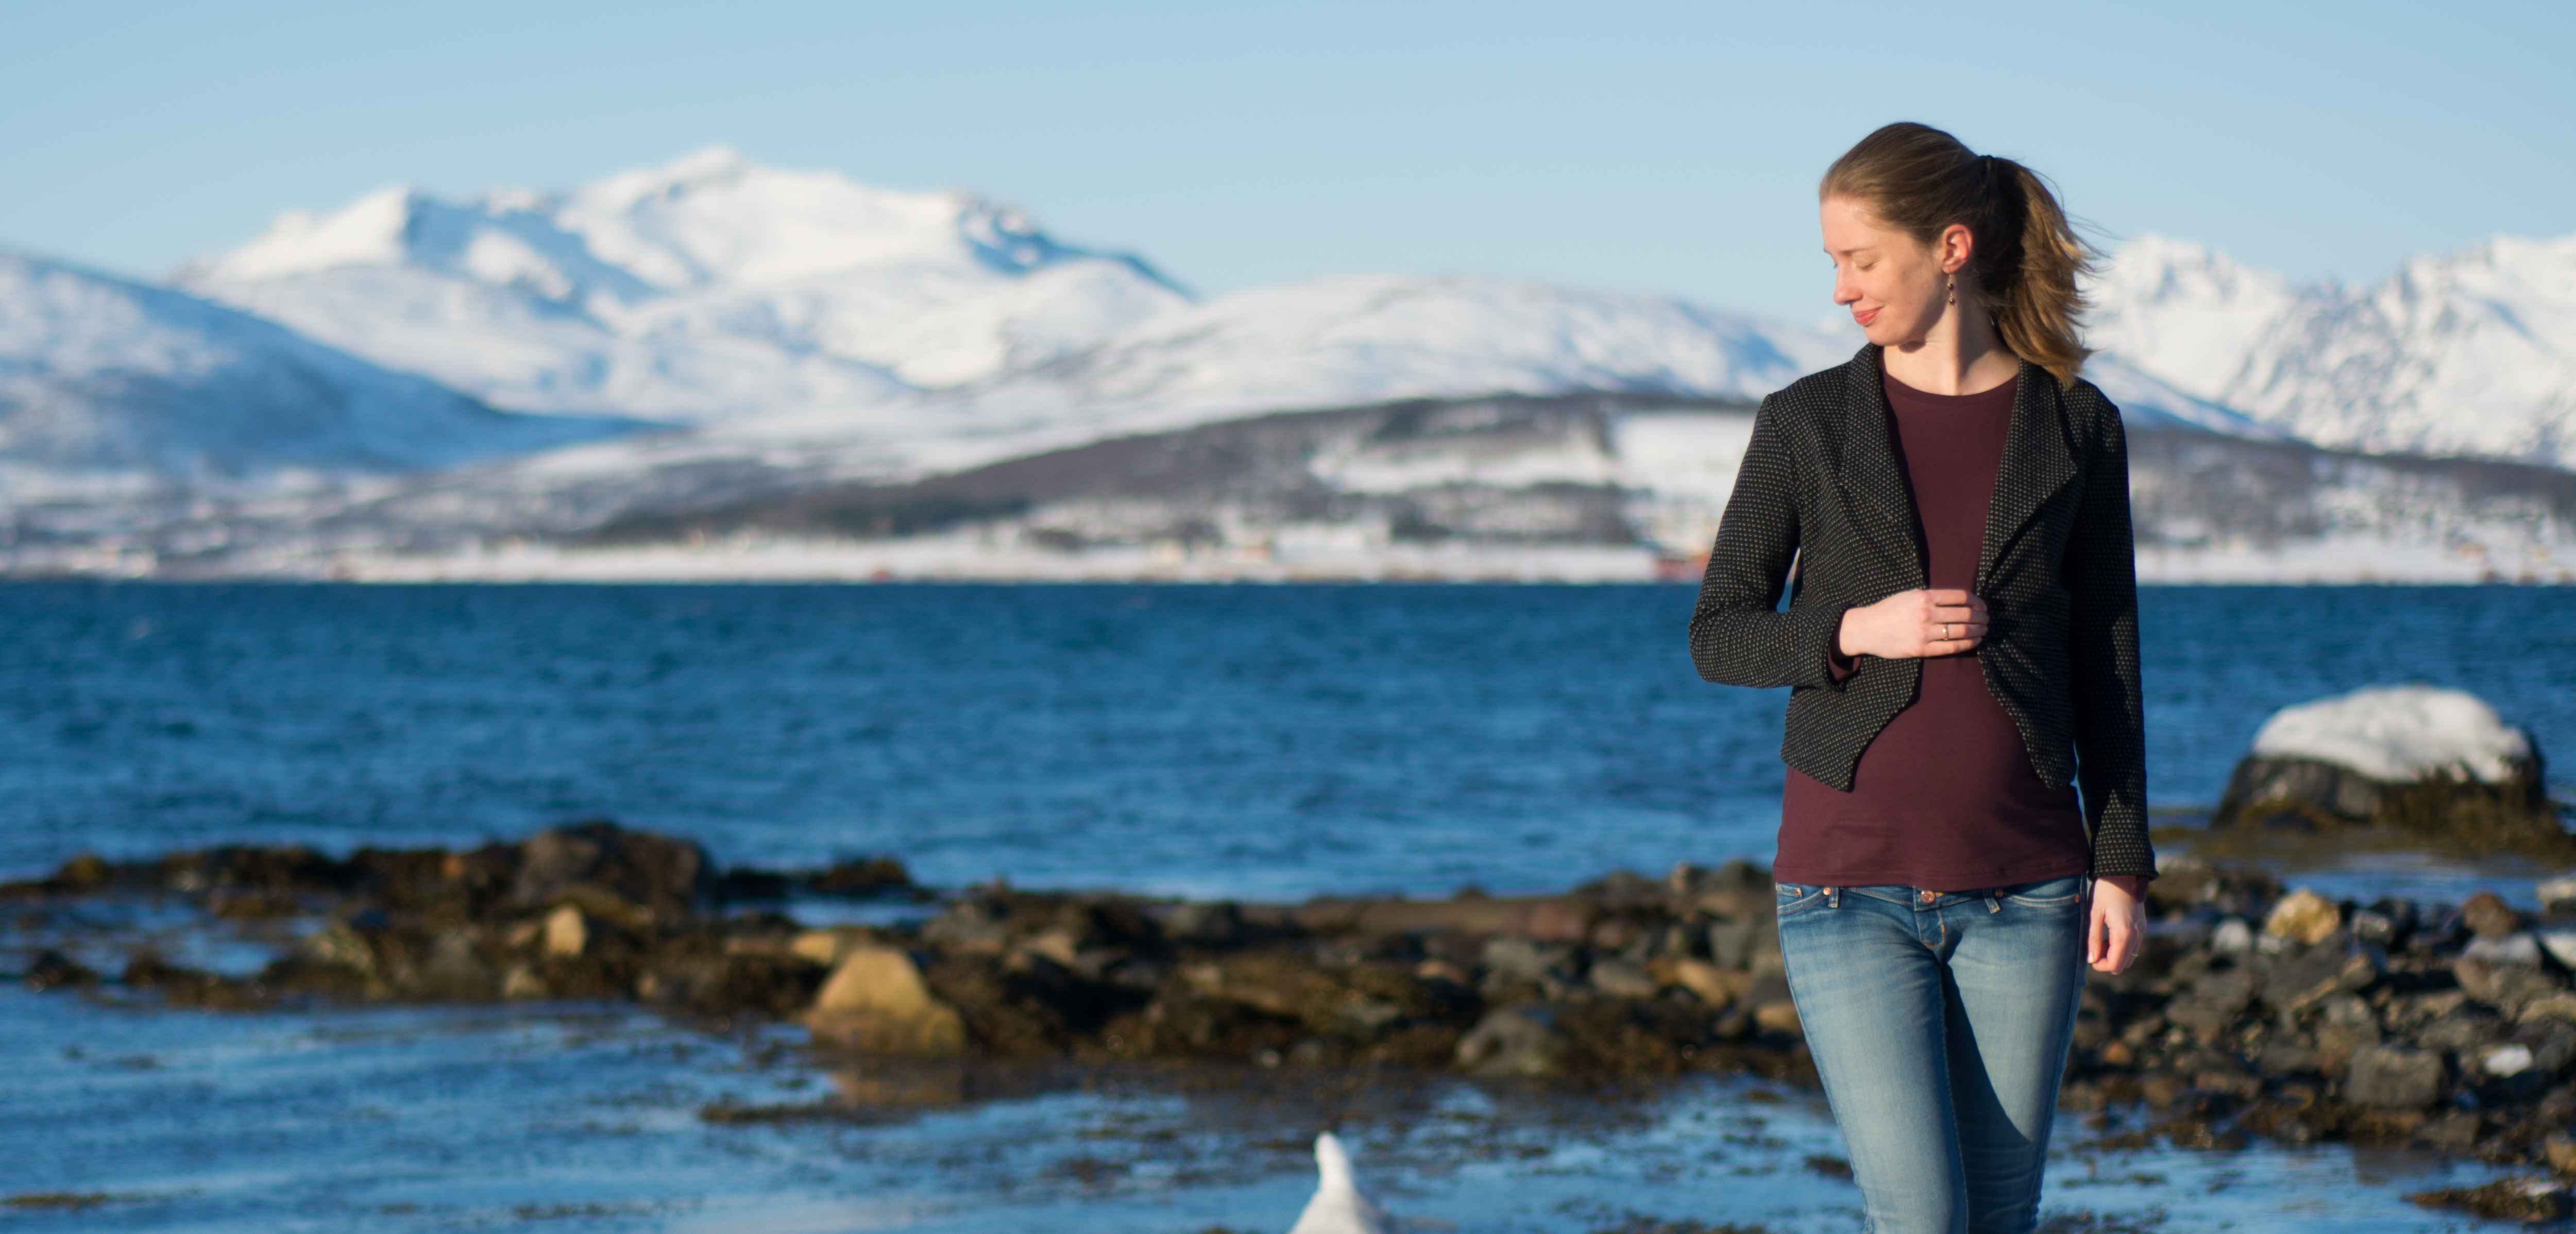
Luckily I remembered a pattern I had been wanting to sew for year: the Morris Blazer by Grainline Studio. I have been sewing quite some blazers, cardigans and jackets recently – anything that can be worn open and doesn’t require any adjustments to fit both now and after my pregnancy. I always liked the casual-yet-elegant look of the Morris Blazer, theis kind of stretch blazer can literally be worn any time – at work, for a birthday party or while grocery shopping. And what’s better than a versatile garment?
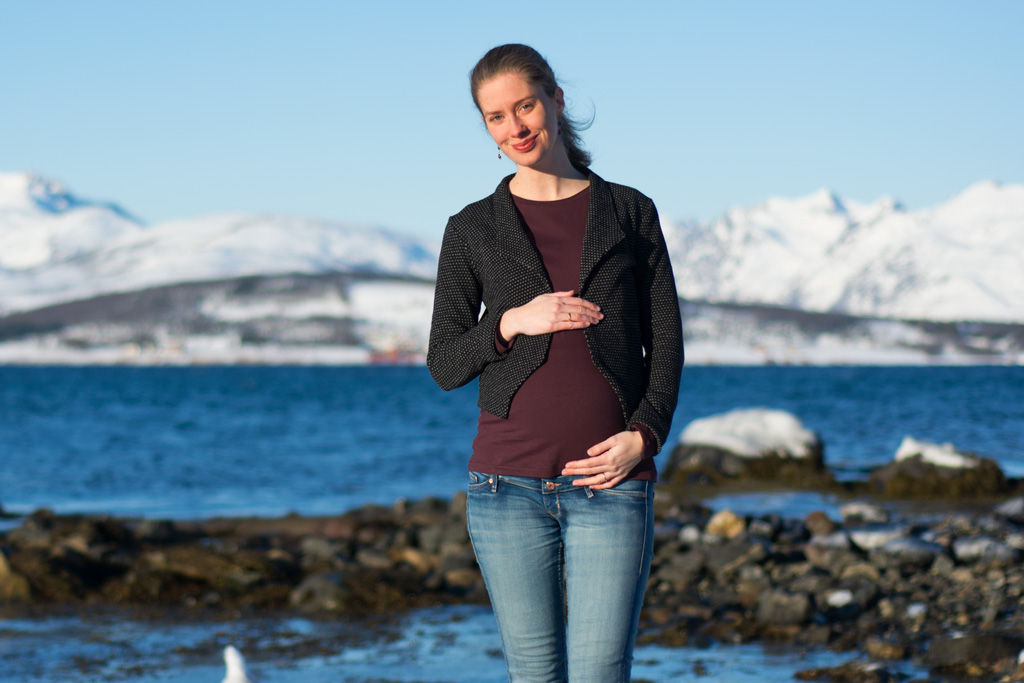
I also needed something to wear together with my Morris Blazer. I wanted something in a solid colour, and I actually didn’t have anything in my closet that was simple enough and fitting well enough for a photo shoot. So I turned to another pattern I had wanted to try for quite some time: the Panama Tee by Alina Design Co. I had made Alina’s Chi-Town Chinos and was much impressed by the drafting and the instructions, and I own the pattern for the Hampton Jean Jacket, too, which has similarly impressive instructions. So picking up the Panama Tee Dress pattern was a no-brainer.
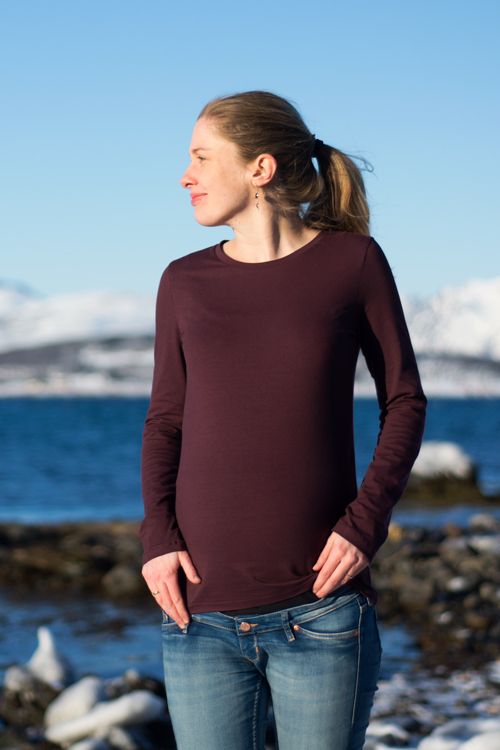
For this outfit I chose to use fabrics from NOSH Organics: Silmu Knit in black for the blazer and a plum-coloured jersey plus (which is slightly thicker and more stable than their regular jersey) for the Panama Tee. The plum-coloured jersey is sold out right now, but there are seven other colours available. The colour “fudge”, for instance, isn’t too different from the colour “plum” that I used! Both fabrics are cotton fabrics, the jersey is made with 8% elastan, the Silmu knit is made of 100% cotton and therefore does not have too much stretch. I might not use it for a garment that needs a lot of recovery, but it’s perfect for a knit blazer like this: It keeps it’s shape, but has enough stretch for extra comfort. And I love the fact that the back of the knit looks so different from the front! That was one of the main reasons for choosing this fabric to make an unlined blazer – I could show off both sides.

The Morris Blazer isn’t too complicated to sew, especially when using a fabric like the Silmu Knit that doesn’t stretch a lot. The blazer consists of sleeves, front and back pieces (the back is cut in two pieces to give it some shape). The collar is already “attached” to the front and back pieces. So apart from those pieces you only need to cut facings for the collar, the hem, and the sleeves. I cut a size 2 and didn’t make any changes to the pattern. I thought about lengthening the blazer, but since it’s a cropped blazer anyway I thought I might get away with making the original length. I think it’s definitely wearable like this, but I might add 1″/ 2,5 cm the next time I make the blazer.

I was really glad for having my serger for this project. Since the blazer is unlined, the seam allowances really need to be finished in some way. On the one hand, most raw seams don’t look very nice, and on the other this particular knit frays too much at the edges to be left unfinished. Not only did using a serger speed up the whole sewing process, the serged seams do kind of “disappear” into the fabric, too! I finished all the seams together while sewing the pieces together, with the exception of the seam down the middle of the back. To keep it symmetrical I sewed that seam with my sewing machine, pressed the seam allowances open and finished them separately with my serger.
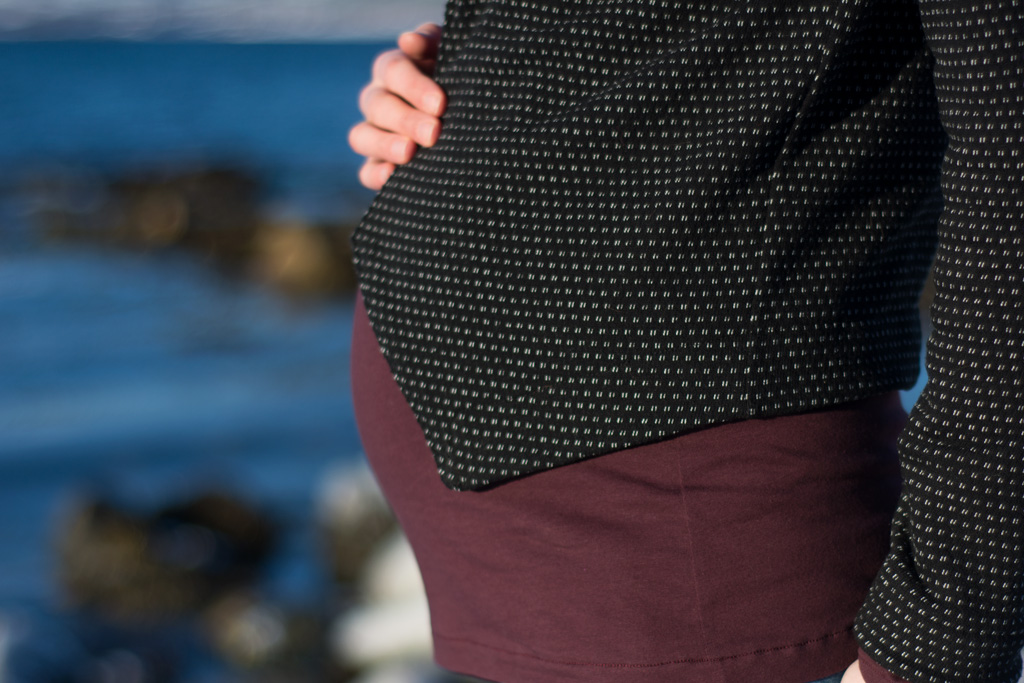
The instructions tell you to press the top seam allowances of the facings to the wrong side of the fabric to get a nice finish. I chose to serge those edges instead of folding them. The reason for this was that I wanted to avoid extra bulk along the edges and I liked the idea of having constantly serged edges throughout the whole inside of the blazer. That meant sewing step 15 of the instructions (attaching the hem facing) in a slightly different manner than the instructions tell you: You have to sew all the way to the edge of the facing instead of stopping before the folded edge.

The inner side of the collar facing isn’t sewn down, and as far as I can see, the instructions don’t tell you to sew the facing along the neck down, either. This might work for some fabrics, but I was concerned that the neck facing might not keep in place while I wear the blazer – especially since the collar is part of the front and back pieces and not separately attached. My solution was stitching the facing down between the two shoulder seams. I stitched in the ditch from the outside of the blazer. This might be slightly visible on some fabrics, but on this particular fabric the stitches can be seen on neither the right nor the wrong side of the blazer, which makes it a perfect solution to keep the facing in place.
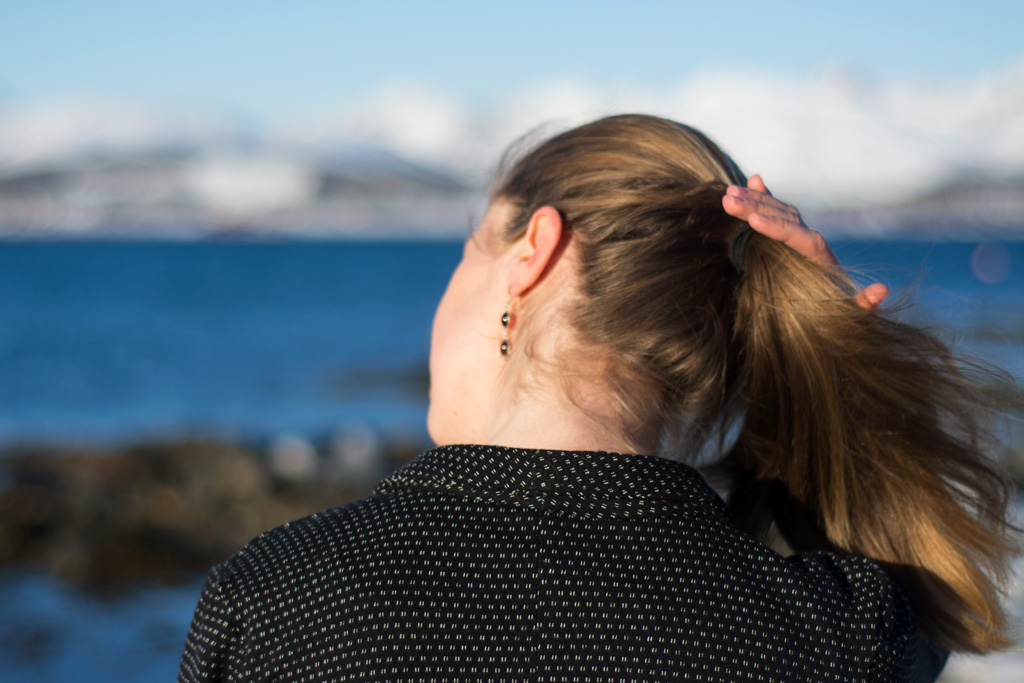
All in all I really like the collar and the pointy tips of the Morris Blazer and how it’s such a perfect balance between dressed-up and casual. And I’m very happy with the fit, regarding the fact that I didn’t make any changes at all to this wearable muslin.
But enough about the Morris Blazer and on to the Panama Tee: The Panama Tee Dress comes, as the name suggests, not only as a top, but as a dress, too. You can choose between the tee-length, a knee-length and a floor-length dress. There’s an optional pocket that you can add and a very nice tutorial on Alina’s blog that shows you how to change-up the neckline to a scooped neck, a v-neck or a boat neck.
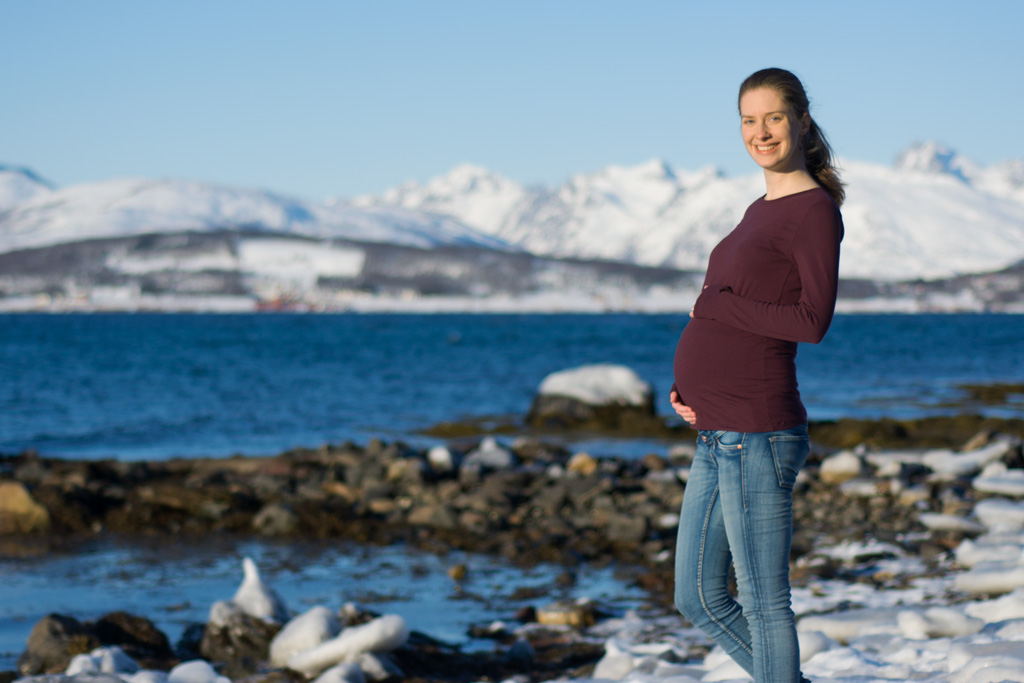
I needed to make a few changes to be able to wear the Panama Tee while being pregnant. While I really like the look of maternity hacks like this one, where you add some ruching to the front of a top to accommodate your growing bump, I also know that those tees won’t look particularly nice once the bump is gone in a couple of weeks. So I went with another solution: Sizing up, cutting the front and back pretty straight along the waist to give me even more room, and adding some length to make sure the top doesn’t expose half of my belly. Before pregnancy I would have made a size 0, now I made a size 4 – both because I’m a little bigger right now and because I needed a more slouchy fit. My plan is to simple sew in the side seams after pregnancy (or keep it as a very slouchy tee!), that way I can use my Panama Tee for more than a couple of weeks.

The fit of the Panama Tee seems to be really nice right out of the envelope (ok, there aren’t any envelopes when using digital patterns, I know!), although I do realize that most garments, even the Morris Blazer and the Panama Tee, tend to sit a little strange with a baby bump in the way. But I really like the width of the shoulders and the length of the neckband was absolutely perfect for the fabric I used. This might be the most perfect neckband I’ve ever sewn!
That’s all from me today – and I’m sorry for this very lengthy blog post! But two new patterns, pregnancy modifications and two great fabric seem to require quite some space. 😉
– As a member of the Indiesew Blogger Team I received the patterns I used for free and am compensated for my blog post. I also received the NOSH fabrics I used in my blog post for free from NOSH Organics. However, all opinions are, as always, my own. –

0 comments on “Morris Blazer + Panama Tee”