I love following patterns. I love thorough instructions, reliable indie pattern designers and the knowledge that my make will be a success, if I only follow the pattern (and pick the right fabric, and make a muslin). But sometimes, inspiration strucks and the perfect pattern is just nowhere to be found. That happened a while ago, while I searched for the perfect pattern to sew a design sample for Hello Heidi Fabrics, using the fabulous 14 wale corduroy from Robert Kaufman.

I was looking for skirts suitable for corduroy and saw this instagram post by Bee_Made, which I had saved a while back. It’s a hacked version of the Frankie Skirt by Republique du Chiffon. That’s what I wanted to have in my closet! Unfortunately, the … skirt is only available on paper, and I do prefer pdf patterns. I would have bought it anyway, if the skirt had been exactly what I was looking for, but since it meant major hacking anyway I preferred to look for something else.
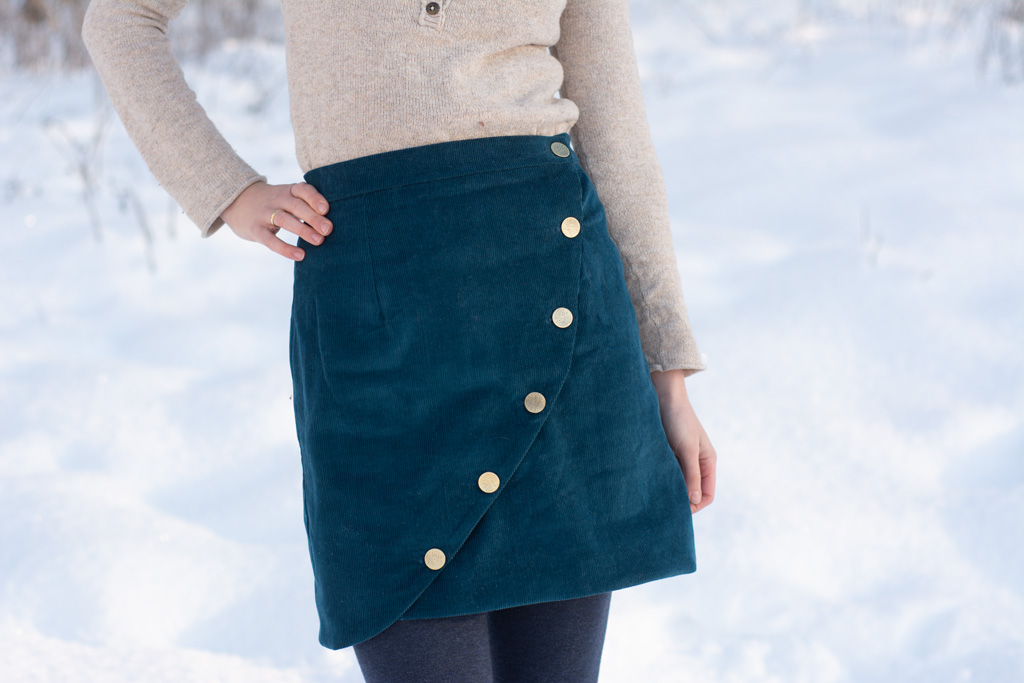
In the end I remembered the Nita Wrap Skirt by Sew DIY that I tested a couple of years ago. It was the perfect base for my skirt! I only needed to lengthen on side of the wrap and curve the other to get the result I was looking for. The diagonal edges of the Nita are folded towards the inside to hem the skirt, but since I wanted a curved edge, I needed to draw a facing to match the curved edge. Oh, and I wanted to line the skirt, too!
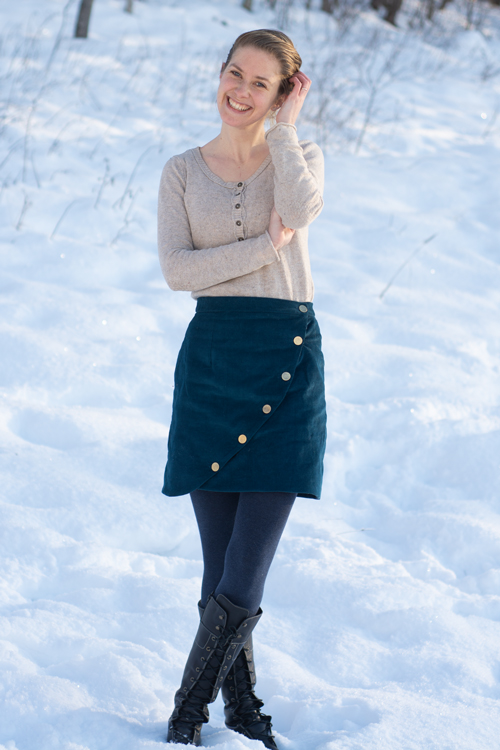
So I went ahead and made the following changes to my Nita Wrap Skirt:
1) The back skirt was left as it was, I only shortened the skirt further, to end up with a true mini skirt.
2) I made one of the two front pieces of the wrap wider and the side edge straight instead of diagonal. It extends nearly all the way to the side seam. That was necessary because of the short length of the skirt and because of the fact that the curved edge of the other front piece already starts curved very close to the side seam. Without extending the inner wrap piece I would have had a rather big skirt gap at the front of my skirt. A gap that would have been wayyy too high for it not to be rather indecent. I added 1 cm seam allowance to the bottom and side edge of the wrap piece, since I needed to attach the lining on the side of the wrap and the facing at the bottom edge. Be aware of the fact that the original front pattern piece includes a section that’s supposed to be folded to the inside – remove that part before adjusting your pattern piece.

3) As with my other front pattern piece, I removed the part of the pattern piece that’s supposed to be folded to the inside. I curved the diagonal edge of the other front piece of the wrap. I let the curve start close to the side seam and met the original shape of the seam more or less where the dart begins. I also added a 1 cm seam allowance to the curved side of the front wrap piece.
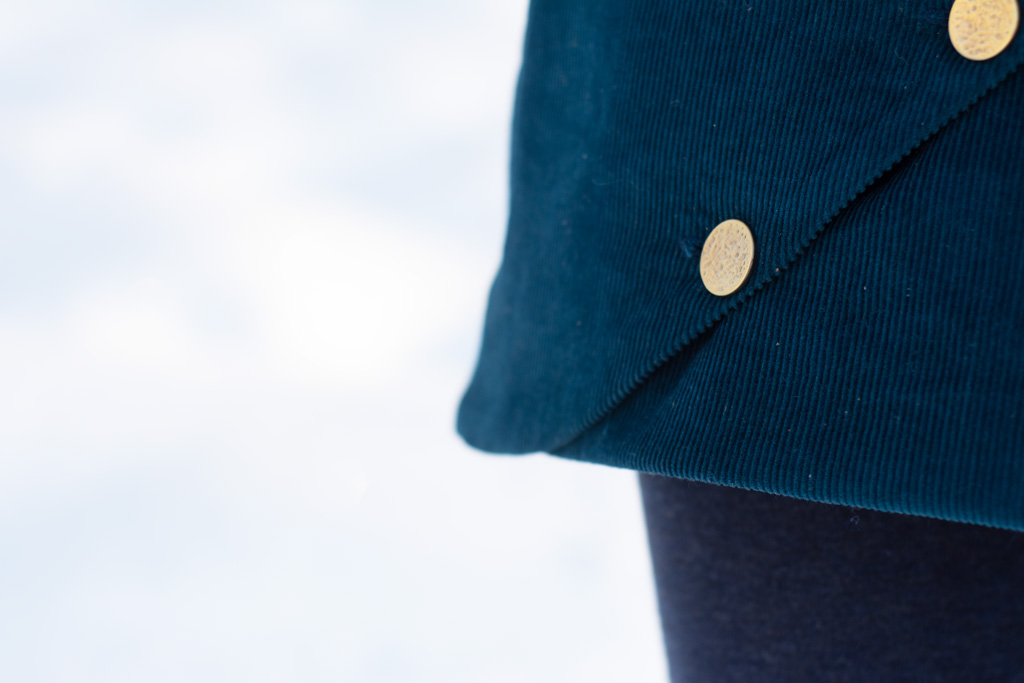
4) I adjusted the length of one of the front waistband pieces to the new length of the inner wrap pattern piece.
5) I drew a facing for the curved edge and the bottom edge of the skirt – I made it 3,5 cm wide, plus 1 cm seam allowance = 5,5 cm (a little more than 2″).
6) I drew a lining for the skirt that has the same shape as the skirt pattern pieces but 3.5 cm shorter at the bottom edge and the curved edge, since I was going to add the facing here. The facing and the seam allowance make the lining 4.5 cm shorter, but I had to add back 1 cm seam allowance for the facing, hence 3.5 cm. I decided to sew the lining and the outer fabric together without a facing on the side edge of the inner wrap to avoid bulk. That means I didn’t adjust the pattern piece of the lining on the inner edge of the skirt.
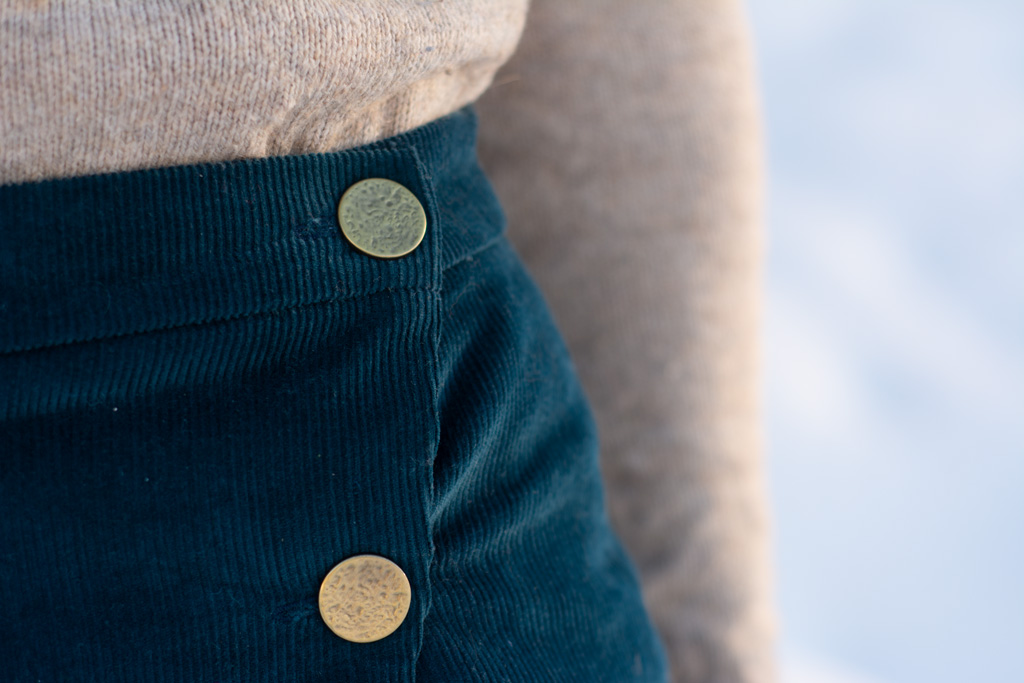
Those were all the changes I made! I sewed together the three outer skirt pieces, sewed together the facing pieces, sewed the facing to the skirt, sewed the three lining pieces together, attached the lining to the skirt on all sides except for the top, understitched the facing and turned the skirt right sides out. I then sewed the three waistband pieces together and attached it right sides together to both the main fabric and the lining. I folded the waistband in half, pressed the seam allowance under and stitched it in place with a stitch-in-the-ditch.

Last but not least I tried the skirt on and decided where to place the buttons before sewing the button holes and sewing on the buttons. I also *meant* to add a sew-in stud to the waistband where the inner part of the wrap stops, to make sure it stays in place. However, I couldn’t find one in my stash and had to take pics without it. That’s why my wrap pieces don’t line up perfectly! And I guess you all know the feeling – once you’re done with pics, it’s hard to go back and actually sew on that tiny stud. But I will do it, soon. I promise.
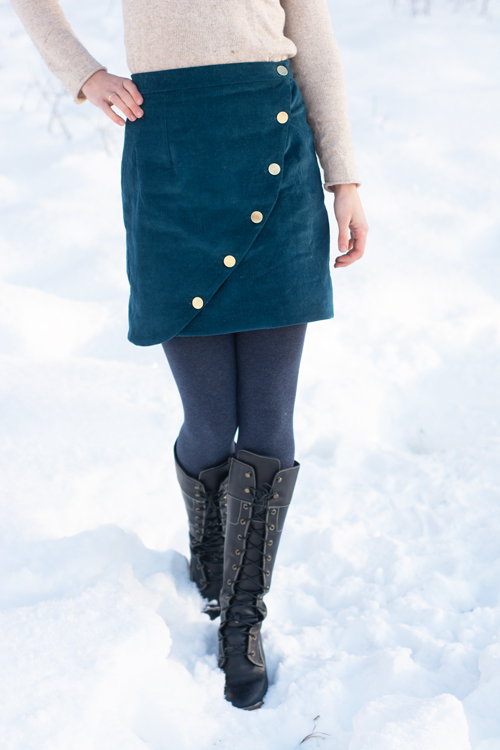
But I haven’t told you anything about this pretty fabric yet! The Robert Kaufman corduroy in the colourway “Ocean” was gifted to me by Hello Heidi Fabrics, since they have a flannel and corduroy week. Head over to their shop, there’s a 20% discount on these fabrics until Sunday! This corduroy isn’t too thick, it’s soft and it’s easy to sew with. I mean, really easy. Kind of why-would-I-need-pins-easy. It’s available in a bunch of rich colours – I really want to make a pair of pants in Merlot and I have some Cider here, waiting to be made into an outfit for my son. To be honest, I never knew why corduroy was called “14 wales” (like this one) or “21 wales”. In case any of you don’t know, either: The number indicates the amount of “ribs” per inch. So this 14 wale corduroy has 14 ribs per inch. Hence a corduroy with a high number is going to have more and smaller wales than a corduroy with a lower number.
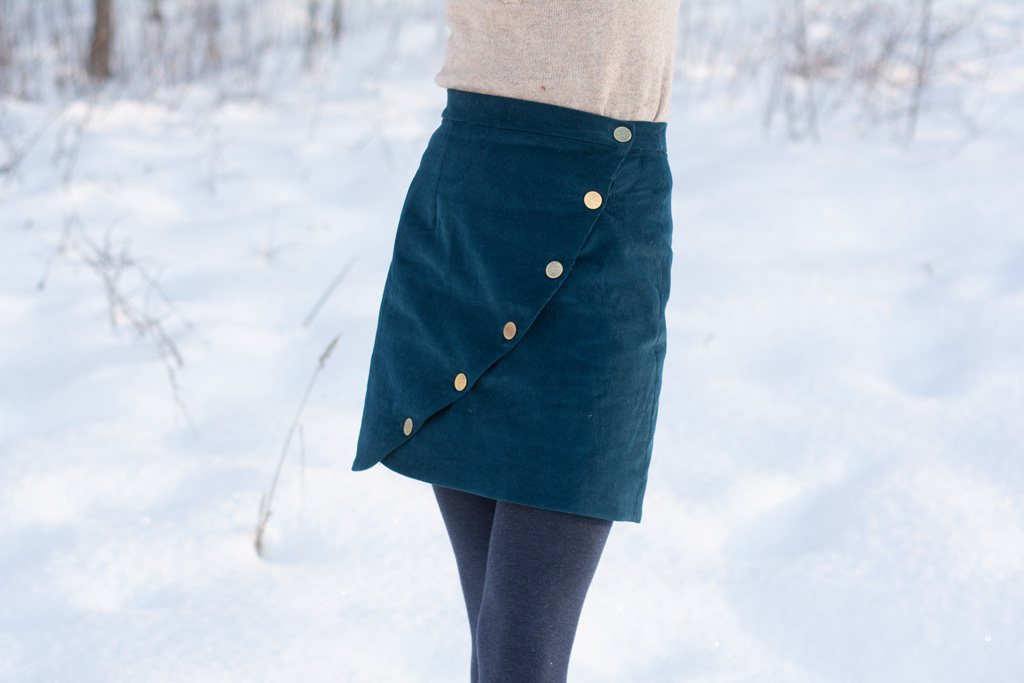
The skirt is lined with rayon from Cloud 9 – the leftover from my Fringe Dress I sewed last September for Sew Your Hart Out. The colour doesn’t match very well, since the corduroy is a lot more green-ish, but the rayon is a great lining fabric, since it’s so slinky and thin and soft. It’s available at Hello Heidi, too!

Make sure to head over to the Hello Heidi Instagram account for lots of inspiration for sewing with flannel and corduroy – I can promise you some jaw-dropping makes!


0 comments on “Hacking the Nita Wrap Skirt”