For a long time, I’ve been looking at fabrics with embroidered scalloped edges and wanted to sew something with one of them. It looks so pretty, making an otherwise simple garment more special – and you don’t even need to hem it!
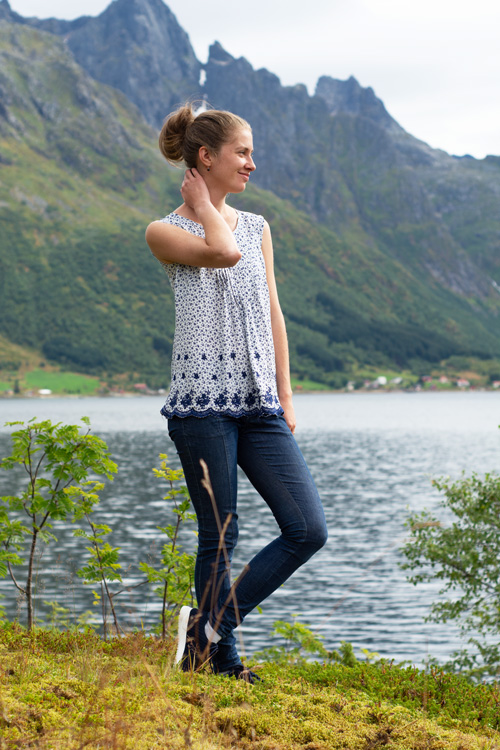
A few weeks ago, Coralie from C’est Moi Le Patron sent me one of her latest patterns, the Eileen Dress and Tunic. It’s a simple top or dress, with or without sleeves. The front and back are pleated to give it some more visual interest.
A year or two ago I bought this thin floral cotton fabric with an embroidered edge at our local fabric store, Stofflykke. I didn’t have any specific plan for it, but while looking through my fabric stash, I realised it would be perfect for the Eileen.
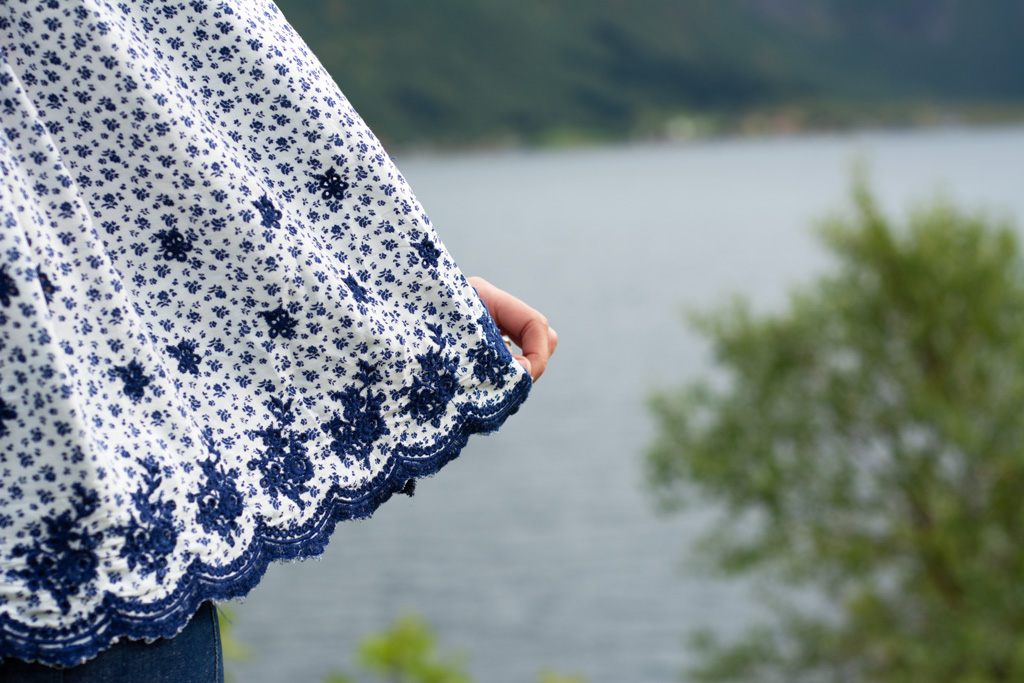
First, it is thin and soft enough, falling nicely, even with all the pleats. Secondly, the pattern is small enough not to be interrupted noticeably by all the pleats. Thirdly, the pattern has a relatively straight edge, making it suitable for a scalloped embroidered hem.
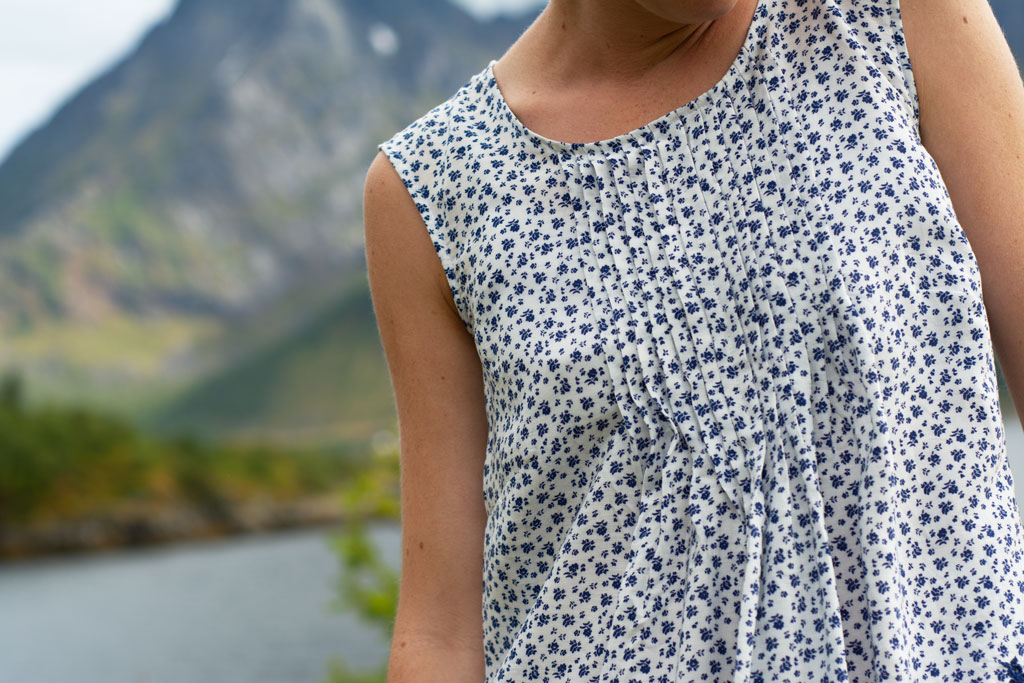
The Eileen consists of only two pattern pieces (if sewn without sleeves). The front has bust darts and the neckline and armholes are finished with bias tape. Sewing the two pieces together is done in no time, but sewing all the pleats takes a while. It might have been easier had I used a sturdier fabric, but my fabric was very loosely woven and just trying to get an even and straight fold proved quite a challenge.

Both the front and back have a wider box pleat in the middle, and smaller regular pleats that are pressed towards the side seams on either side of the box pleat. The box pleats are the longest pleats and the rest of the pleats get shorter towards the sides. As with my Henrietta Maria top, I didn’t mark all the pleats right from the beginning, but rather measured each pleat right before sewing and used the width of my sewing machine foot to get the right width.
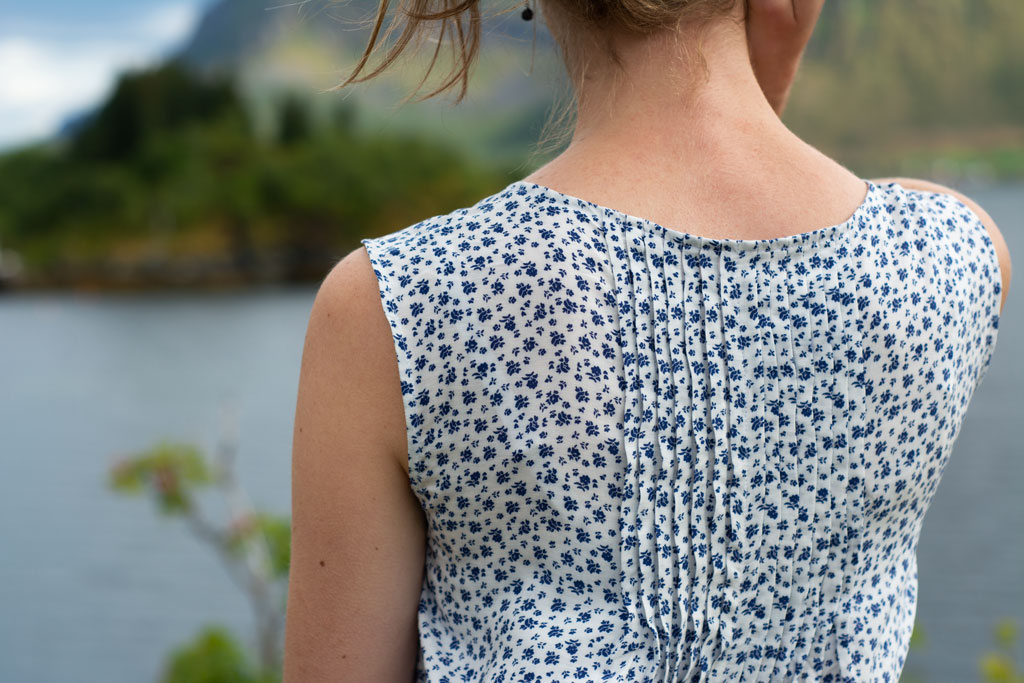
The result isn’t perfect, some pleats are a little wonky and not all seam lines are perfectly covert. But it’s really hard to see, since the stitches aren’t super visible and the small flowers hide any uneven pleats. I made sure to adjust the width of the top slightly towards the hem to make sure that the scalloped edges matched when sewn together. I didn’t adjust the length of the top, even though its not hemmed, since I am rather tall and needed the extra length.

My fabric is pretty light, so I decided to finish the shoulder seams and the side seams with French seams – together with the bias tape made from the same fabric it makes sure that the inside of the top is as nice as the outside.

I am very happy with the top – I like the width, the length, how it moves and feels on my skin, and that it is little wider at the shoulders. That way I can be sure that my bra straps are covered and my shoulders are mostly covered – a personal preference for work settings.
C’est Moi Le Patron instructions aren’t the longest, but they are easy enough to follow if you have some experience sewing – especially when the pattern isn’t too complicated.

I had so much fun taking these pics and I loved feeling the joy of finally having made a garment for myself again! This autumn will be very busy, so I don’t see myself sewing too much – but there’s actually another C’est Moi Le Patron pattern that I am sewing right now and that I hopefully will be able to share with you before too long.
– I received the pattern for this blog post for free, but all opinions are, as always, my own. –


0 comments on “Eileen by C’est Moi Le Patron”