Hi there, it has been quiet over here, but I have several blog posts just waiting to be posted! And today I’m starting with something special – special in several ways: It’s not a garment, it’s fabric from a totally new fabric brand and it’s one of the first items I’ve made for our little one! Oh – and keep on reading – you can win some of these fabrics, too!
So let’s get started – Bonnie & Buttermilk? What’s that? Well, Bonnie & Buttermilk is a small indie design label based in Berlin. For five years, the two women behind Bonnie & Buttermilk have been designing fun retro garments for women and children, to be produced in Germany. And now they have ventured into selling fabric, too! The fabrics available are from their ready-to-wear collection. And this week the ladies participating in the Bonnie & Buttermilk blog tour will show you some of these fabrics!

Bonnie & Buttermilk work with two different types of fabric: a cotton jersey and a medium weight cotton canvas. I have only worked with the canvas, but I am really impressed by the fabric: It is a canvas, but thin enough for garments. It has a slight silky sheen to it, making the fabric look extra nice. Unlike some other cotton fabrics, it isn’t prone to wrinkling, and its – just slight – cross-wise stretch makes it comfortable to wear and easy to sew with. You can find all the available fabrics here.
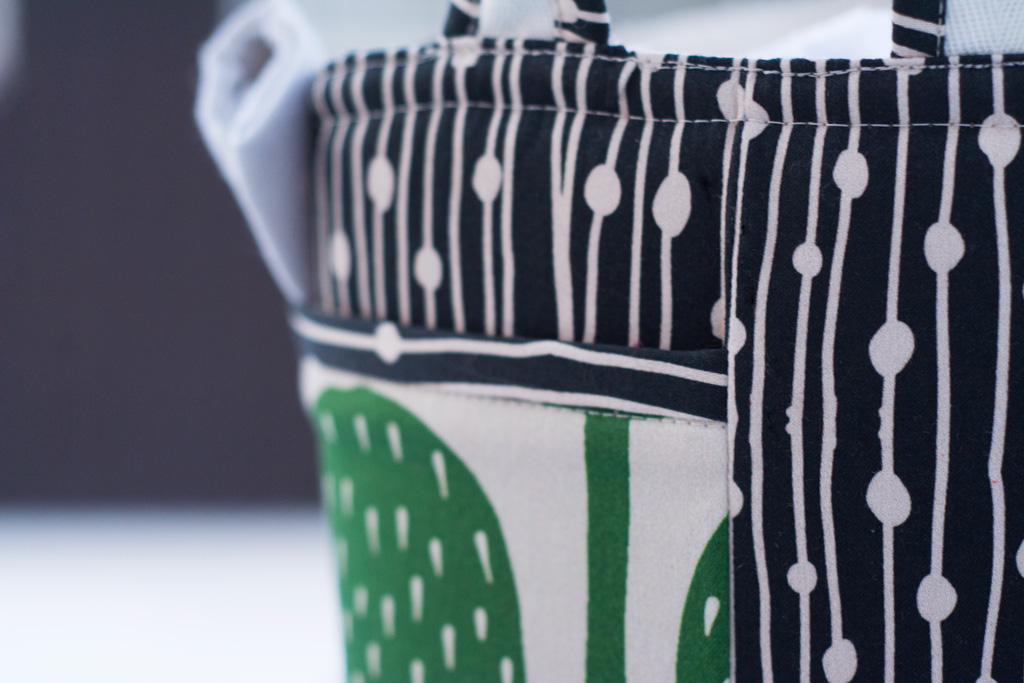

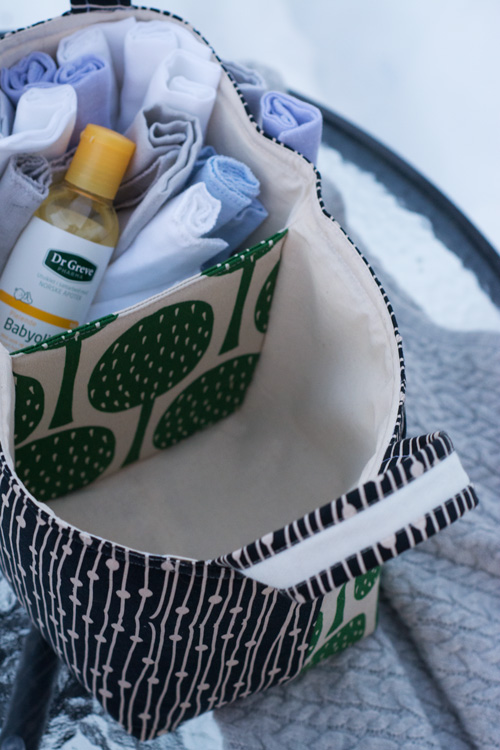
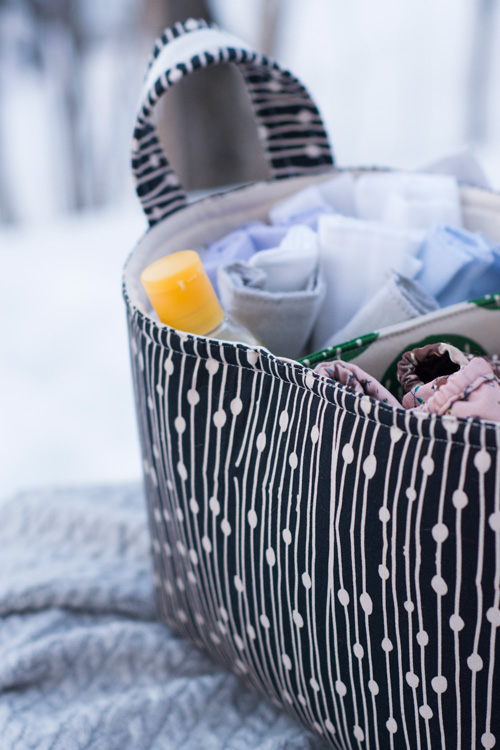
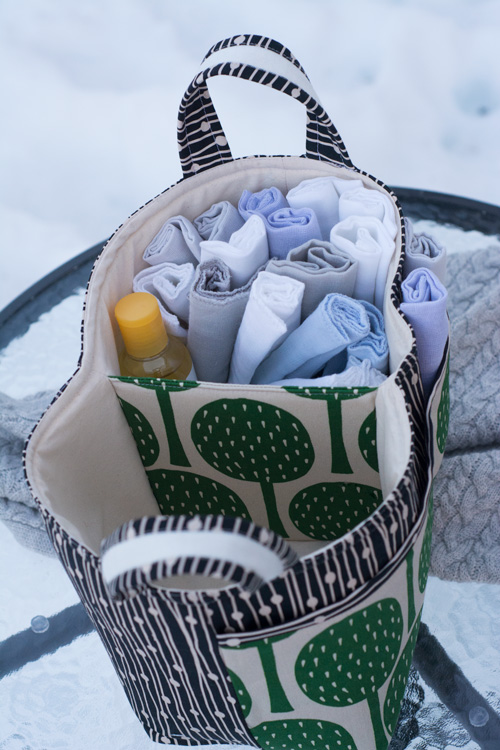
I chose to make the Divided Basket by Noodlehead for this blog tour. I thought it might be practical having a basket for small baby things in the bathroom! And, as you know, I am not much used to making bags and baskets, so starting with something rather simple seemed like a good idea. I chose two cotton canvas fabrics for my project: this fabric in black with white stripes and dots, and this one with green trees. For the lining I chose a simple natural coloured quilting cotton from Stoff & Stil. The cotton webbing I used is from Stoff & Stil, too, and so is the thick interfacing/batting I used to give the basket a nice shape.
I am not very experienced with these interfacings used for bags and baskets, but Dominique from kreamino told me that it’s very similar to the interfacing sold as Soft and Stable. I really love how it gives the basket a nice shape, while still keeping it flexible. It doesn’t feel stiff at all! The interfacing isn’t fusible, to I chose to buy some vliesofix (also known as bondaweb?) to attach the interfacing to the outer layer of fabric. That keeps the interfacing in place and makes handling the layers easier.
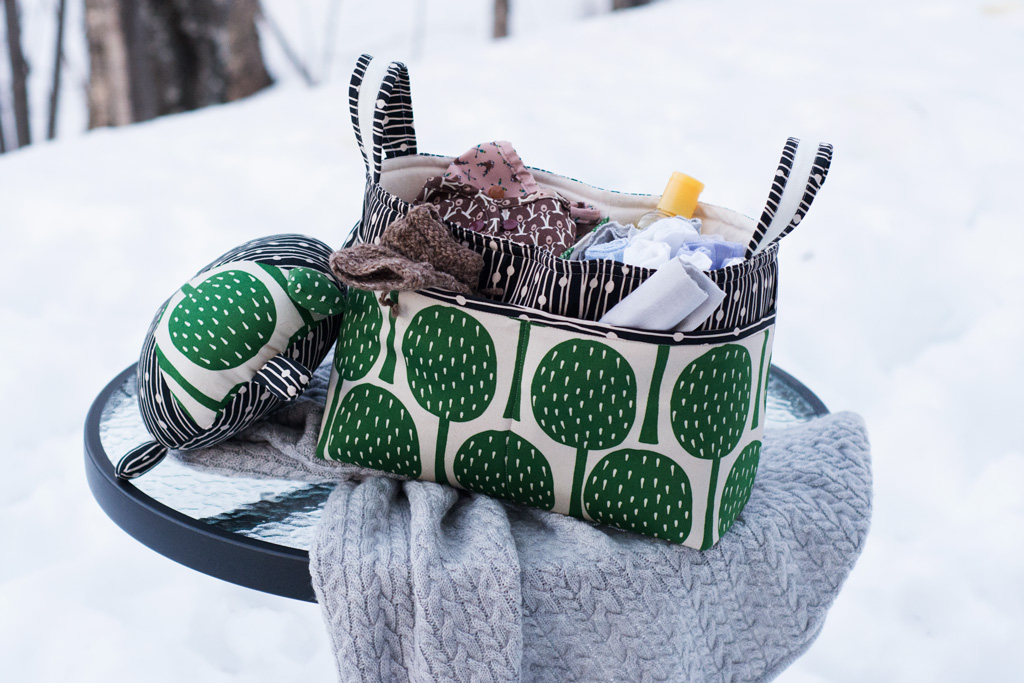
Sewing the Divided Basket wasn’t very difficult. The instructions are good and there aren’t too many pieces. The only thing that was quite a challenge was sewing the first row of stitches at the top of the basket. The lining is attached to the outer layer of fabric by simply folding the top of both the outer and the inner fabrics to the wrong side, stacking the lining inside the basket and topstitching around the whole basket. That was quite difficult for me, since I had to use a lot of pins and the basket divider in the middle of the lining was in my way. But with some patience and slow sewing I managed just fine – although you can see that the top row isn’t sewn very evenly. Oh well …
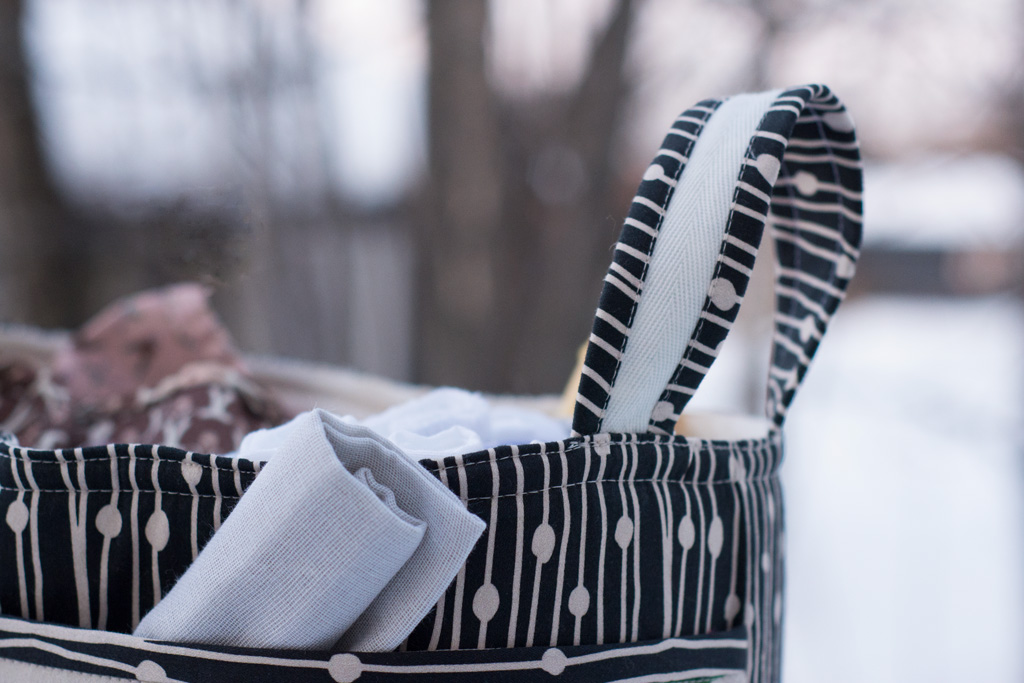
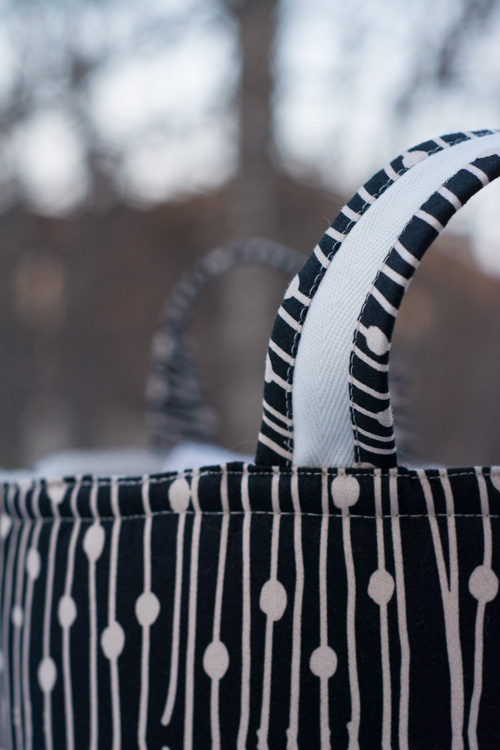
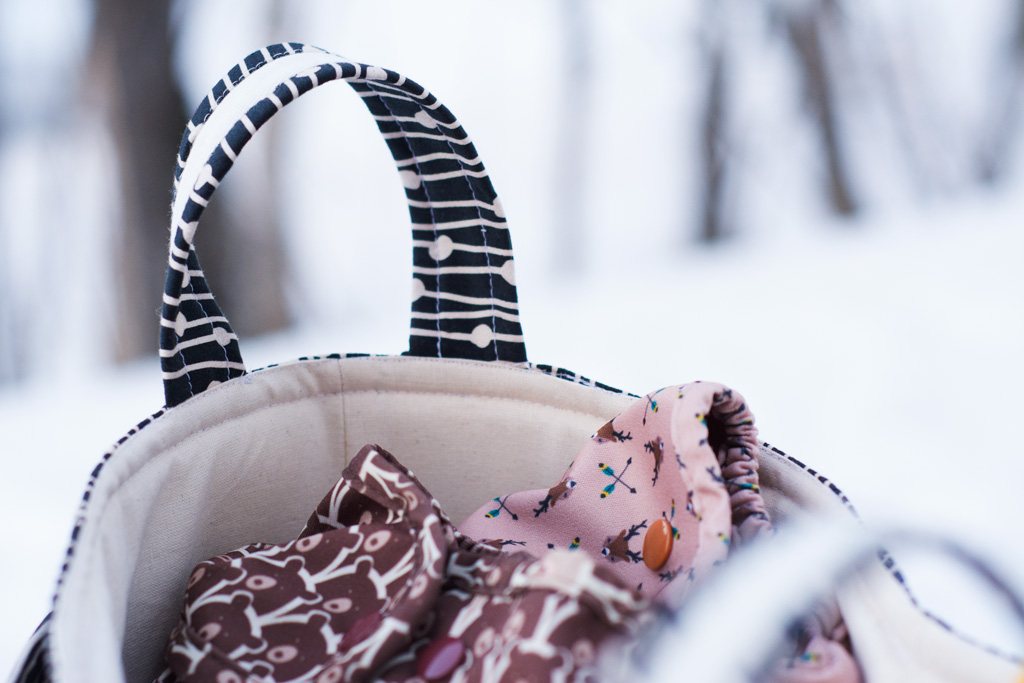
Another (self-inflicted) issue I had, was the cotton webbing I chose for the handles. I had bought two different webbings, and the wider one was too stiff for my liking – more like the nylon webbings used for bags. The natural coloured webbing I ended up using was a little too thin and not really stiff enough. But I interfaced the webbing before attaching the fabric cover to the handle. I also chose to cut the fabric cover for the handle a little less wide, since my webbing is thinner than suggested and I didn’t want to cover the whole handle. Problem solved!
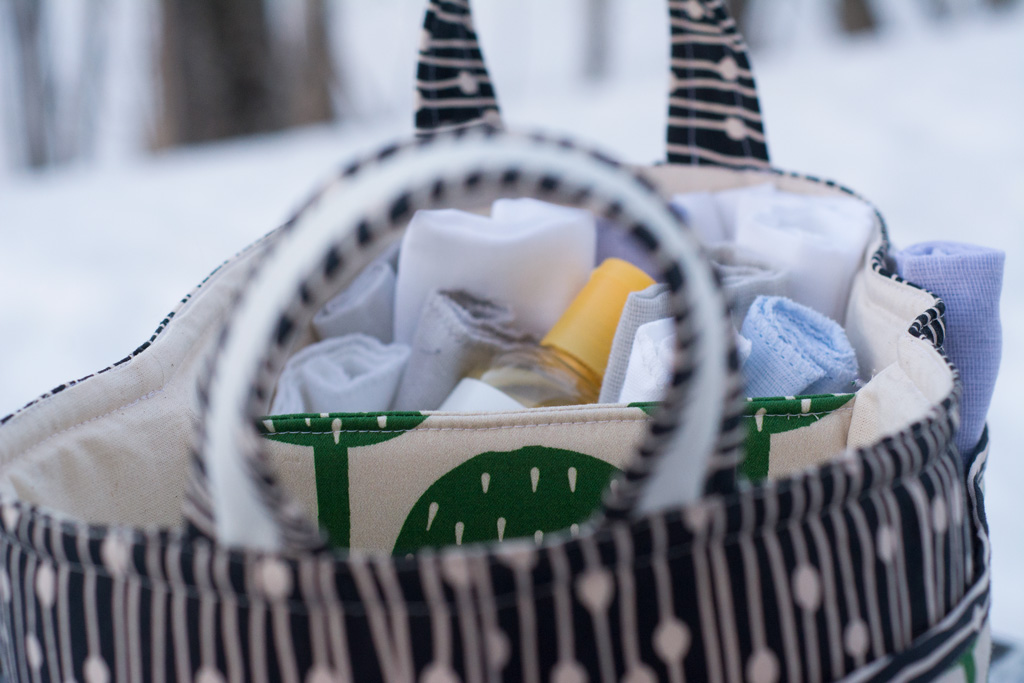
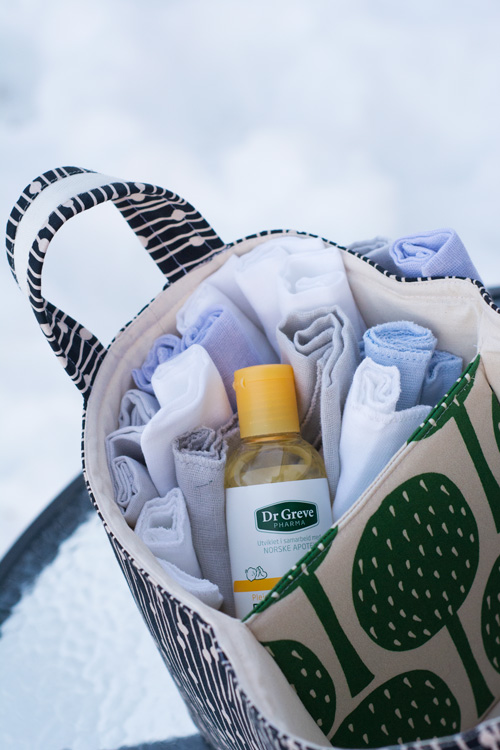
I am very pleased with my first basket and I am sure that we’ll use it a lot. The only thing I realized after finishing it was that the divider attached to the lining “drags” the lining towards the inside. I am not sure if I have been cutting/sewing a little inaccurately, or if this is intended to keep the basket in shape. It isn’t very noticeable, but still something I’d love to eliminate the next time I’ll make a basket like this.
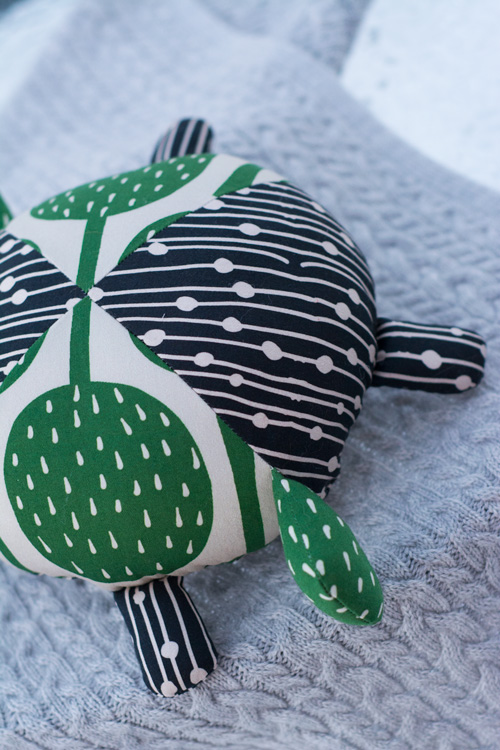
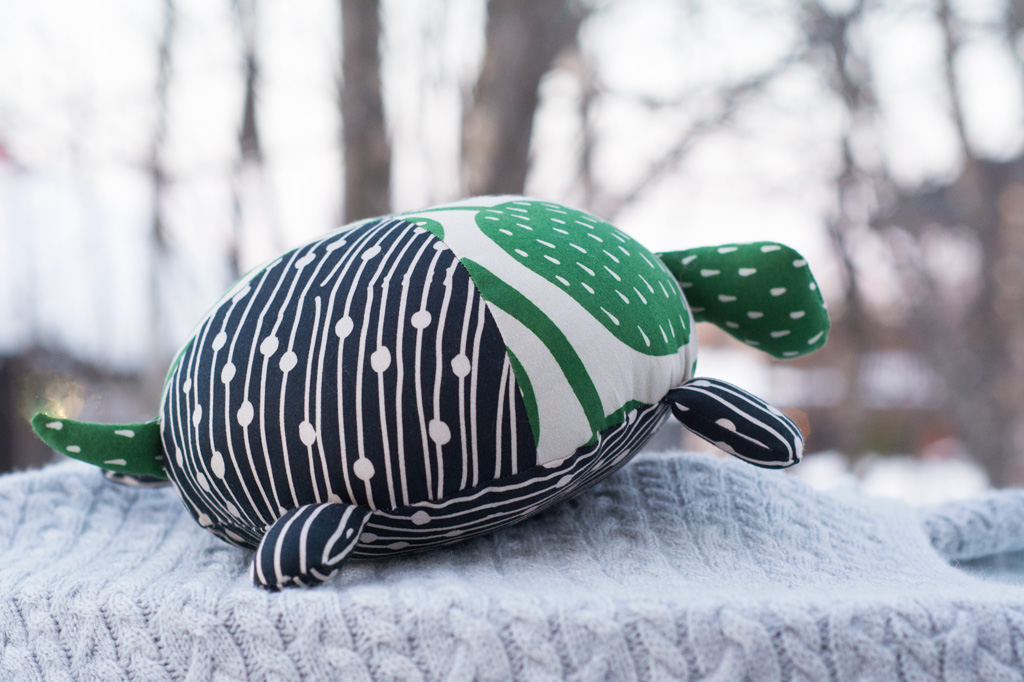
I had some fabric left after sewing the basket and decided to sew one more of my favourite softie out there: a turtle. I discovered this free pattern a couple of years ago and this is the fifth turtle I’ve sewn so far. And the first we get to keep! They are so cute, perfect for scrap busting and a lovely gift for young children. Aren’t they cute, with their little tails and little legs??
Well, that’s nearly all from me for today – but not all about Bonnie and Buttermilk! Make sure to check out the blog posts by the other ladies posting today and during the next few days. I can promise you some amazing makes!
Bonnie & Buttermilk Blog Tour
Tuesday, January 23rd
Barbara – WalliBa / Fleurine – Sew Mariefleur / Mijke – Sew It Curly
Wednesday, January 24th
Dominique – kreamino / Olu – Needle and Ted
Thursday, January 25th
Dagmar – Mimi naeht / Maarika – Liivi & Liivi / Melanie – FeeFee
Friday, January 26th
Bettina – Stahlarbeit / Eveline – Frölein Tilia / Jenny – Kayhuderfjaeril

Last but not least: The giveaway! We have organized a little rafflecopter giveaway – five people can each win one meter of Bonnie & Buttermilk fabric of your choice. Good luck!
a Rafflecopter giveaway
– The fabrics for this blog post was given to me for free. However, all opinions are, as always, my own. –


so pretty, and so nice you finally get to sew it for your own baby! The turtle is indeed oh so cute! and the basket will surely come in handy!!
Dear Fleurine, as Barbara already said: Welcome to the next level 🙂 Sewing for kids is different, but sooo much fun. I can see many tiny makes. Always stylish, always not to bold (colorwise). Bonnie&Buttermilk might have been a bit outside your comfort zone, but it was so worth it.
[…] – WalliBa / Fleurine – Sew Mariefleur / Mijke – Sew It […]
[…] – WalliBa / Fleurine – Sew Mariefleur / Mijke – Sew It […]
It all so lovely Fleurine and I’m really looking forward to seeing all that you make for your the new addition to your family.
Beautiful basket and darling turtle!
[…] – WalliBa / Fleurine – Sew Mariefleur / Mijke – Sew It […]
Beautiful basket! It’s so practical AND pretty! I also get a little bit of the ‘wobbly-knockers’ with my divided baskets, and I’m thinking of interfacing the front pocket for a bit more stability. I’ll bet you can’t wait to use it!
What a cute turtle! I love the devided basket pattern and I have made two as gifts already. I use mine for my knitting. I just had a look at it: the devider drags the lining ever so slightly but I guess like this it keeps the basket‘s shape so lovely. As to add the lining to the basket‘s outer, you have to invest in wonder clips. They are changing the game keeping thick layers together without shifting or pricking.