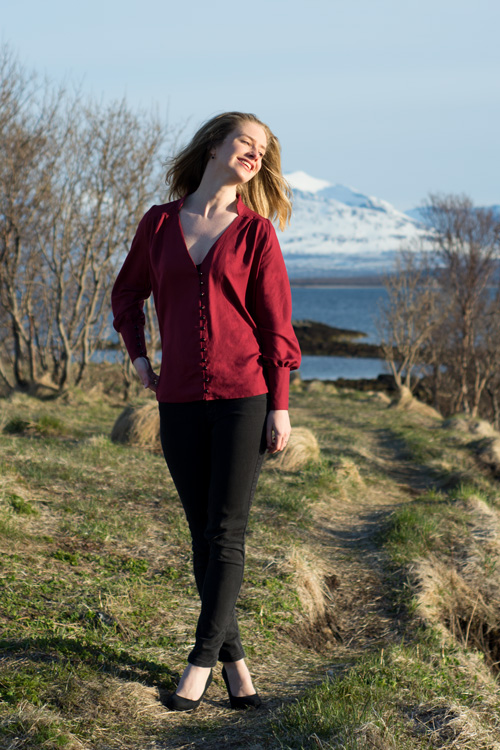
Ever since I saw the Reina Shirt by Pauline Alice, it has been on my sewing list. I fell totally in love with the vintage vibe of this pattern, and I especially loved the beautiful, long, buttoned cuffs. And finally the perfect chance to finally sew it came along.

A couple of months ago I received a lovely email from Paula Spranger, whom I follow on instagram. She has a small but exquisite fabric store in Portugal, called Maçãs d’Amor. She asked me if I’d like to sew something with fabric from her store, and the answer wasn’t hard. As a blogger you get lots of strange requests for cooperations, not really suited for your blog og style, so when I got such a lovely email from Paula asking to cooperate, the decision was easy: of course!
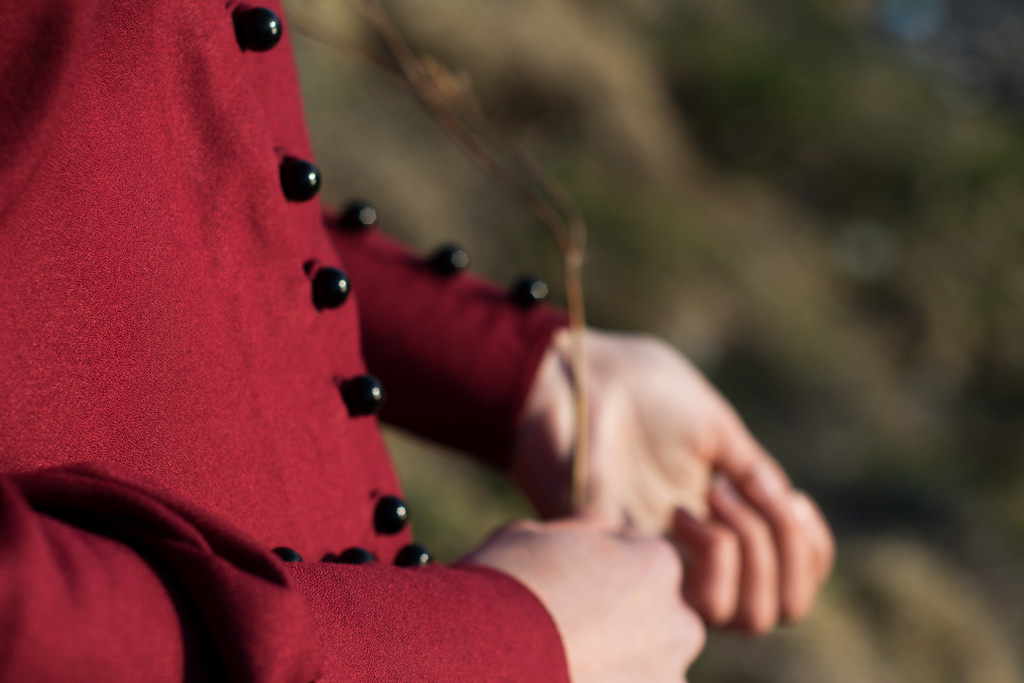
I chose some of the new viscose crepe from Atelier Brunette for my project. I already knew that Atelier Brunette fabrics have a high quality, but wasn’t aware of their new crepe fabric. The crepe comes in several lovely colours, and I took a chance, choosing the red colour called “amarante”. It’s so perfect! It’s just dark enough not to being bright red, but it’s still a very vibrant colour. The crepe isn’t too thin, perfect for a blouse, with a lovely texture and a fluid drape. It does crinkle, but not as bad as a lot of other fabrics, and I have the feeling that quite some wrinkles disappear while wearing the blouse.
Working with the crepe isn’t as easy as working with a stable cotton shirting, but I’ve worked with fabrics that were way harder to handle, too. I couldn’t distingish the back of the fabric from the front, which means that you actually get a lot of value when buying the fabric: It’s solid and you don’t even have to mirror your pattern pieces – which means that the fabric is perfect for playing tetris and getting the most out of the yardage you have.
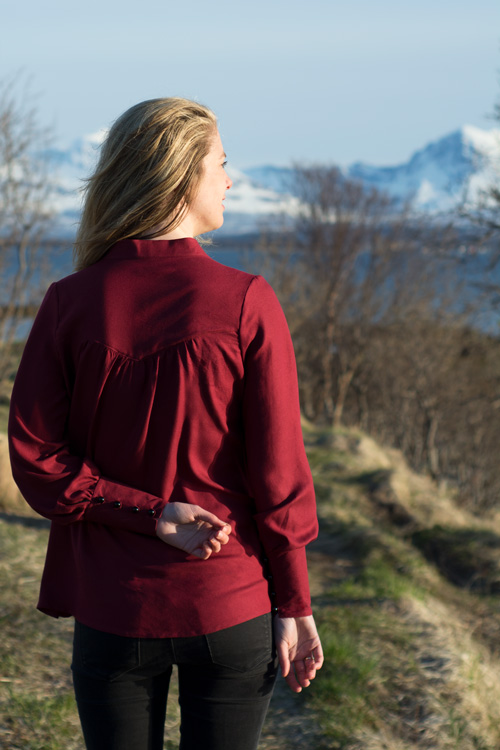
The Reina Shirt isn’t too difficult to sew or to fit to your bodice, since it’s rather loose-fitting. The only thing that takes time is making all the button loops and to pin them on the shirt and the cuffs – perfectly apart from each other and all at the same length. Making the loops was pretty annoying, since the crepe frayed quite a lot, making it hard to turn the tiny tube. The button loops on my front shirt don’t look perfect, but my technique got much better when adding the loops to the cuffs: I used one pin for each “leg” of the loop, perpendicular to the selvedge. That way both sides of the loop stayed exactly where they were supposed to be and it was easy to just sew over the pins.

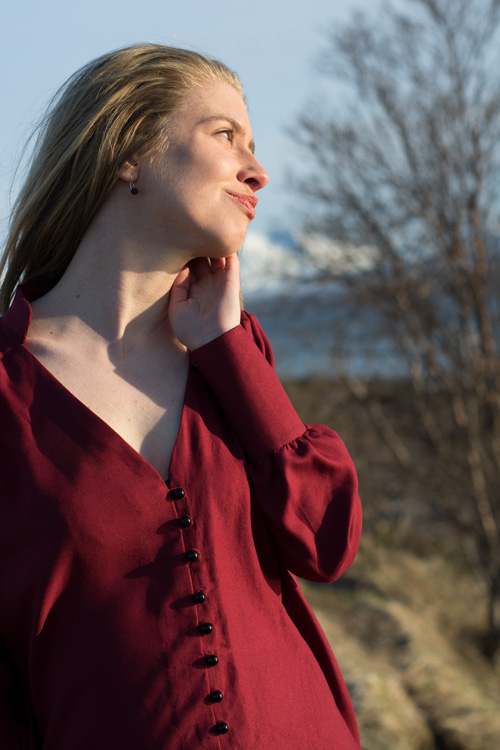
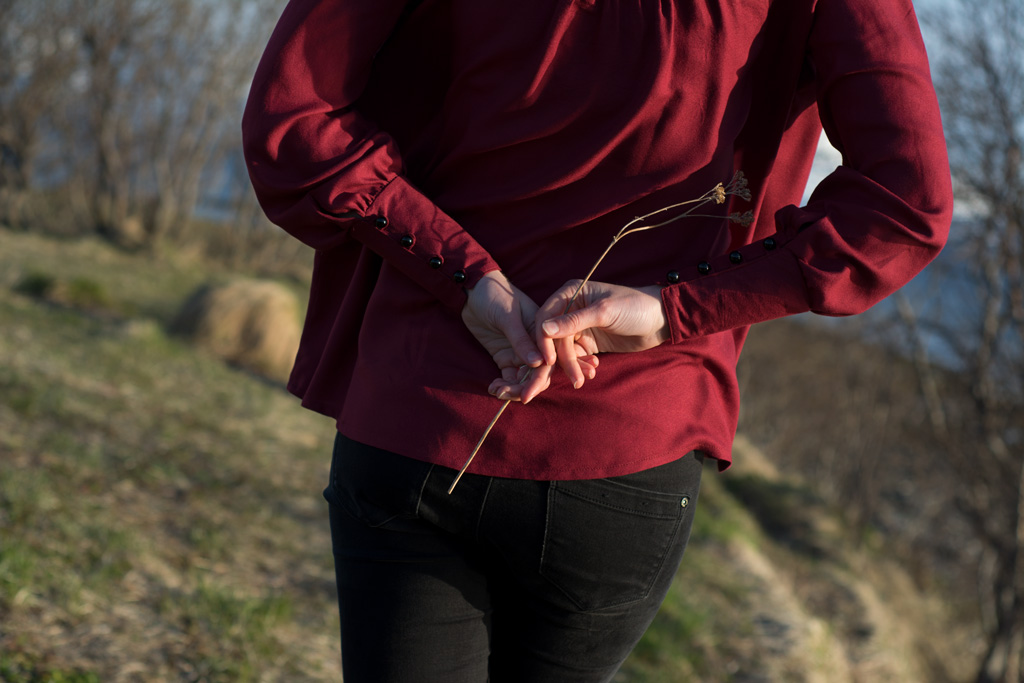
I didn’t make any changes to the pattern, other than adding 2″/5 cm to the bodice. And I really needed that length, it would have been way to short otherwise! I was very unsure weather to shorten or lengthen the sleeves, but cut them at the regular length, which was a good decision, too. I realized that the long cuff makes it irrelevant if the rest of the sleeve is too long – the cuff stays always in place and extra fabric just bunches up over the cuff. I looked a little closer at garments from that period of time and realized that there were lots of little tricks like pleats, gathers, wide sleeves and so on, making it easier for garments to fit properly and to grow with you. I never thought of that before!
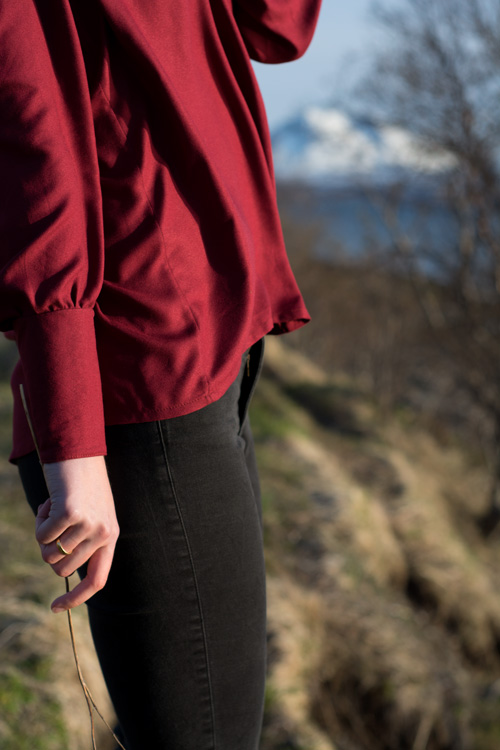
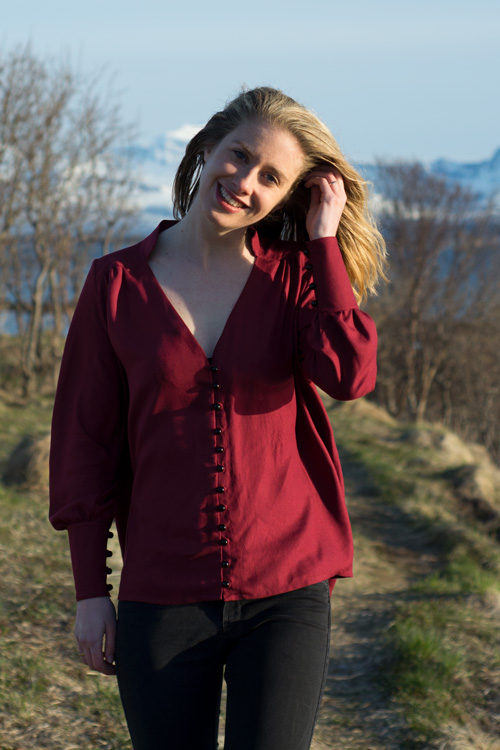
The instructions for the Reina Shirt are fine. I’ve seen more thorough instructions, but following them was no problem, either. There were a few minor issues with the instructions that caught my attention: You are supposed to cut interfacing for both inner and outer cuff, but the instructions don’t tell you to interface and the illustrations don’t show an interfaced side. I interfaced both sides of the cuff, and I think interfacing only one side would have been sufficient. I do see that these kind of cuffs look nice being pretty stable, but still … The collar isn’t supposed to be interfaced at all, but I chose to interface the outer collar, which I think worked nicely. Last but not least the construction of the cuffs might be a little confusing for people who don’t know how a cuff is constructed: Which side of the slit in the sleeve is supposed to be on the outside? Are you supposed to fold the outer part of the slit under before attaching the cuff? The instructions tell you to add the button loops “towards the back” – which I managed to get wrong the first time, causing me to rip everything apart. But these are minor issues that aren’t going to cause any real issues while sewing.

The instructions don’t tell you to use French seams, but I constructed the whole blouse with French seams, and I love how clean the inside looks. I can hardly see which side is the right side!

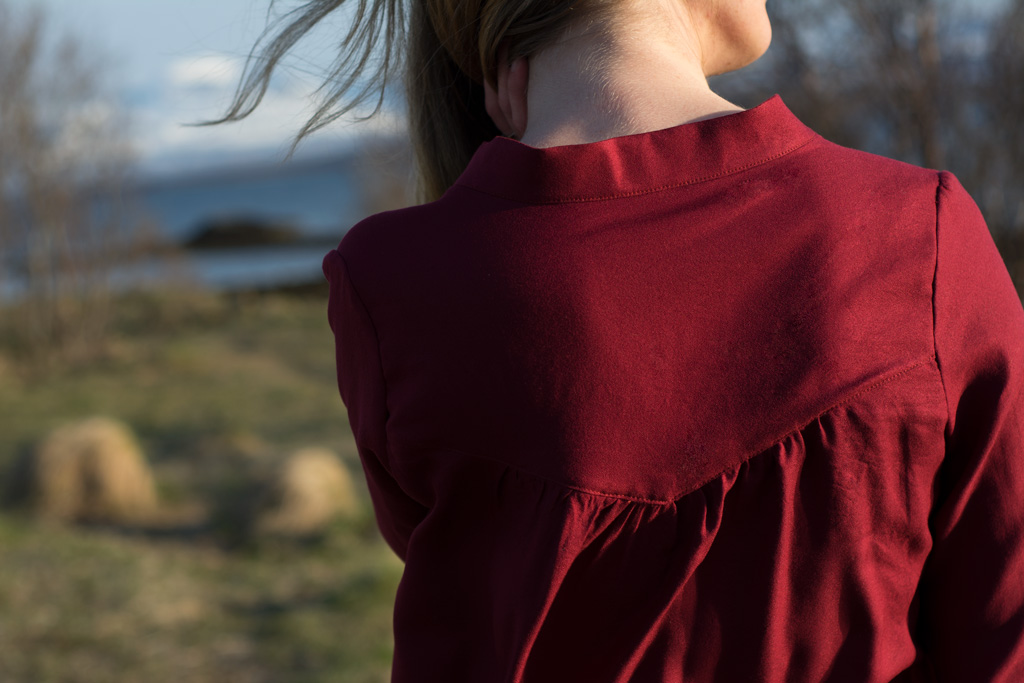
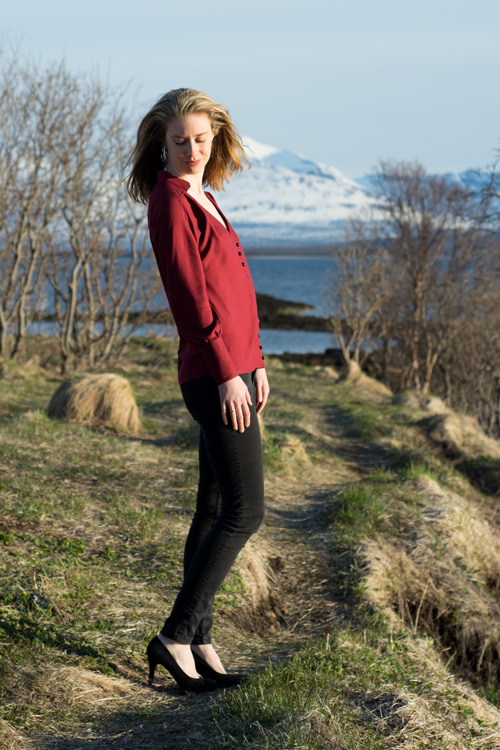
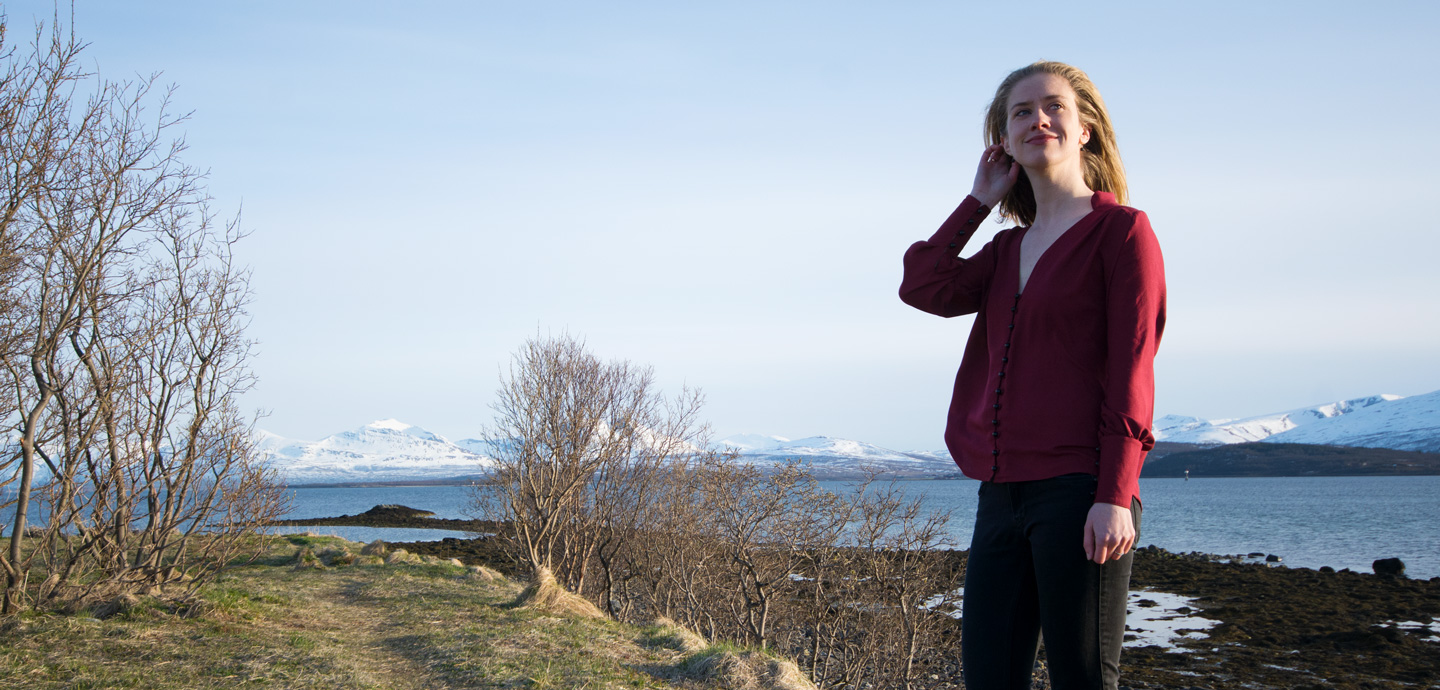
I absolutely love wearing my Reina Shirt! In probably every real life situation, I will wear a cami under this blouse, but I think it looked nice for this photo shooting. I intended to be able to wear the blouse loosely tucked into my jeans, but the interfacing I chose for the placket in the front was a tiny bit too heavy for this drapey fabric – it just won’t lie nicely when tucked in where the buttons are. But I like the look like this, too! The only thing that isn’t perfect is that the collar won’t lie completely flat. It lies flat if I drag the blouse to the front, but it stands away from my neck as soon as I move around, since the blouse kind of “falls” towards my back. You can see it on some of the pics, although it can be even more visible at times. I am not that familiar with how to fix this kind of issue – I guess it might have something to do with my shoulder/upper back area? Or does the shirt fit fine, but I need a slightly different curve for the collar altogether? If you have ideas on how to prevent this in the future or links to good tutorials/blog posts regarding this issue, please share them with me!
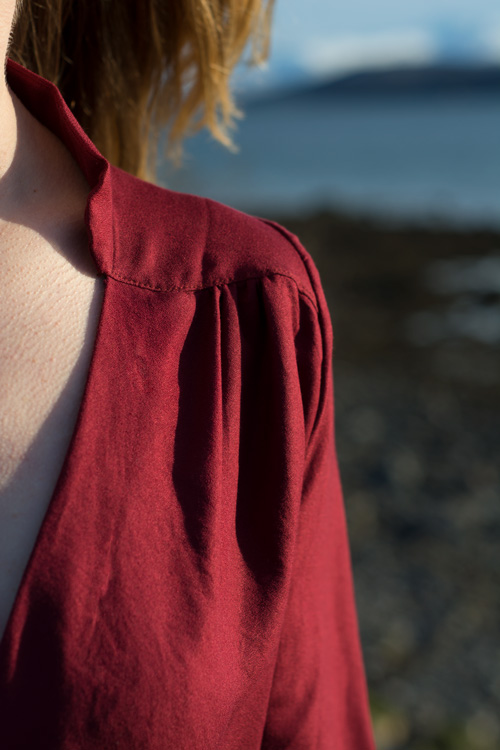
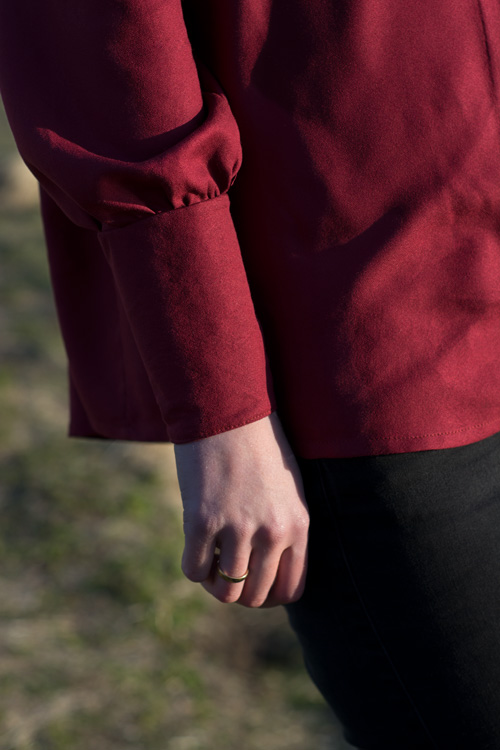
The photo shoot was a little too sunny, a little too windy and a little too cold (and at 9 pm, by the way!), but all in all I’m pleased with the pics, and at least the wind gives you a good idea of how beautifully this crepe moves! You can get the Reina Shirt pattern here, and the crepe (in eight beautiful colours!) here.
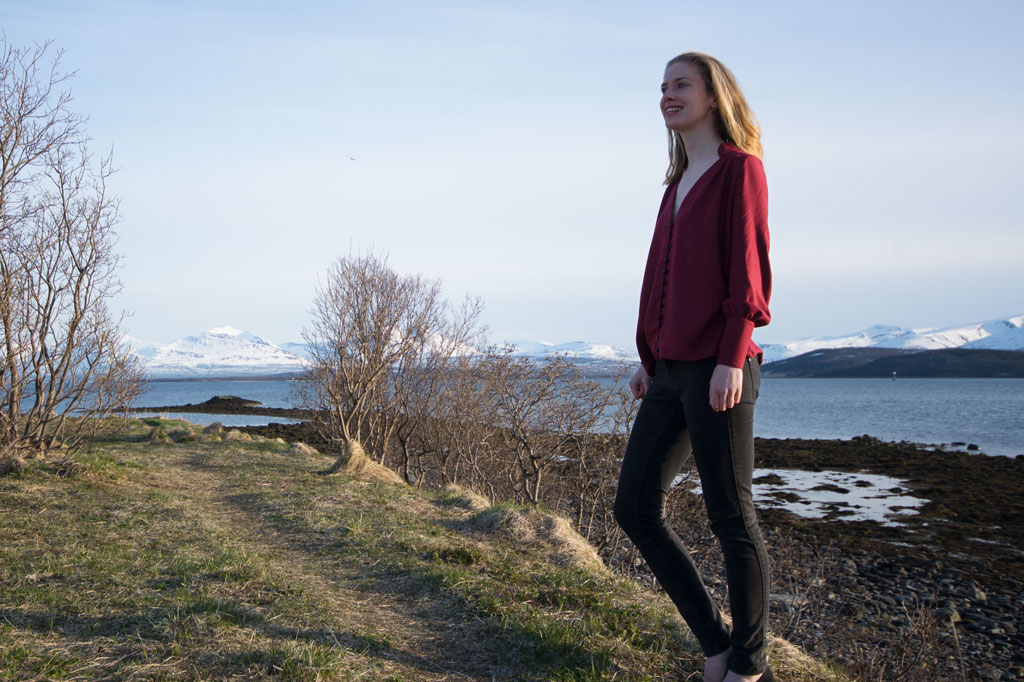

Such a romantic blouse! You chose the perfect color for this pattern…
Here’s my input to the questions raised in your blog.
It looks as if shoulder pads were used in the pictures of the blouse from the pattern? I was unable to blow up the pictures for a closer look.
I have the same problem with blouse/ top patterns and automatically add 3/4″ to the back neckline.
It’s hard to tell from your pictures, but it looks like there are drag lines from side seams diagonally across to bodice? Which means something, can’t remember what just now. I usually choose a pattern two sizes smaller to accommodate my shoulders, then to a full bust adjustment, so I’m not familiar with those drag lines.
This is a gentle suggestion, if you have fitting questions about a garment, a picture of you standing face forward with your arms slightly out at the sides would be really helpful.
That being said, I love your creations and photos.
I just recently bought my first Pauline Alice Pattern, I fell in love with the packaging! (It’s the Nino jacket). Reading your post made me want to start on my Pattern, so thanks for the inspiration! Melanie
Wow, Fleurine! This is such a beautiful, beautiful blouse and I love the color on you. Another gorgeous make!
I have noticed you don’t monetize your website, don’t waste your traffic, you
can earn additional bucks every month because you’ve got hi quality content.
If you want to know how to make extra $$$, search for:
Mrdalekjd methods for $$$