I’m sure you’ve seen all those wonderful Penny Dresses popping up everywhere on blogs, instagram and facebook this week. And the reason for that is the Penny Dress Around the World blog tour!
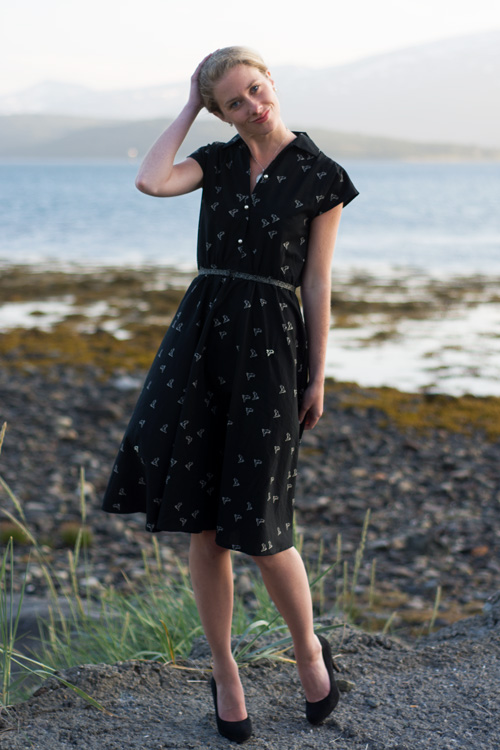
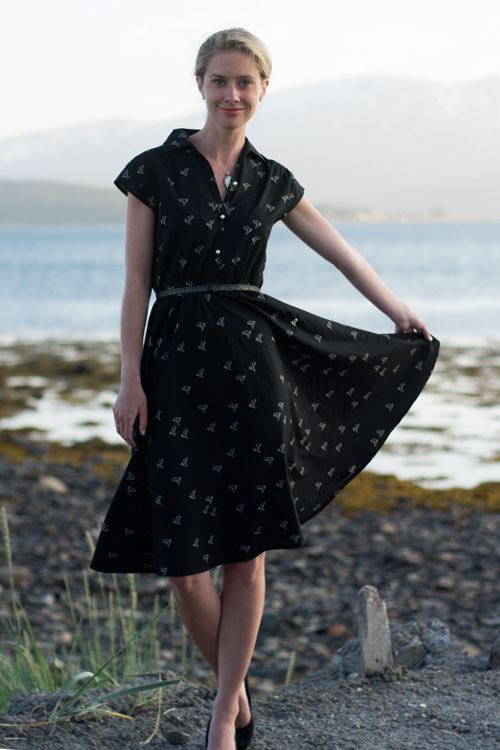

Bettina from the blog Stahlarbeit gathered a bunch of great sewing bloggers (and me), asked Sew Over It London for a PDF-copy of the new Penny Dress pattern – and there we were, in the middle of planning a blog tour.

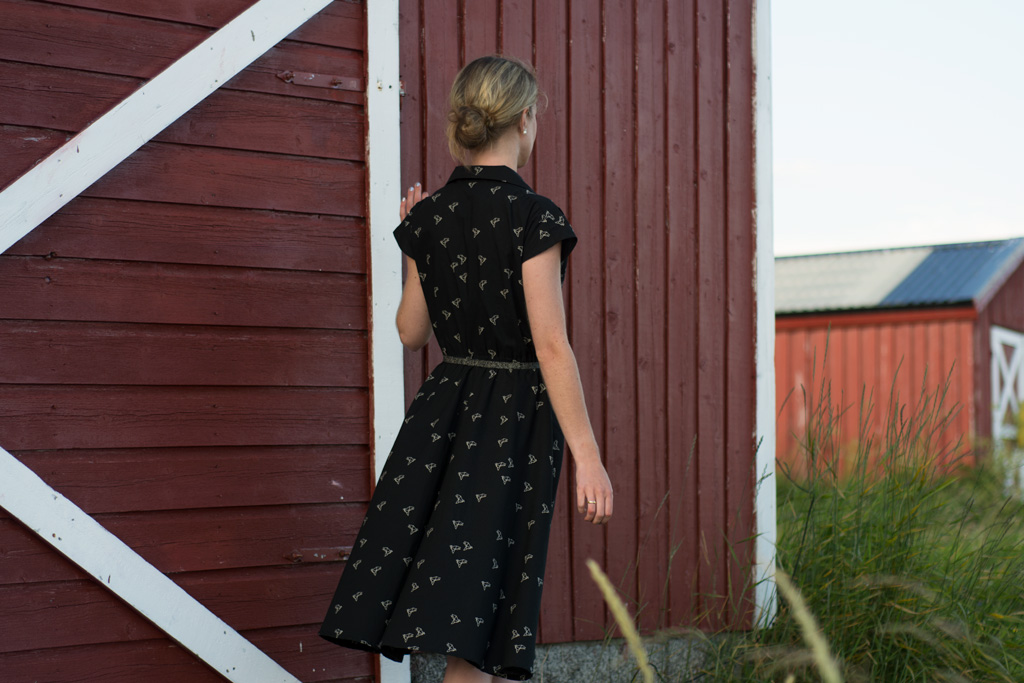
The Penny Dress is a new shirt dress pattern by Sew Over It London. It has a super wide circle skirt, a collar, shoulder panels, slightly gathered front and back and a dropped shoulder. The bodice is pretty wide and there’s an elastic casing inserted at the waist to cinch it in.
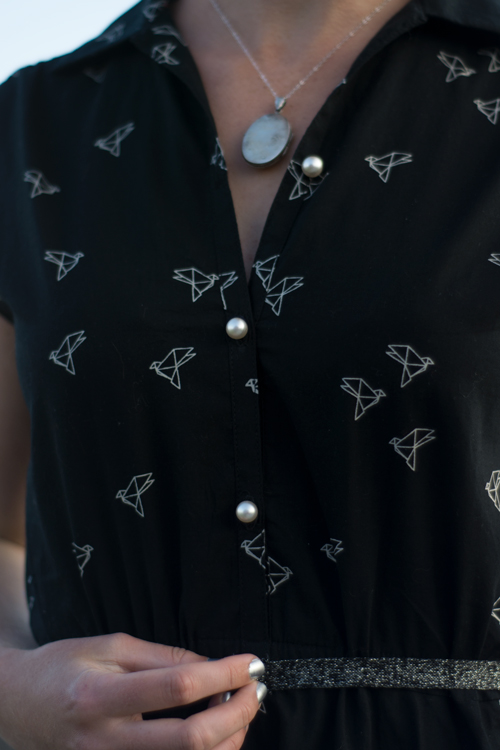

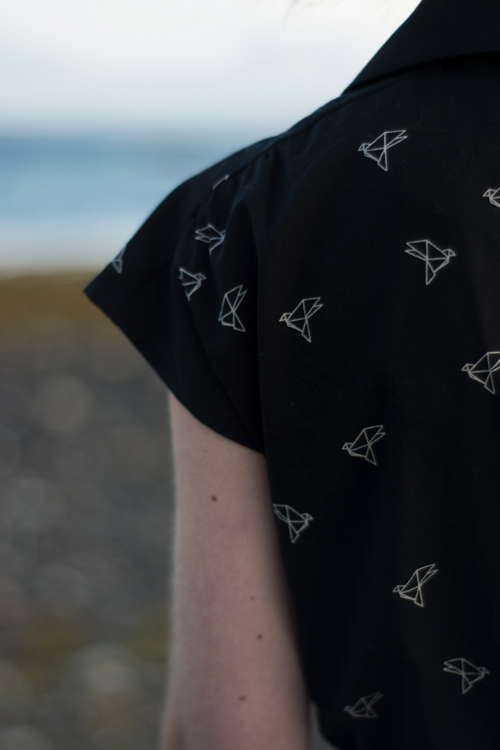
I wasn’t sure what fabric to use for my Penny Dress, but decided to go with something from my stash – the Atelier Brunette Bye Bye Birdie fabric I bought from Faberwood and had been hoarding for over a year. It’s opaque but still light and airy and the print seemed to work wonderfully with the Penny. And it’s SO easy to sew with! It’s not slippery, it doesn’t stretch, it sews up nicely as a quilting cotton. The only thing I noticed while wearing the dress was that every lint in the room seems to end up on the dress. The lint brush has become my best friend before leaving the house in the morning!
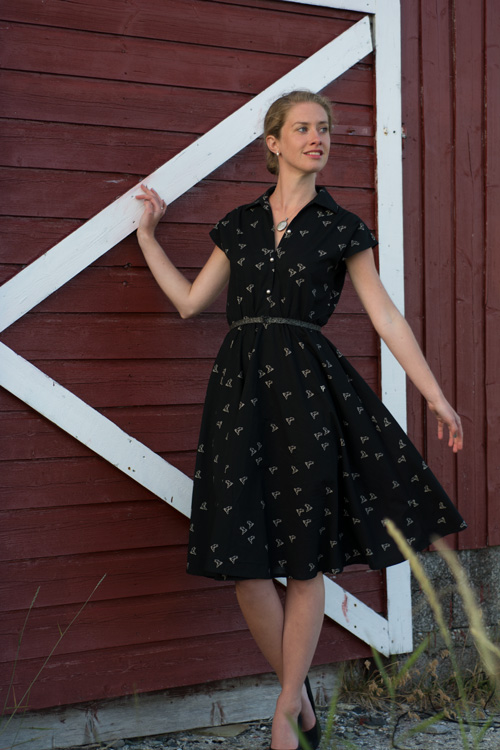
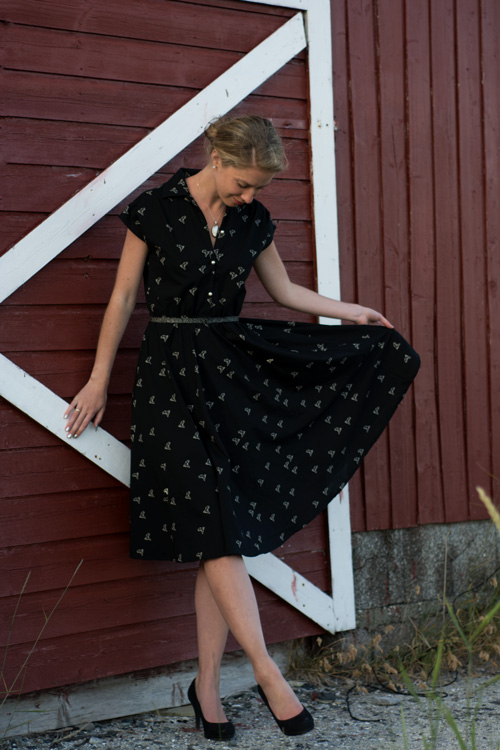
One thing you should think about when picking the fabric for your Penny, is that the skirt is so wide that it won’t fit on a 110 cm, and that a directional print will end up upside down on the back of the skirt, since the skirt is cut with only one seam. But luckily there’s an easy solution: cut your skirt in two pieces, as I did! This means that I have a side seam on each side, but hey – that’s what most dresses have, right?



The Penny is sewn very quickly, especially for a shirt dress. The collar is constructed without an undercollar and the button placket is constructed by folding the front facing in the middle. There are no sleeves that have to be set in, the dropped shoulders are rather just a “hole” in the side of the bodice, hemmed by folding it under twice. The design is fairly simple, but I do like the result! And I think that this might be a great pattern for a not so experienced sewer who wants to sew herself a shirt dress without having to deal with a full collar, a complicated button placket, sleeves and more.

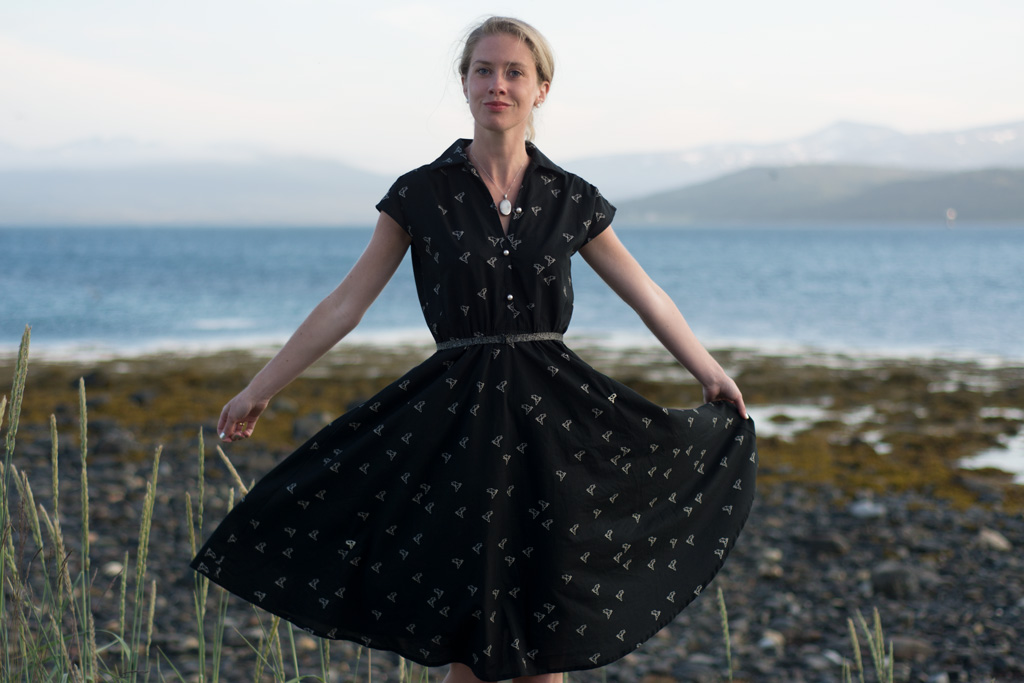
Another advantage is that the dress is pretty easy to fit, since the bodice is wide. The only thing I changed was lengthening the bodice by 2 cm/ 3/4″ – and I should have lengthened it a little more, since the elastic still sits a tiny bit above my waist. Several of the ladies in the group lengthened the bodice, which might be an indication that the bodice is on the shorter side – not ideal for someone like me, but easy to fix. I left the original skirt length, but had to cut off a bit here and there to even the skirt after attaching it and leaving it on a hanger for a night.


Dominique from Kreamino helped to pick these pretty pearly buttons for my dress and I think they work perfectly! Somehow I managed to sew my testing buttonhole a little bigger than the “real” buttonholes on the dress, resulting in several frustrating minutes, trying to button up my dress! It worked, but be assured that I won’t unbutton this shirt dress any time soon. Luckily it fits over my head!

I think the Penny looks best when worn with a belt. While I was still working on the dress, I saw a pretty black and silver glitter band in one of my drawers – I think it was tied around a fabric order, maybe it was from LA Finch Fabrics? Anyway, it was *just* enough for the purpose! I attached two small hooks and had the perfect belt for the dress. I’m not sure how long it will last, I might need to sew another belt that is a little more stable, but it’s going strong so far and was perfect for the pics!

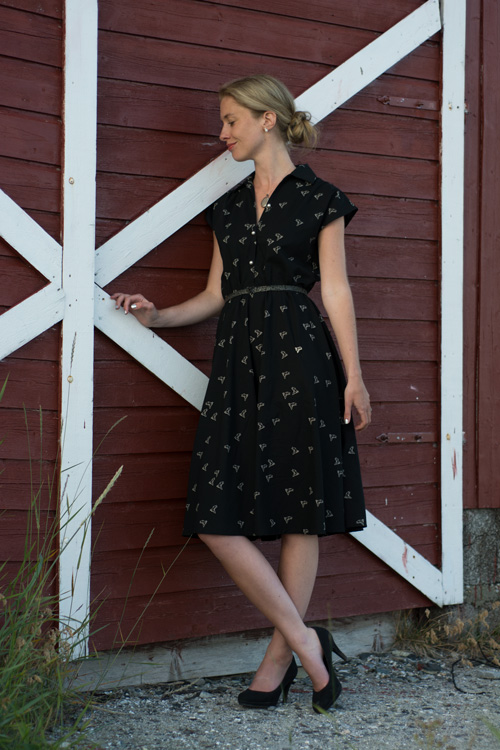
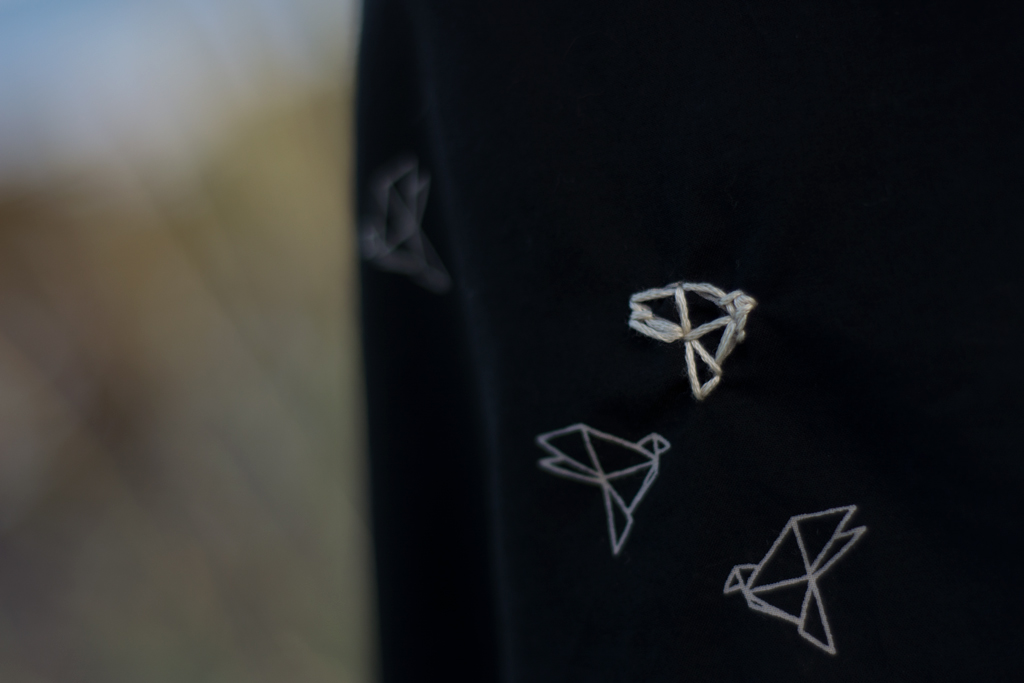
Did you spot the little surprise I added to my Penny skirt? I decided to embroider two of the birds on my skirt with embroidery thread in the same colour as the bird print. It didn’t take long and most people will never detect it, but it gives me so much joy knowing that these two special little birds are there!

And now to the giveaway! Would you like to win a pattern of your choice from Sew Over It? We’re giving away five patterns! Just participate in the rafflecopter below:
And most importantly – don’t forget to check out the other participants of the tour!
Tuesday, August 8th
Eleonore – Hello Holli – Metterlink – Threadbear Garments
Wednesday, August 9th
Simply January – Min Deern – Liivi & Liivi
Thursday, August 10th
Aennisews – Kreamino – Mein gewisses Etwas – WalliBa
Friday, August 11th
Just Add Fabric – Little Cumquat – Sew Mariefleur
Saturday, August 12th
Froelein Tilia – Kathis Naehwelt – Stahlarbeit


You know how I feel about your Penny. I love, love, love it on your delicate and fairylike frame. You have sure chosen the best fabric for this. Looking forward for our next co-hosting projects, my friend! <3
Gorgeous! That’s all I can say.
[…] Friday, August 11th Just Add Fabric – Little Cumquat – Sew Mariefleur […]
You know I think you look gorgeous in everything you make, and this one is another perfect dress on you! I love the touch of embroidery you added. It makes the dress even more special.
[…] back to the Florence Dress itself: You might remember my Penny Dress by Sew Over It. I wear that dress a lot and I really like it! I mentioned in that blog post that the construction […]
[…] I did my usual and had a thorough Google and Pinterest search to look at everyone elses’ Penny dresses. Here are few of my favourite Pennys from around the blogosphere: (x) (x) (x) (x) (x) (x). […]
[…] for stash busting. And that’s exactly what I did for my black version. Do you remember my Penny Dress from about two years ago? I had a some of this pretty lawn from Atelier Brunette left and it was […]