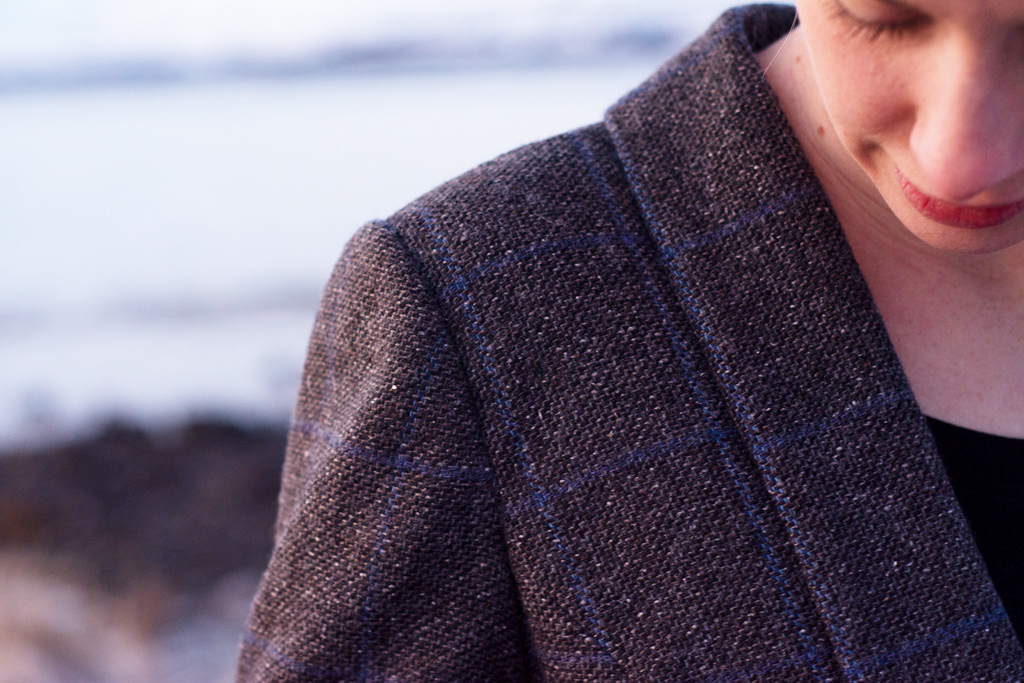
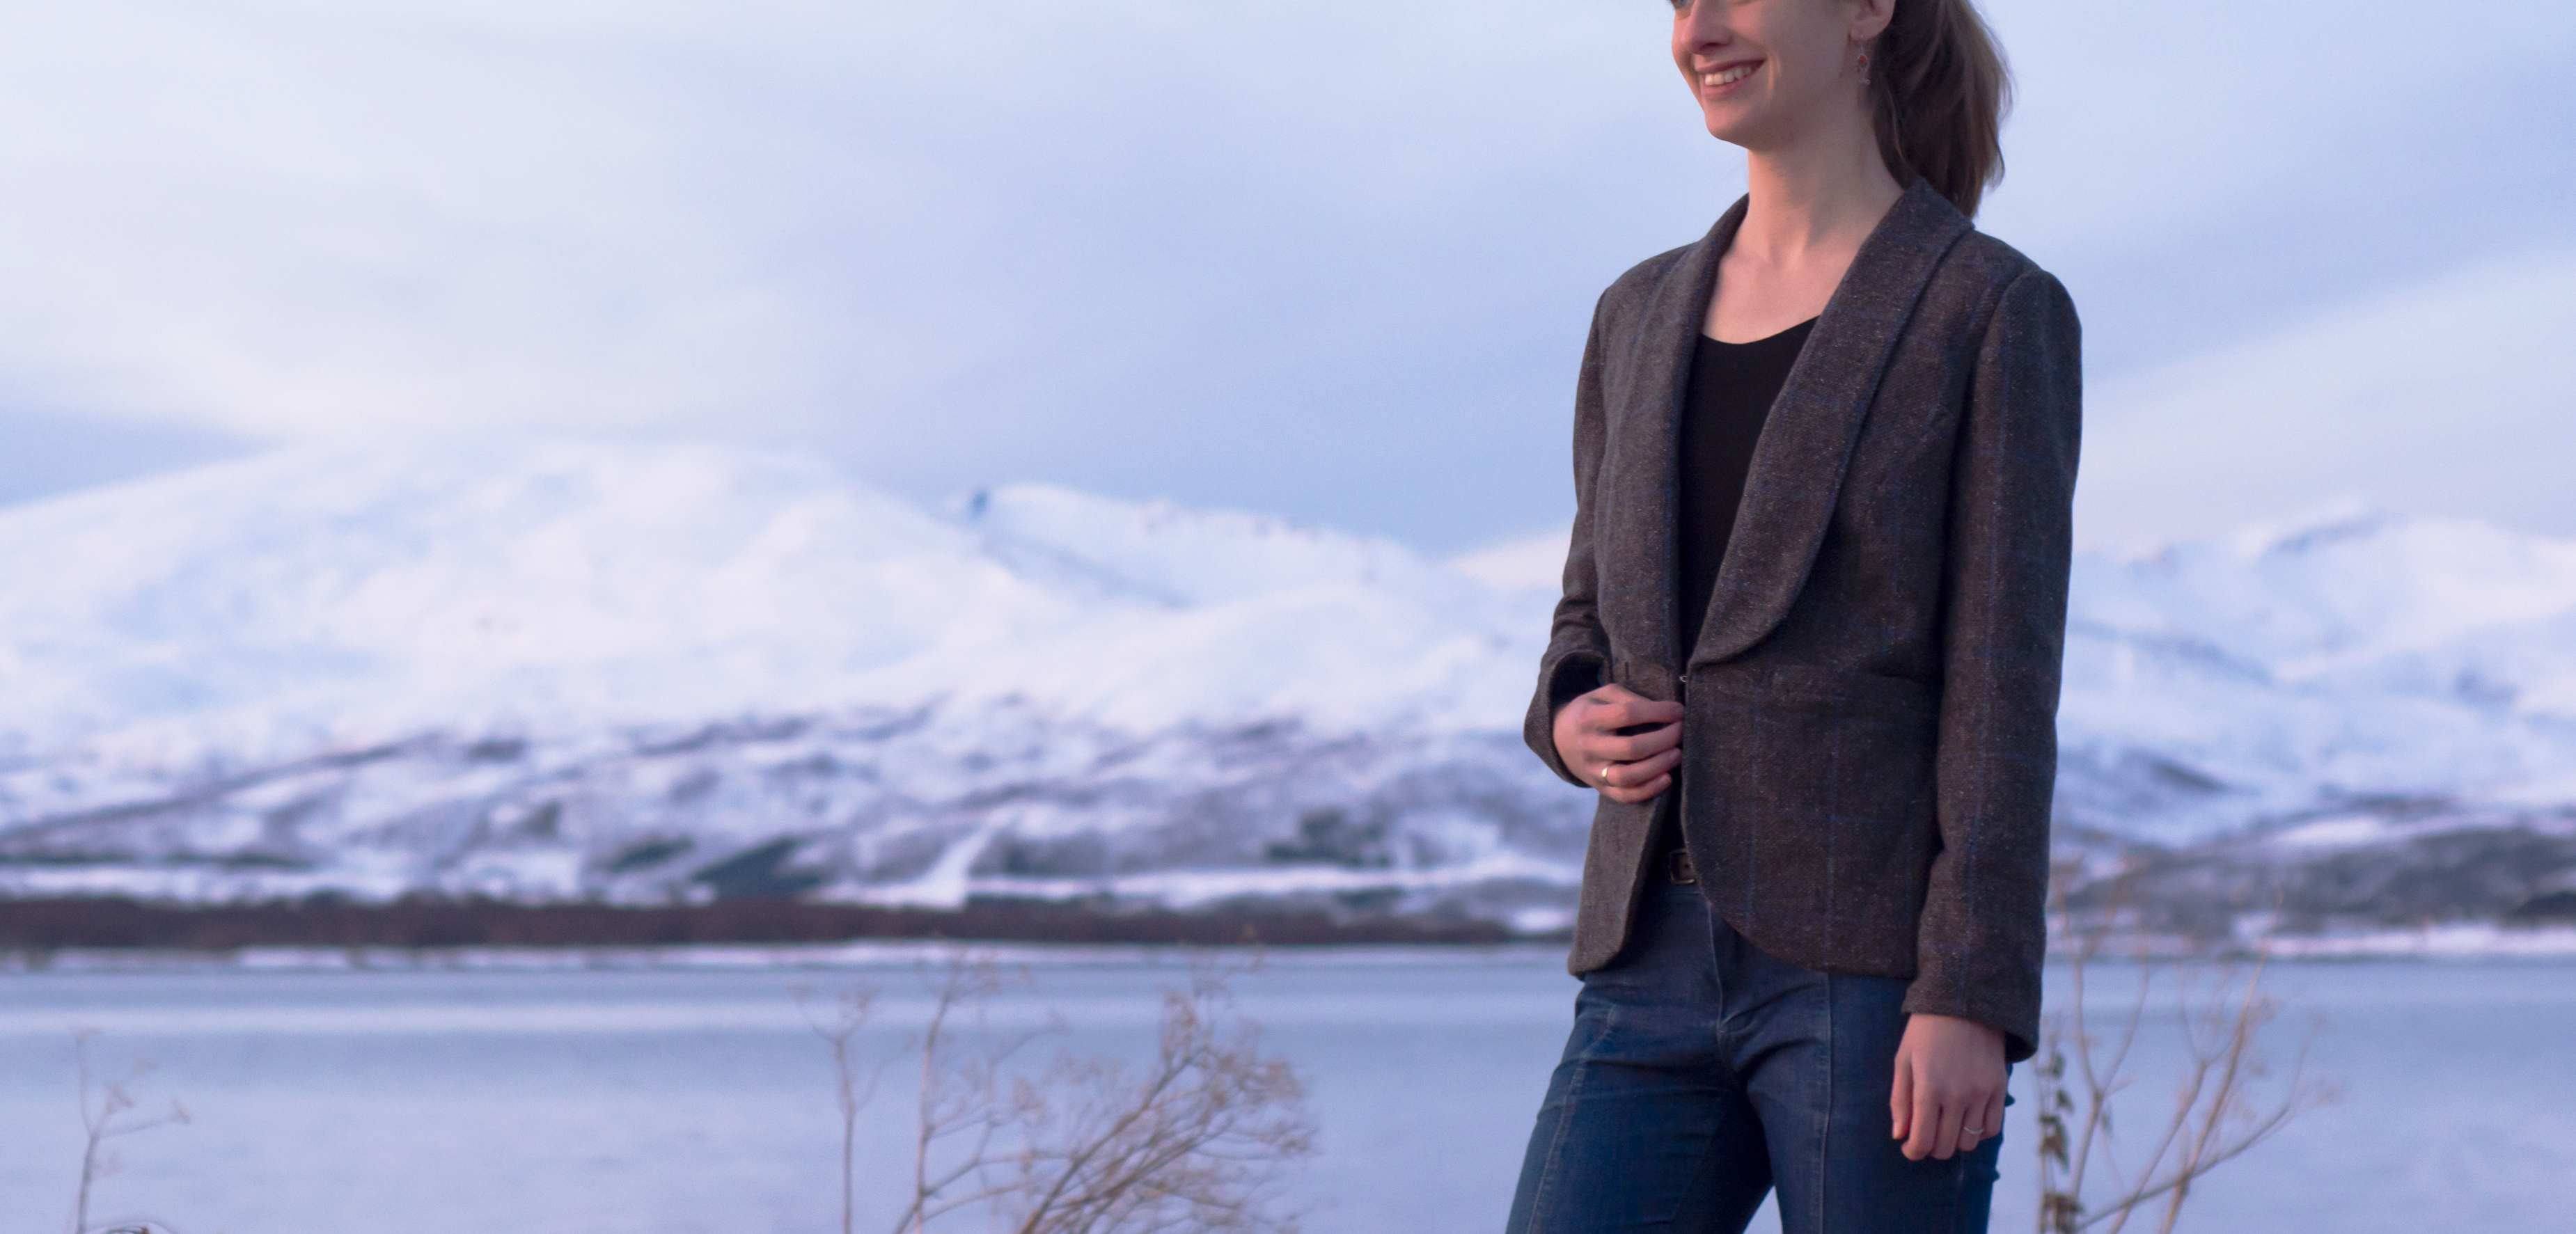
Today I’m showing you a make that I am really, really excited about – the Bellatrix Blazer by Papercut Patterns, made of lovely tweed from Hello Heidi Fabrics. Their new tweed collection is called “Check” and available in grey, brown and blue. The grey version is called “Business”, and I absolutely adore it! It’s made of 72% wool, 20% poly, 5% silk and 3% viskose, making it extremely soft and even a bit drapey.
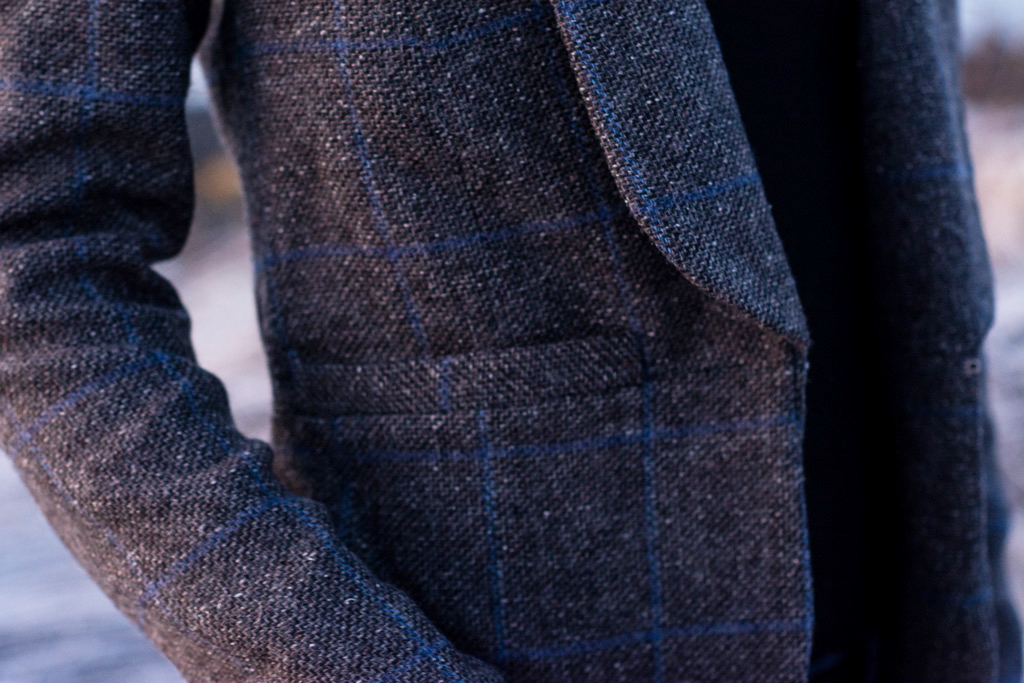
The Bellatrix Blazer has been on my “I might sew this one day” list for a long time. When the “Heidis”, Bettina and Barbara, asked me to sew a sample using their tweed, I decided pretty quickly to go for the Bellatrix Blazer. This super soft tweed looks rather professional (some people might think boring, I don’t!), so I wanted a blazer pattern that was a little more relaxed and casual to make up for it.
I went ahead and bought the Bellatrix Blazer pattern a couple of weeks ago, before Mie from Sewing Like Mad wrote her very informative blog post about a couple of mistakes made with the Sapporo Coat pattern by Papercut Patterns. Based on the comments to Mie’s blog post it was obvious that a lot of people had some issues with Papercut Patterns, and the Bellatrix Blazer was mentioned a couple of times, too. Papercut Patterns actually decided to take the Sapporo Coat out of stock for now, and the Bellatrix Blazer isn’t for sale, either – but that might be a coincidence. (You can still find some printed versions of the pattern i a few online shops.) Reading the review made me afraid of sewing the Bellatrix, but I am still glad to have bought it before it was discontinued, since I love the shape of the blazer.
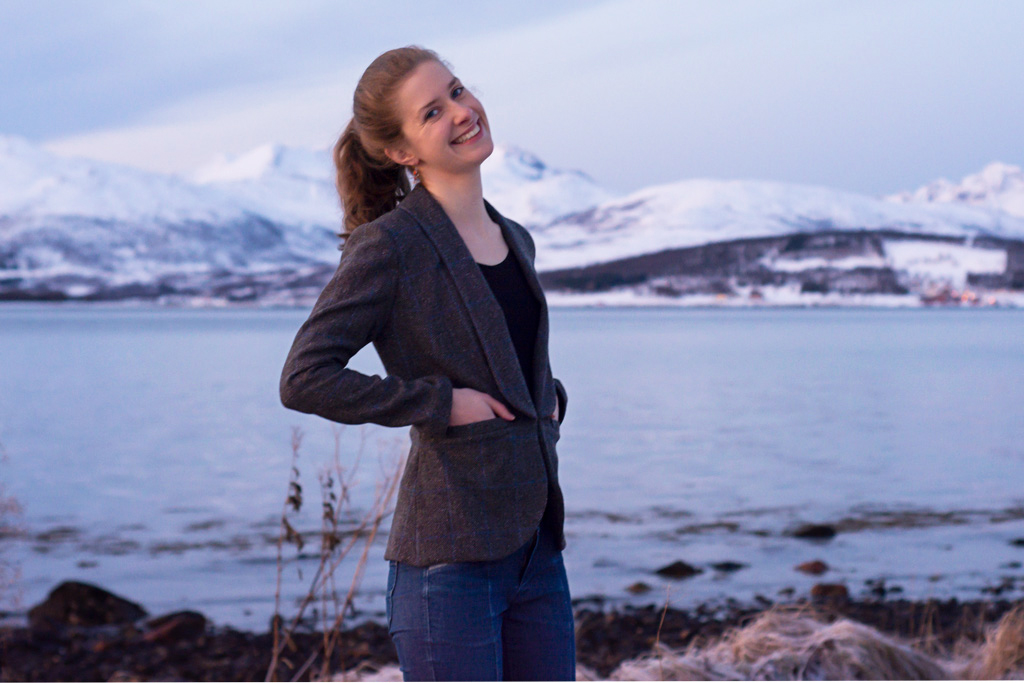
I think I often trust the indie designers out there, at least those with a good reputation, and think that they know what they’re doing. Mie’s blog post gave me the confidence to re-think some of the instruction steps for the Bellatrix and to analyze the fit a little more in-depth.
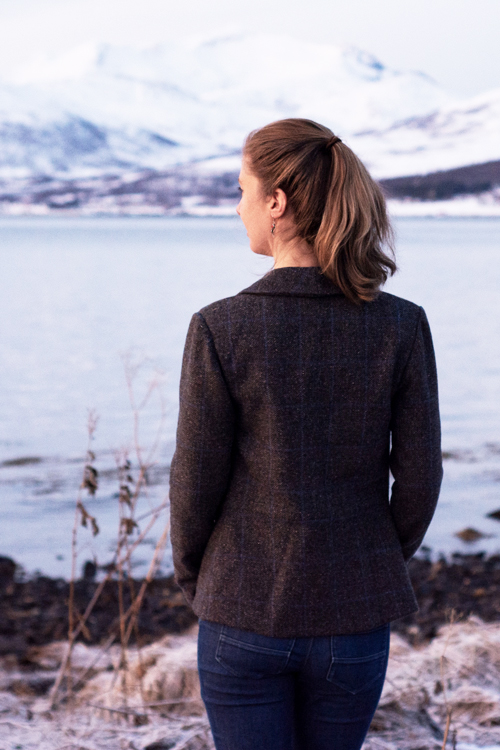
After making a muslin I decided to:
- move the shoulder seams 1 cm (3/8″) towards the front.
- add more ease to sleeve, using a slash and spread method
- add a little more ease to the back
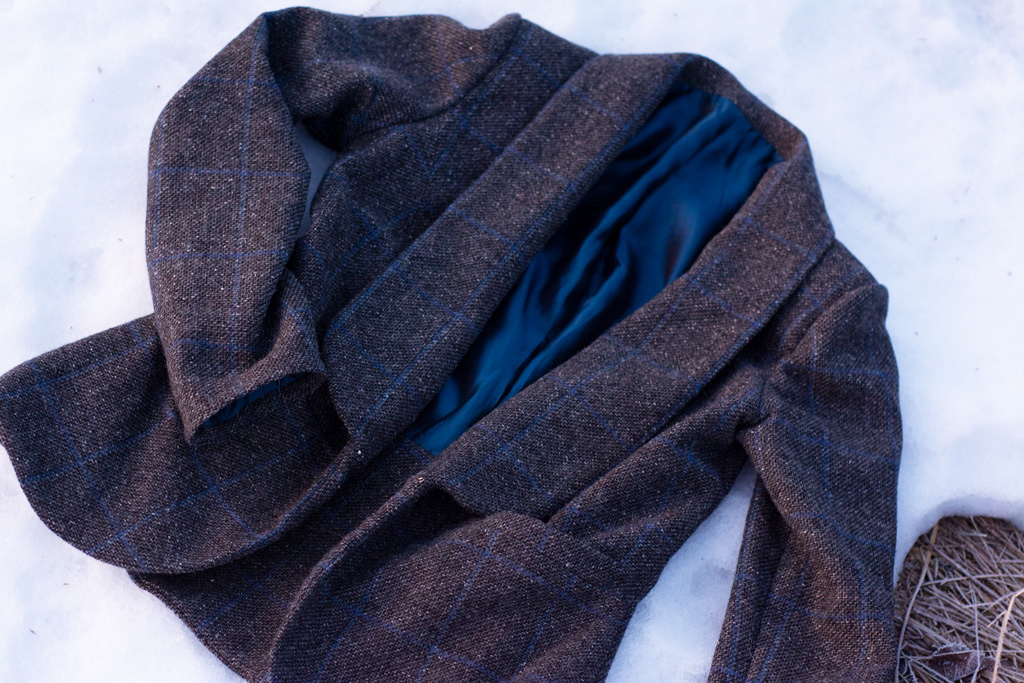
- cut the lining on fold and add a centre pleat for more movement
Some of these changes aren’t uncommon for me and don’t have anything to do with the pattern. I often have to add a little more width to the back, and I often move my shoulder seam slightly. However, I have never moved my shoulder seam that much, so I think it might have been a little out of place for most people.
I’ve read in several blog posts that people felt a little restricted while wearing the Bellatrix Blazer. That’s why I added width to the back. But I also felt restricted while moving my arms. I realized that I didn’t need to gather the sleeves at all to fit them into the armhole and thought that might be the reason for feeling so restricted. I’ve sewn the Jasika Blazer by Closet Case Patterns (still not blogged!) and it had a lot more ease at the sleeve cap. I didn’t add as much ease to the Bellatrix, but I think it still helped – I feel much less restricted.
The biggest change might have been cutting the lining on fold and adding a pleat. The back of the Bellatrix Blazer has a middle seam and is shaped to give you a nice fit. However – you are supposed to use the same pattern piece for the lining! That gives you zero ease to move at the back and a not-so-nice seam at the middle of the lining. I straightened the seam of the back piece and added 2 cm on each side to sew a pleat. I think it turned out nicely!
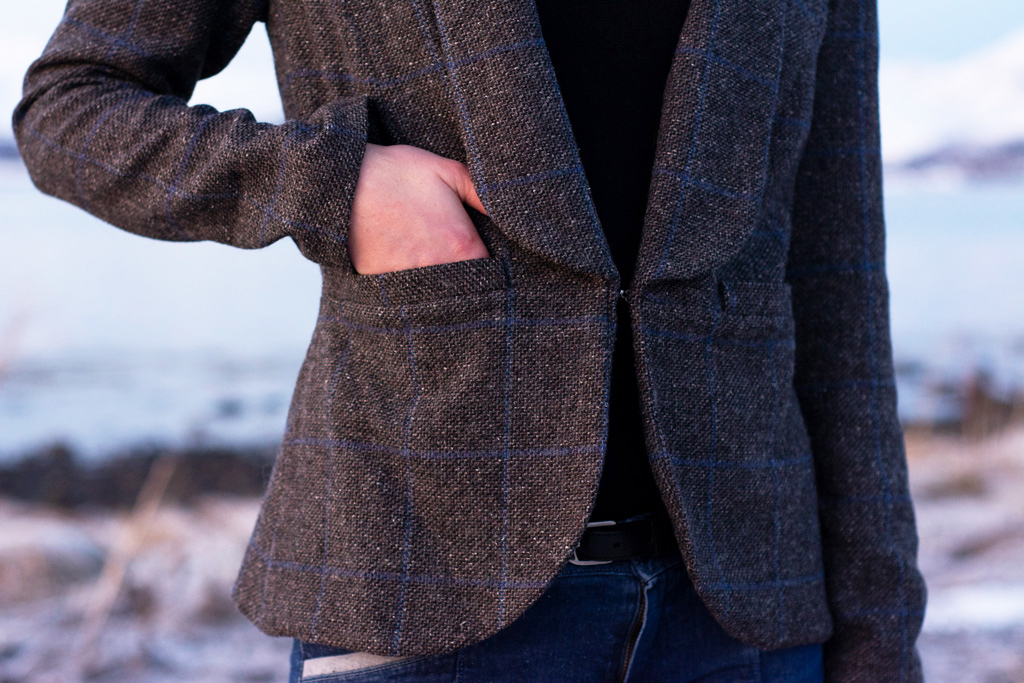
One thing I didn’t think of was adding a back facing. The lining goes all the way to the top of the neck, where the collar is attached directly to it. It’s okay this way, but I actually think adding a facing might have improved the look of the blazer. Another thing I might consider changing next time is making the facing of the sleeves wider. After sewing it to the sleeve and the lining there’s not too much left of it. I think it might look better with a wider facing. Last but not least, the welt pockets aren’t “real” welt pockets. They’re only sewn to the blazer at the bottom, folded upwards and then they’re sewn shut at the sides by hand. I know that it can be a little harder to get nice corners when sewing a real welt pocket, but I would much prefer a real welt.

I didn’t follow the instructions of the Bellatrix Blazer at each point. Mainly I decided to bag the lining. I don’t really know why, but the instructions tell you to only sew the main body of the shell and the lining together, before pressing the edge of the lining up and sewing it by hand to the facing. It doesn’t really make sense to me to sew it by hand, when I am already halfway through bagging the lining. The instructions tell you to leave a gap in the side seam of the lining and to sew it shut by hand later on. I decided to leave the gap in the seam of one of the sleeve linings instead. The seam of the sleeve will be much less visible than the side seam of the lining. It might not make a difference if you’re a superb hand sewist. But my hand sewing is rather … visible, in a bad way, so I much prefer leaving the gap in the sleeve lining.

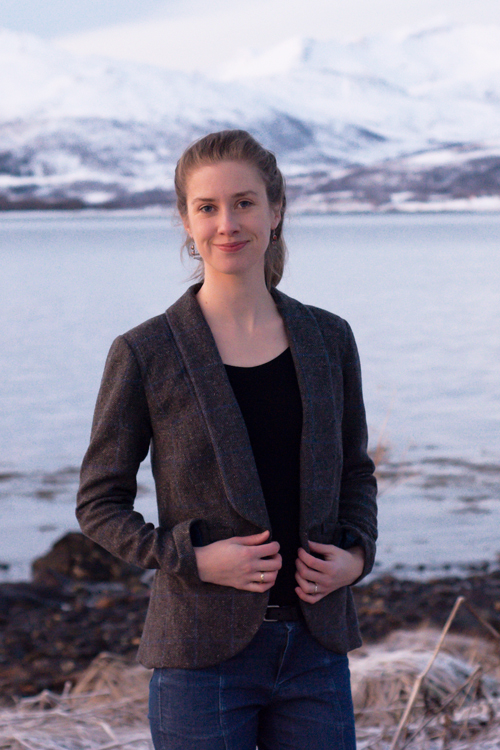
I also decided to understitch the facing of the sleeves and to sew the facing with a few stitches by hand to the sleeves itself to make it stay in place. Last but not least I decided to sew a hook and eye closure to the blazer instead of adding a button. I think it looks nice when it’s possible to close the blazer without having the lapels overlap.
That was a lot about the Bellatrix Blazer! I don’t want to sound too negative, because I adore the design of the blazer, and I love the result so much! I know that this will be one of my favourite blazers to wear for work. But that’s of course not only because of the pattern, but because of the beautiful fabric, too.
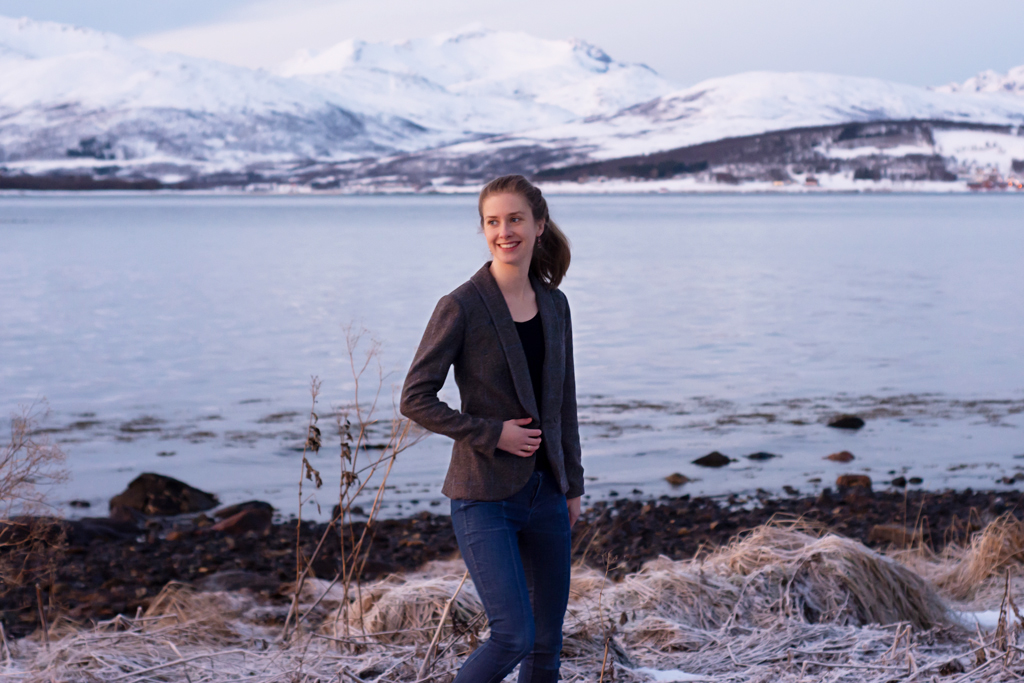
The “Check” tweeds are so easy to work with and extremely comfortable to wear, too. And Hello Heidi Fabrics makes it really easy for their clients by selling everything you need to make a blazer at one place: I used this interfacing and this lining, that matches the fabric perfectly. They sell shoulder pads and buttons, too, but I used some thin shoulder pads from my stash instead, and opted not to use a button.
Working with plaid fabric is always a challenge, and you will never be able to match everything up. I spent a long, long time cutting this fabric, but I am happy with the result! I made sure to match the middle back seam and to match the horizontal stripes at the front and back pieces. I also made sure to cut all four front pieces (outer pieces and facings) exactly symmetrically and to match at least some of the vertical stripes by connecting the upper front pieces with the front peplum pieces. You can see that not everything matches up, but my best tip is to decide before cutting which vertical and horizontal stripes will be most visible and to concentrate on matching those up while cutting.
That’s all for today – I hope you enjoyed reading my lengthy post and that it might help some of you in the future. Thanks so much to Hello Heidi Fabrics for gifting the fabric to me – make sure to check out the other samples on their Instagram account – everything I’ve seen so far looks so good!
– As mentioned above, the fabric was gifted to me by Hello Heidi Fabrics. However, all opinions are, as always, my own. –

That fabric is gorgeous and the lining you chose is the perfect complimentary color! I haven’t sewn up any Papercut Patterns, so I can’t comment on the drafting or instructions, but I think you made the right choice by adding a pleat in the center back of the lining. The first coat I ever made had a lining that was sewn up with a center back seam and no ease pleat, and it tore along that seam fairly soon after I’d finished it. Considering how much moving and stretching we do just to put a coat ON, it’s no wonder that most well-drafted patterns do include that ease pleat; a bit more work during construction saves a lot of future mending. =)
This is beautiful! I’m glad you were able to make this pattern work for you. It’s got a great shape. I also really enjoy thoughtful criticism, I think it’s more educational than just praise!
Your blazer is beautiful. I hope you make this again. If you do, please share photos and directions for the what you did differently.