Today I’m sharing a super quick and easy project with you – a simple gathered plisse skirt.
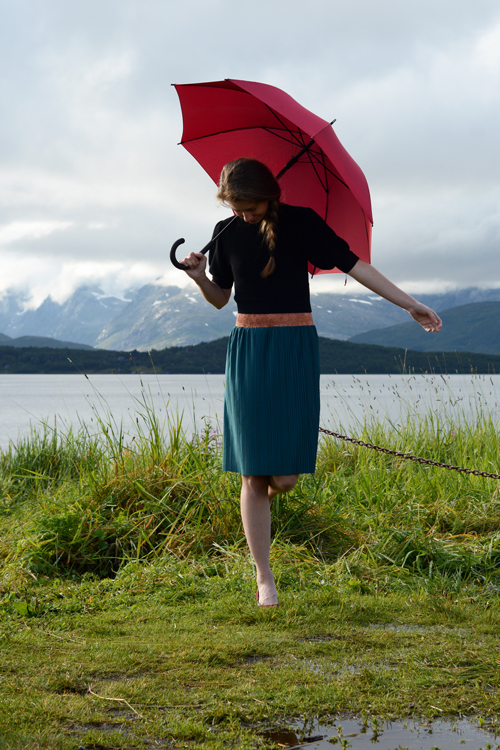
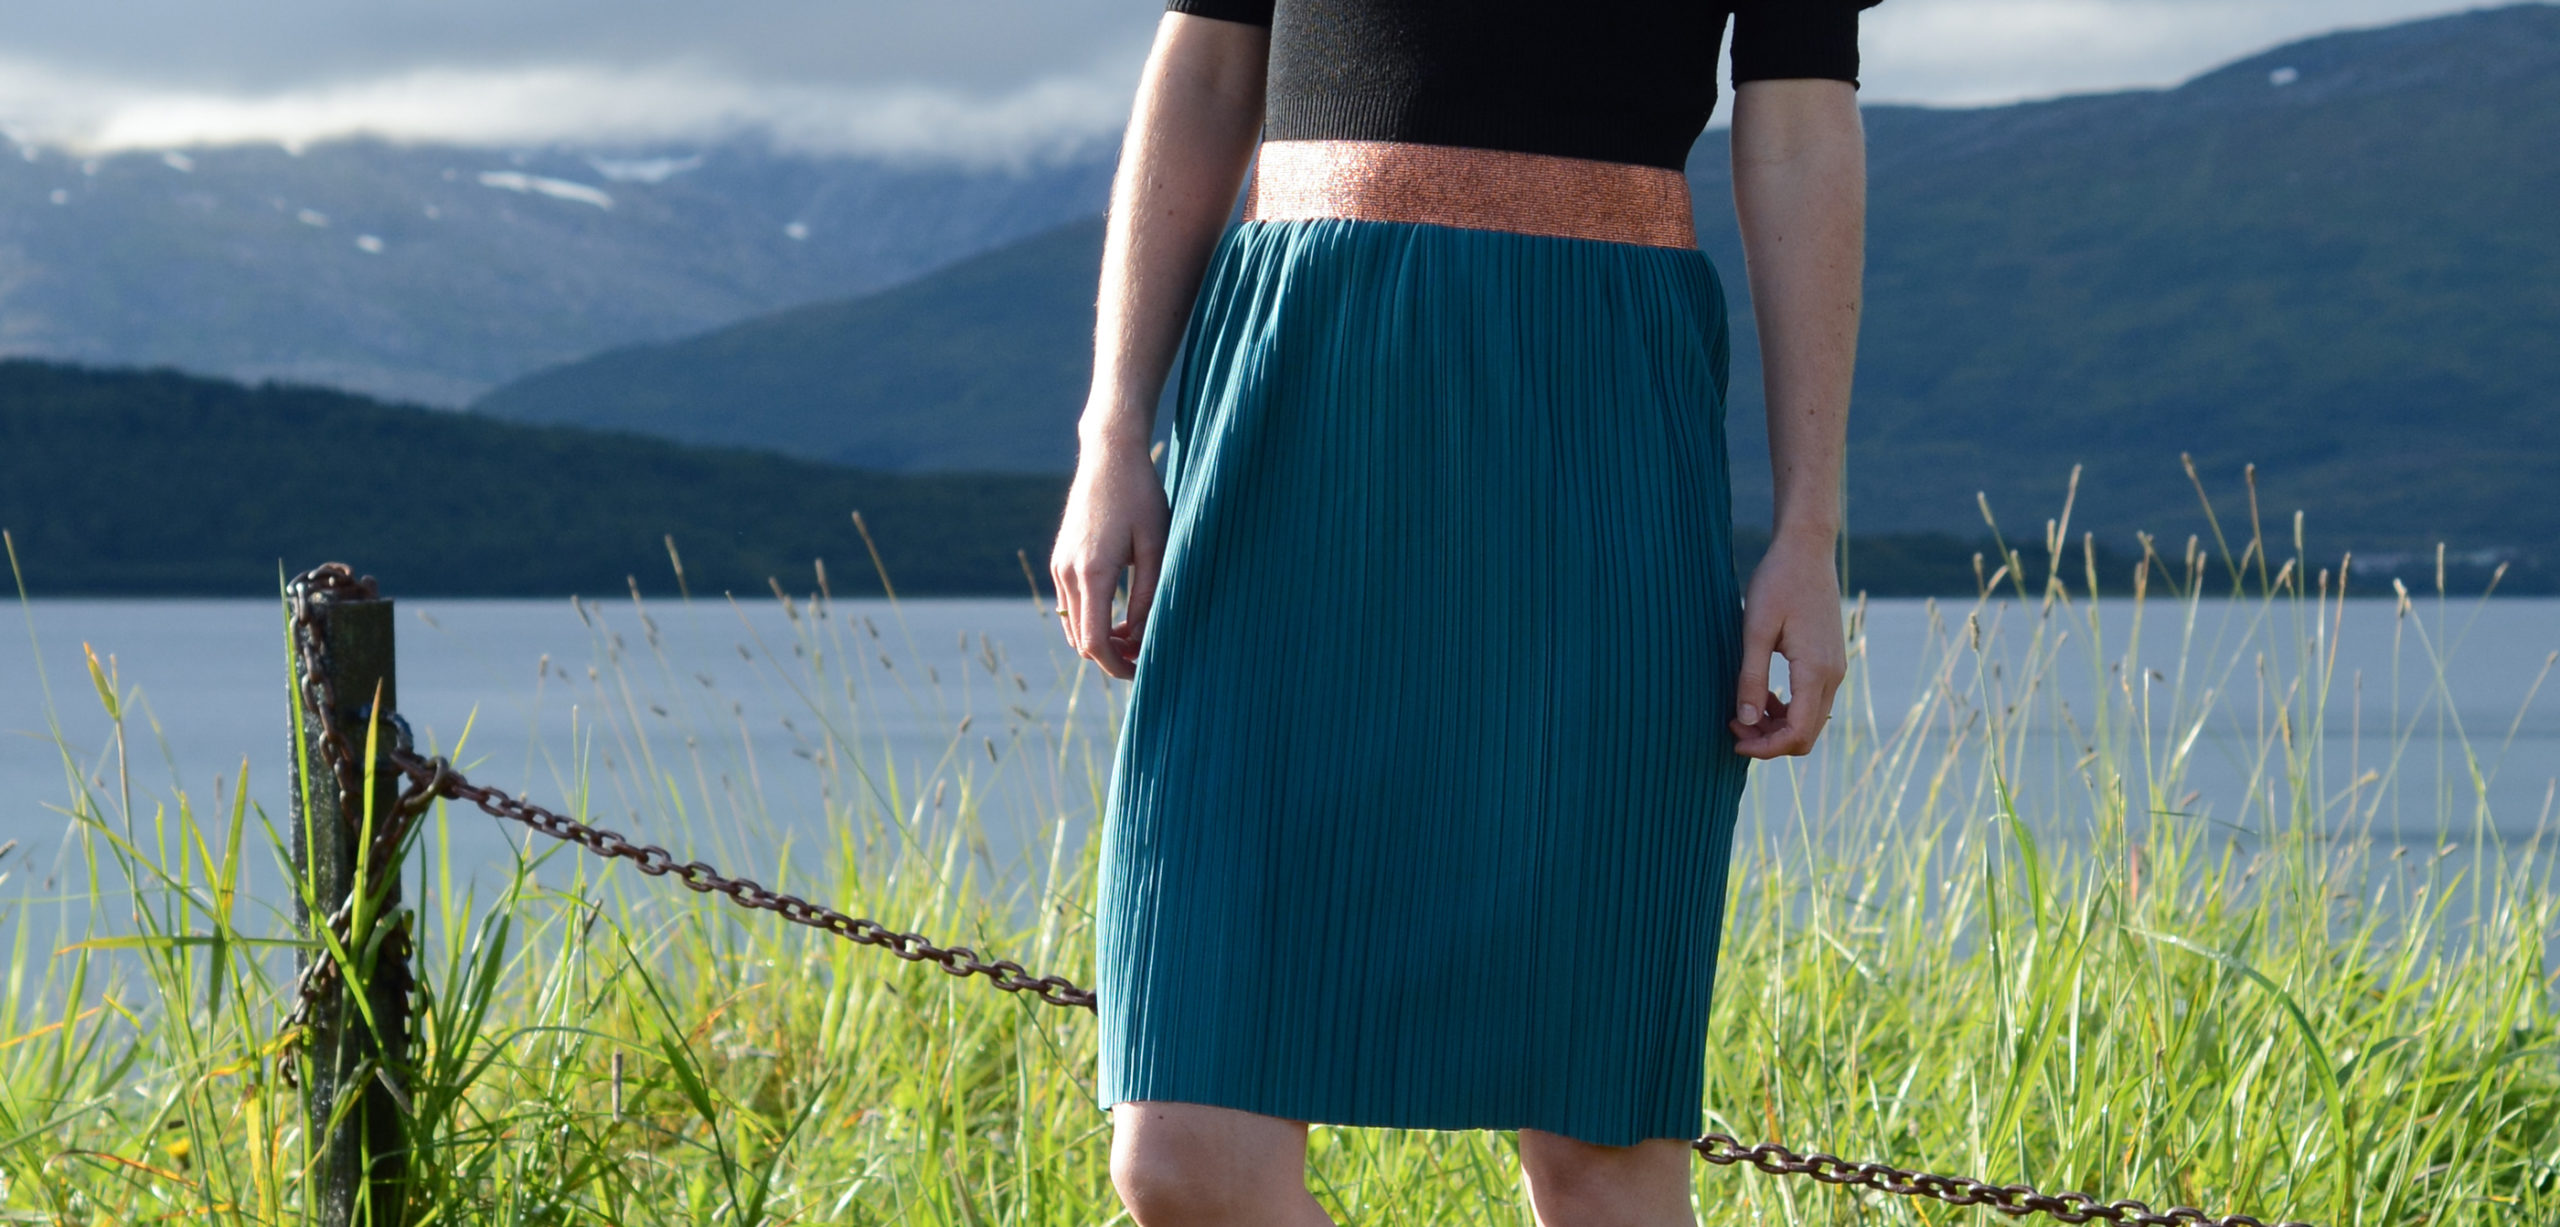
Plisse has been a big thing lately, and I was very curious to try it. Hello Heidi has eight colours of a very pretty and “natural” plisse fabric. The pleats are tiny and not as regular as most pleats. Hello Heidi sells matching elastics, too – so I got everything I needed at one place.
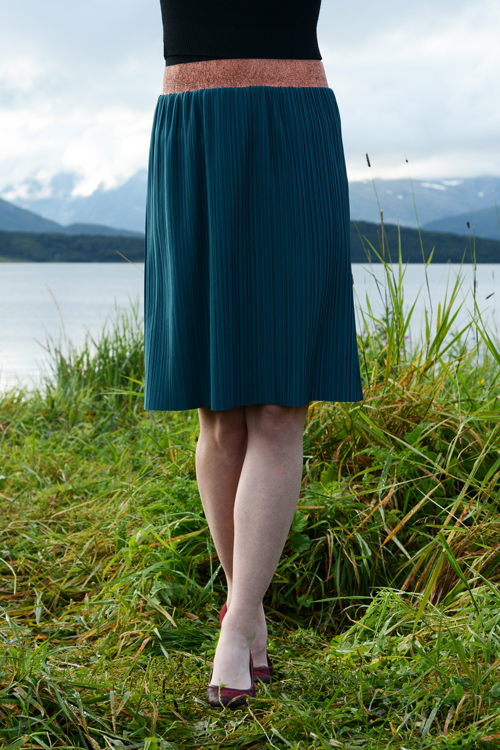
The colour I chose is called “Kingfisher”, but there are several pretty colourways (the red is beautiful!) I would love to try.
I really liked the idea of a fast and simple project. I mean – one seam, gathering the fabric slightly, sewing it to an elastic waistband and that’s it, right? No hemming, no complicated pattern pieces, nothing!
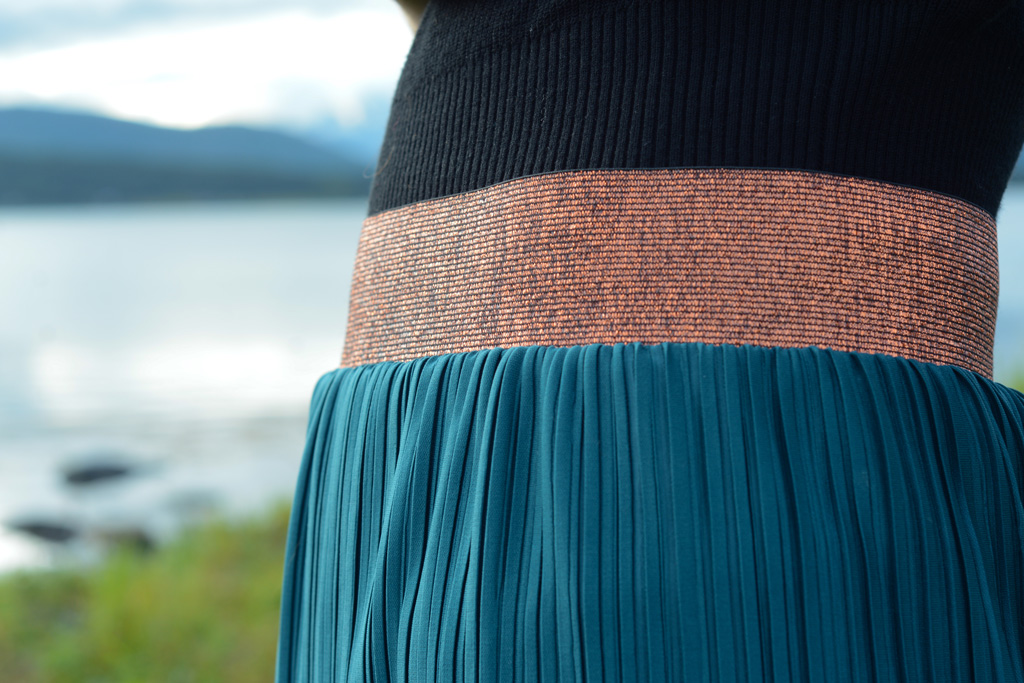
But oh, this plisse taught me better! It is an easy project – if you do it right, it is a simple project. If you don’t care for details, this fabric will make your life difficult.
First, I decided on a length for the skirt. The folds go across the width of the fabric, so if you buy enough fabric to go around your waist, you will be able to make any skirt length you desire. I think the plisse fabric looks best if it doesn’t stretch while you’re wearing it, so make sure the width of the skirt is wider than your hips. At first I made the mistake of cutting a panel that was just slightly wider than my hips, and I didn’t like how it looked on my body: The folds stretched out, and the seam along the back was rather visible, instead of hidden in between the folds.
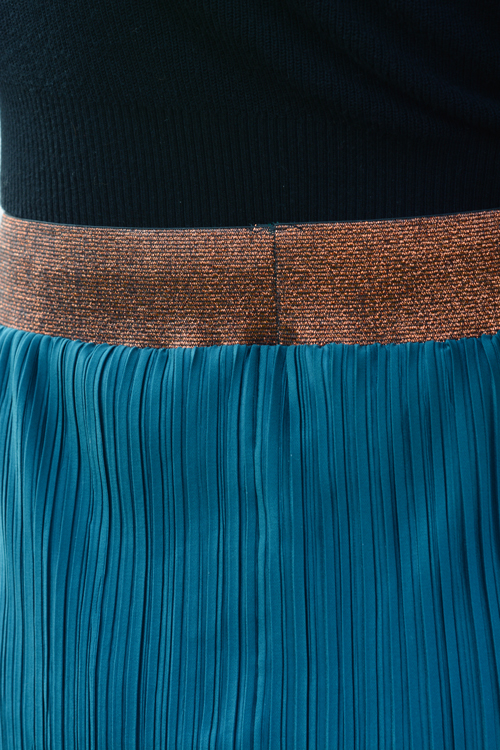
Luckily, I had enough fabric left to cut another version, this time a wider one, around 1 metre. The first time around I wasn’t careful enough while sewing the back seam and it looked all wobbly and just not good enough for my taste.
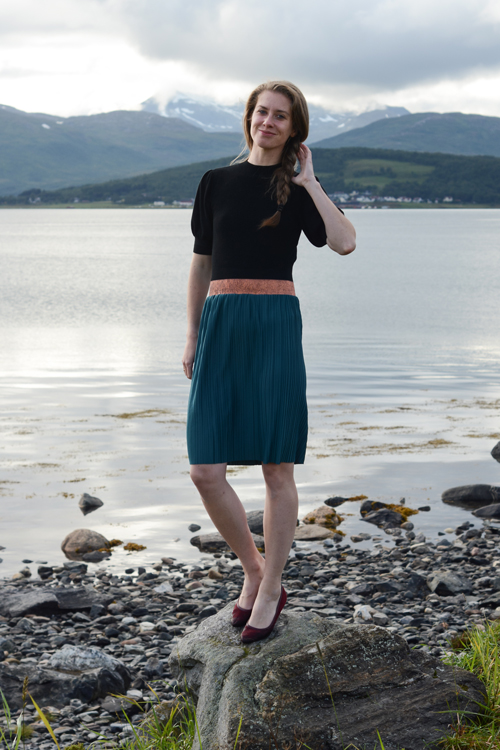
The second time around I made sure to match the “inner” fold of two pleats exactly. This way you make sure that the seam is hidden inside a pleat. This is easier to do with plisse with wide pleats, but it’s definitely possible with these tiny irregular pleats, too. To make sure the pleats stay in place, I hand-basted them together before sewing the seam shut with my sewing machine. I am quite happy with the result!

When working with bigger pleats, it might be necessary to pin every pleat or every second pleat in place along the top of the skirt, before adding the elastic waistband. However, these pleats are tiny, and I needed to gather the skirt a bit to make it fit the width of the elastic. I gathered the top of the skirt with two rows of basting stitches and basted the skirt to the elastic in order to make sure all pleats looked good. They did, and all that was left to do was to serge the skirt to the elastic.
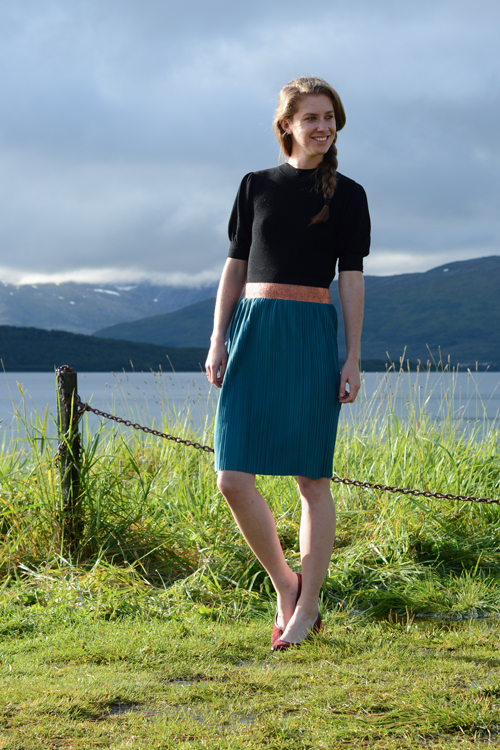
That’s it! After starting to hate plisse fabric for a little while, I really like the result and how stunning a simple skirt made of plisse fabric can look. I wish I had made the elastic waistband a little tighter, but I might adjust that one day.
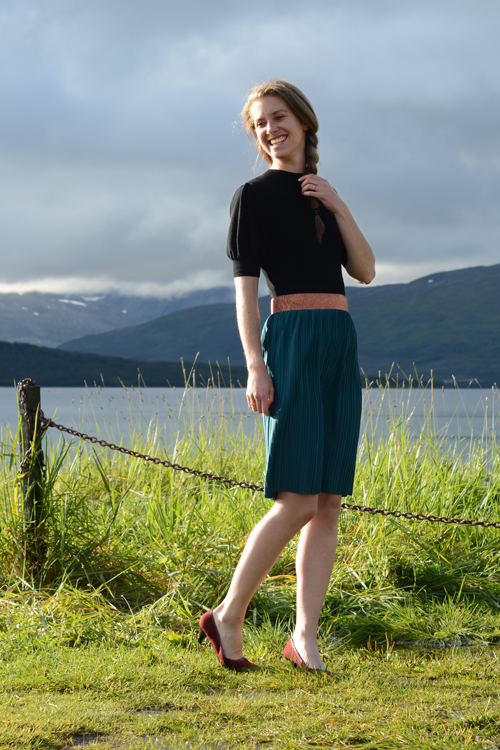
The fabric and the elastic band were gifted to me by Hello Heidi Fabrics. However, all opinions are, as always, my own.

0 comments on “Simple plisse skirt”