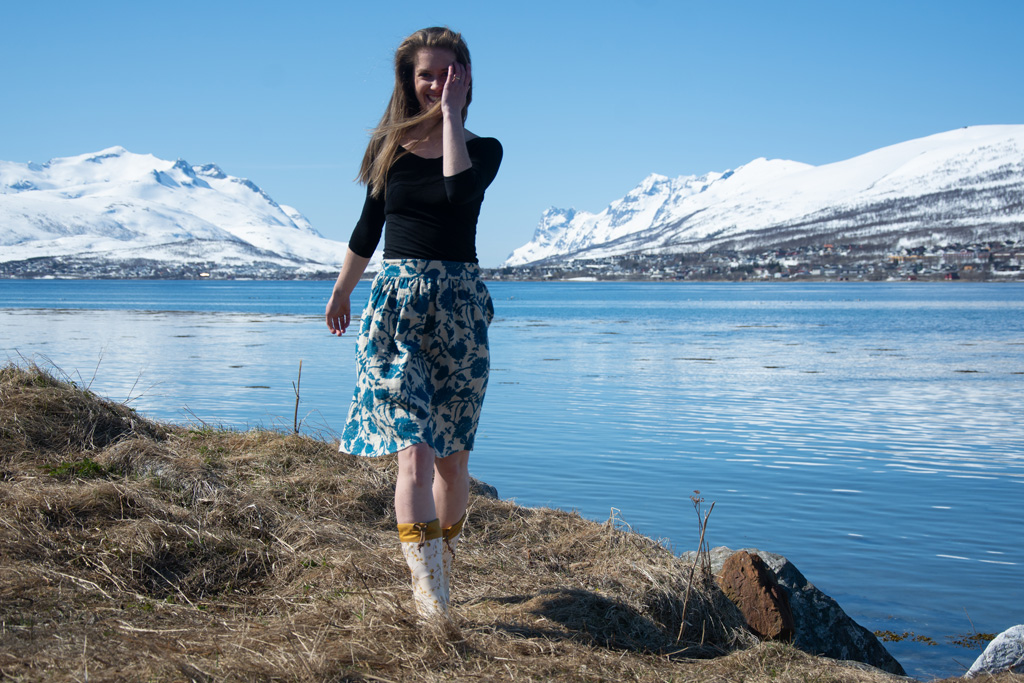
A little while ago I saw the Fleur Pinafore by Untitled Thoughts pop up in my Instagram feed, and after checking the hashtag and looking at all the versions out there, I really really wanted to make one myself, too. I *try* not to buy too much fabric right now and checked my stash – and there it was, a perfect linen/cotton double gauze from Miss Matatabi Fabrics, bought at the latest end-of-the-year sale. The colours and the pattern were in every way just perfect for what I had envisioned for my Fleur Pinafore.
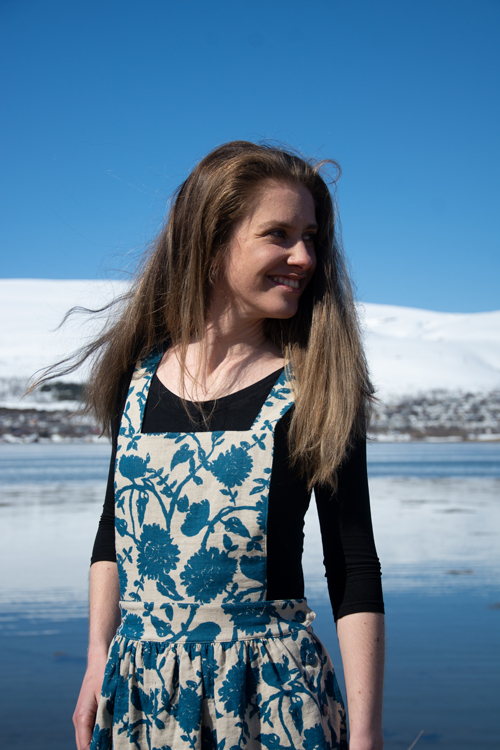
I am usually not very drawn to pinafore dresses or jumpsuits, but something about this design just drew me to it. (Evil tongues claim I’m drawn to everything with “Fleur” in its name!) I was actually just about to start on a more complicated project, but quickly decided to let the Fleur Pinafore jump the cue. Brittani, the designer behind Untitled Thoughts, calls the Fleur Pinafore a “palate cleanser” in between projects, so it sounded just like what I needed.
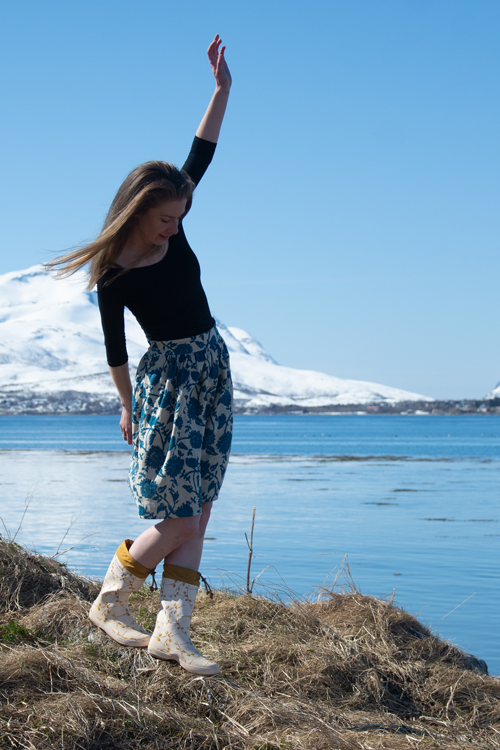
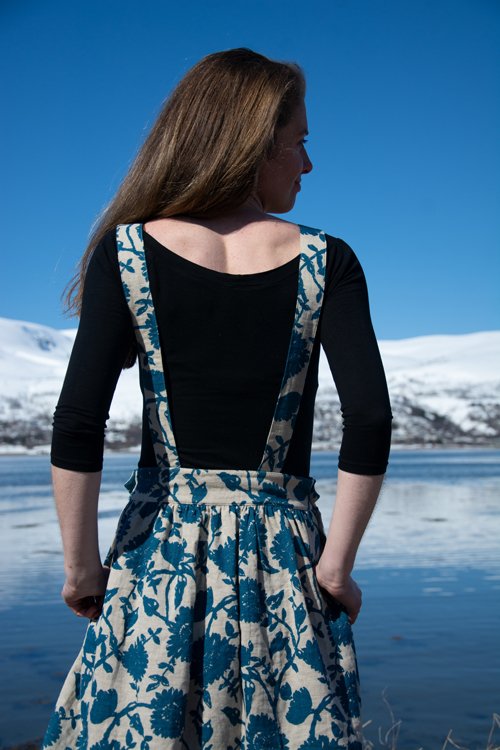
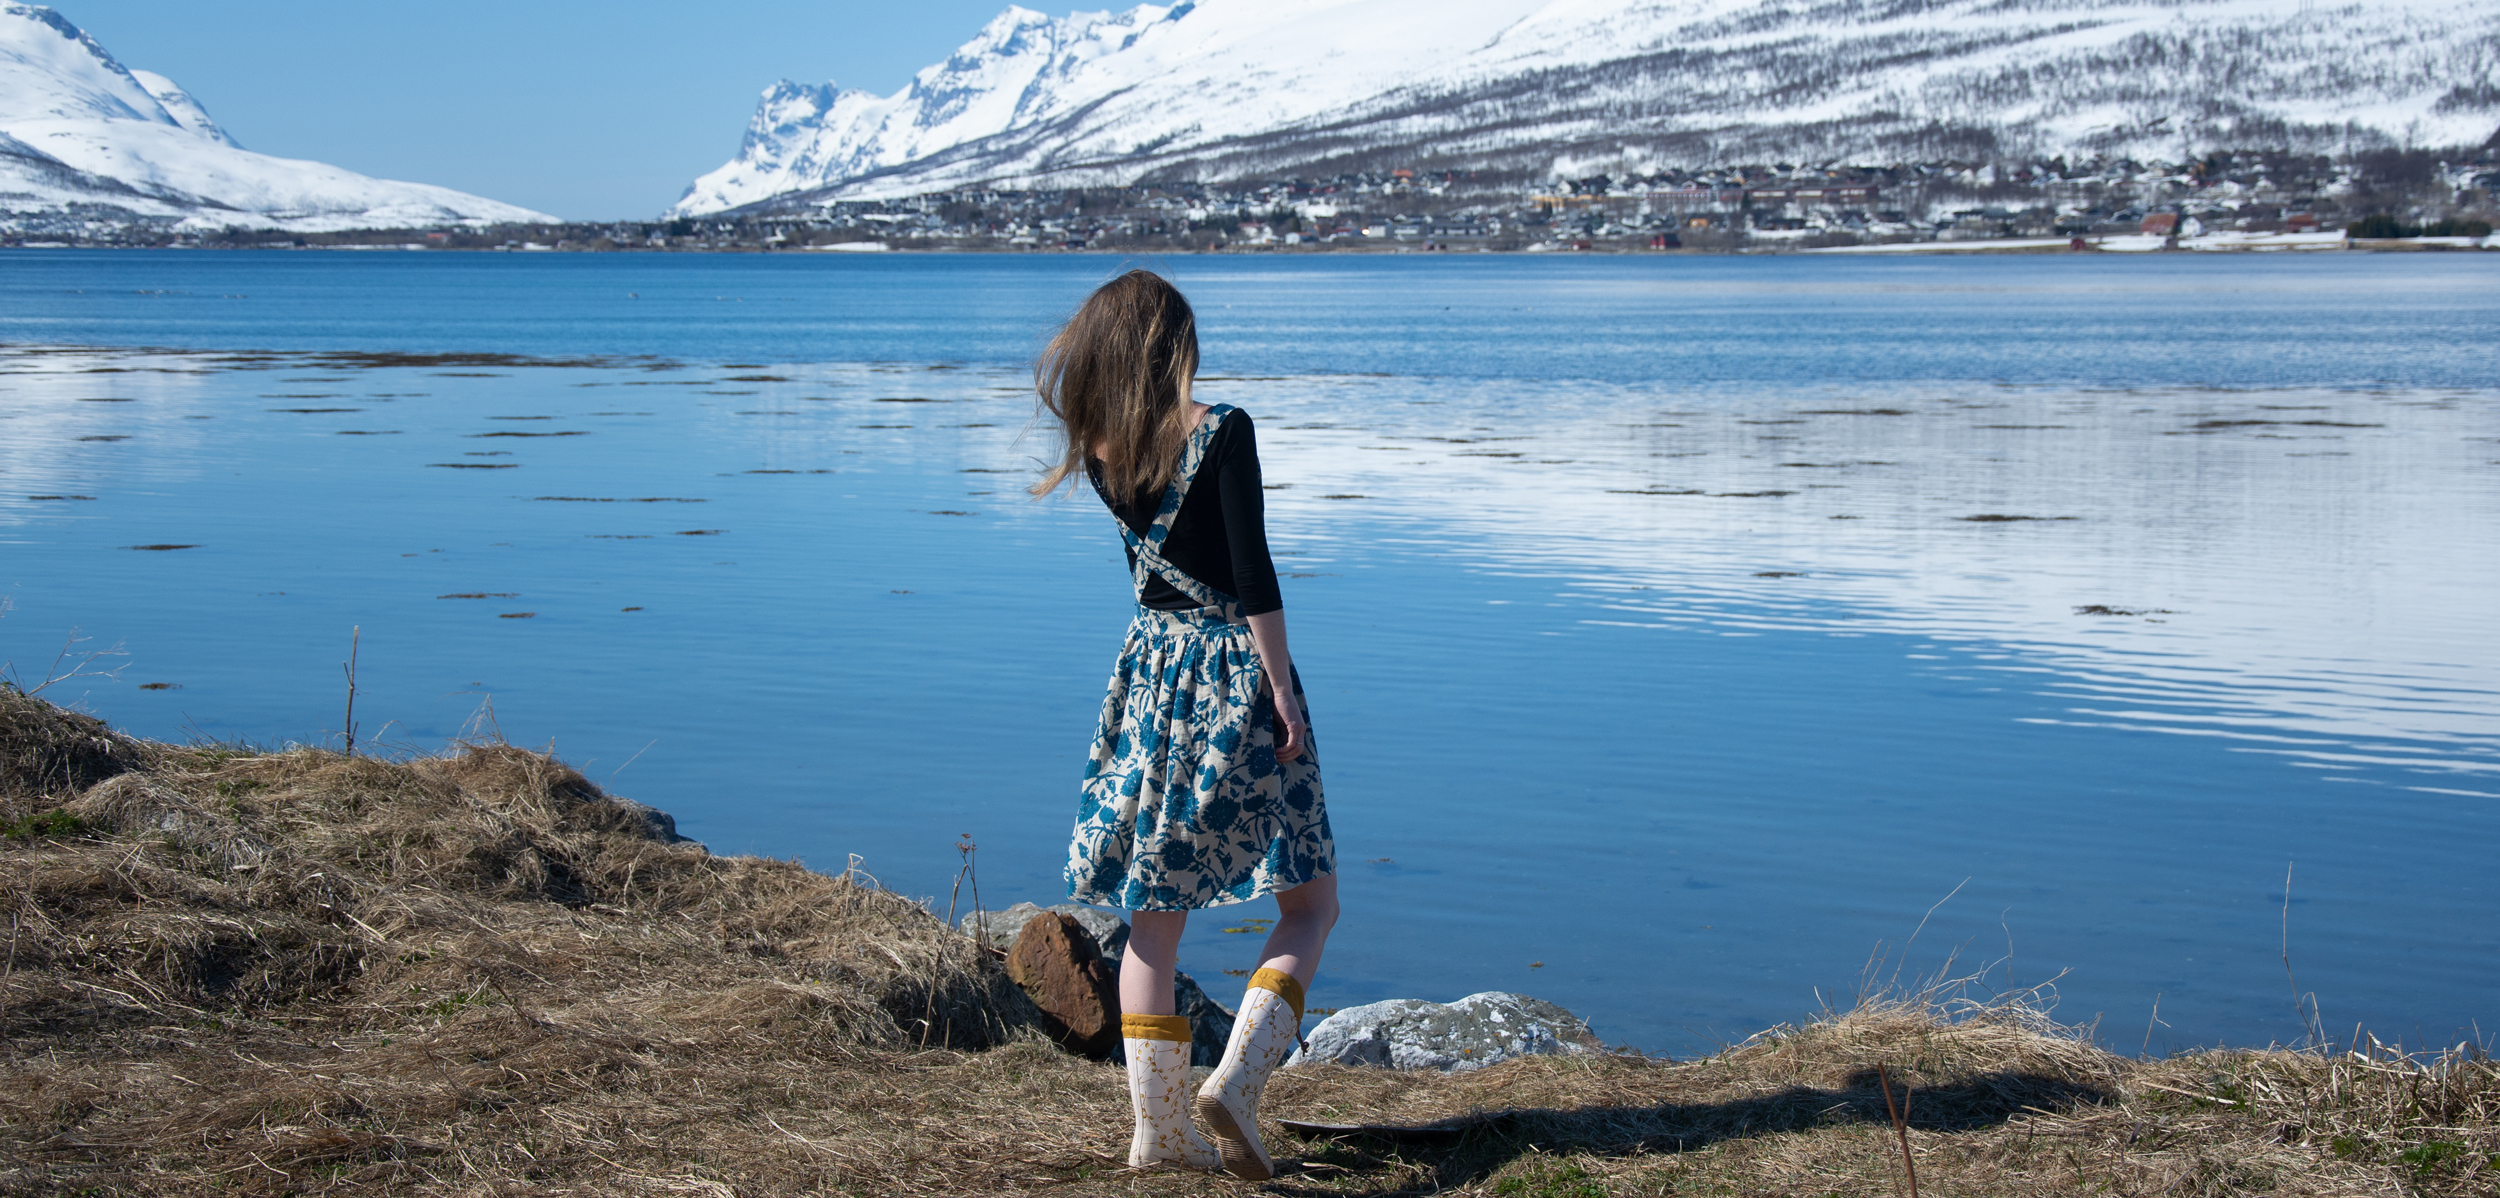
It ended up not being entirely the palate cleanser I had intended it to be, but that’s how it goes when you start hacking a pattern, right? Right before starting on my project, I realized Brittani had blogged a Fleur Pinafore hack on her blog, eliminating the back bib and making the bib/straps removable. I also realized that, while I love the front of the Fleur Pinafore, I personally didn’t really need the back bib of the pattern. And if I anyway started hacking anyway, why shouldn’t I make the entire bib removable, giving me the option of two different back-strap views?
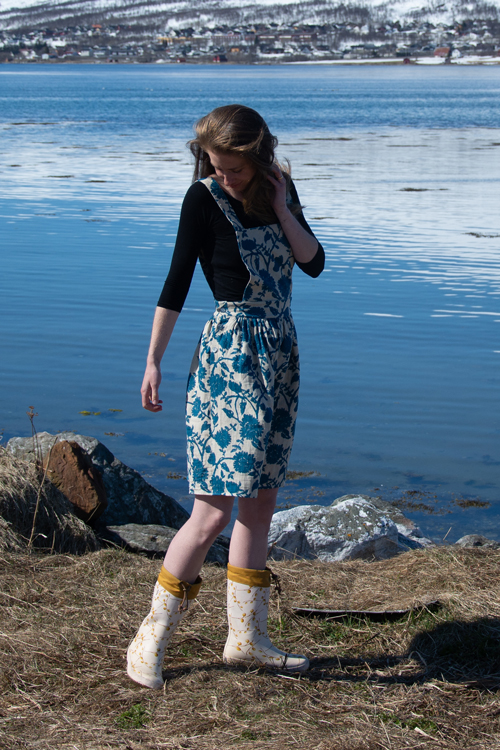

You can find a very good tutorial for this hack on Brittani’s blog, so I will simply describe any further changes I made. First of all, I omitted the buttons at the tip of the bib. Since my straps and the bib are removable, I don’t need the buttons. Moreover, I liked the clean look without them. Second, I had to add another strip of fabric to my bib, since it was simply too short for me, even after adding the suggested length. Untitled Thoughts patterns are made for a height of 173 cm (I’m 175 cm tall), and I wouldn’t say my upper body is extremely long. But somehow the bib simply looked too far down on my chest, or the skirt was sitting higher than at my natural waist. Quite possibly, this is simply a matter of personal preferences. However, luckily I was able to hide the seam just below the waistband of my skirt, that way the extra seam can’t be seen when I’m wearing the pinafore.
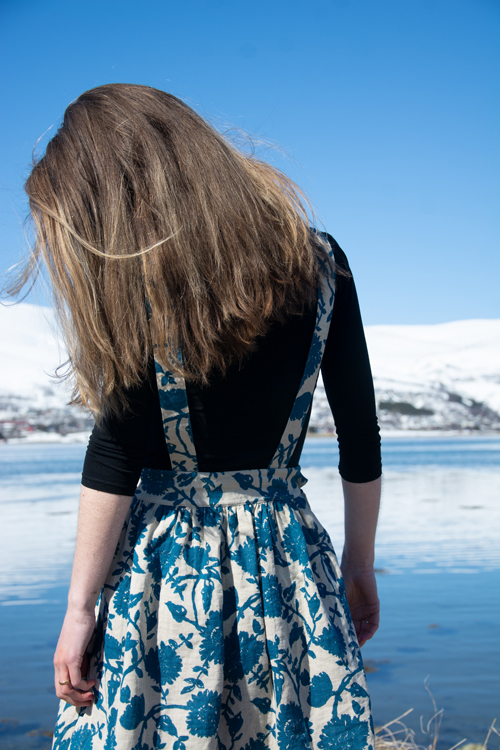
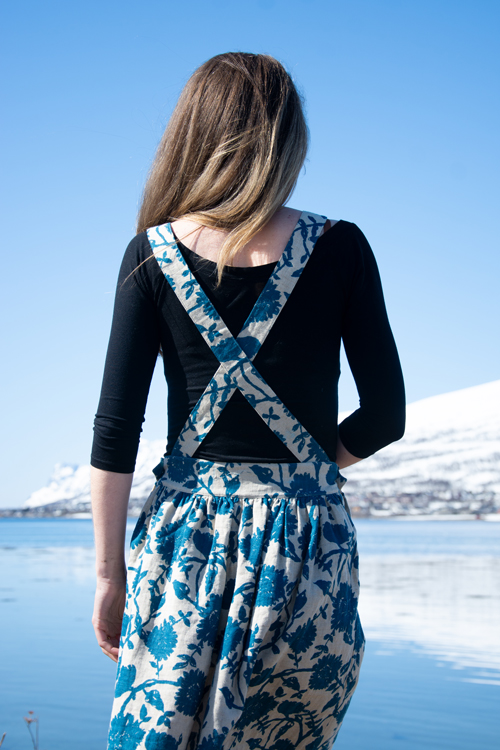
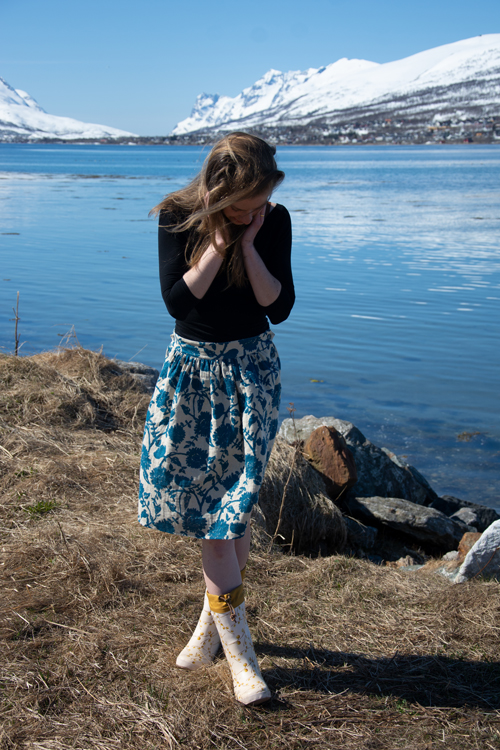
Brittani decided to have hidden button holes on her inner skirt waistband and buttons on her straps. Her understandable concern with having buttons at the waistband is that it might get uncomfortable over time. However, you will need to have two sets of buttons at the end of your straps, since the needed strap length depends on whether you want to wear the straps straight down your back or cross them. I liked the look of high crossing straps and didn’t see any possibility of hiding the buttons on the straps needed for straight straps, while wearing my straps crossed. And I didn’t like the thought of visible buttons on the straps, either. In the end I figured two tiny button holes on the straps would be less visible than two buttons and ended up using the smallest and flattest buttons from my stash for the waistband (I can’t feel them while I’m wearing the skirt!) and adding button holes to the straps.
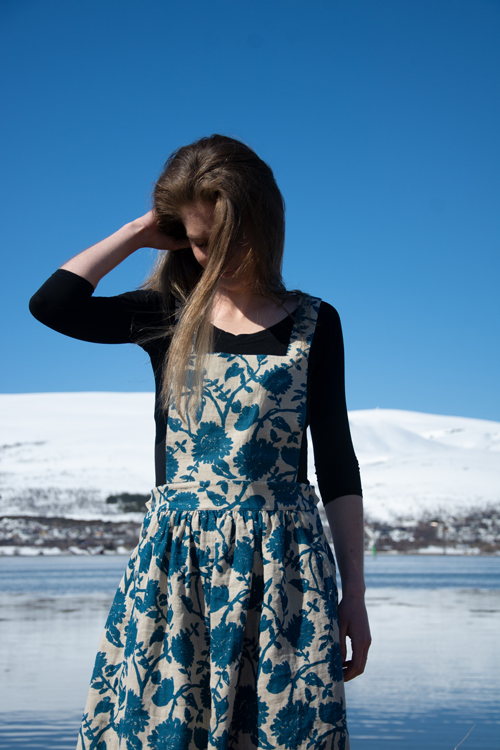
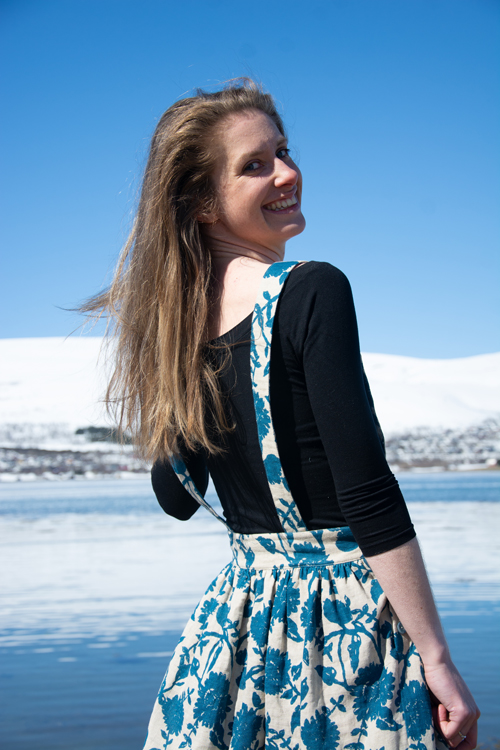
I think it worked out quite nicely this way! Luckily I still have a little bit of fabric left. Should the upper button holes on my straps start to looking worn-out after a while, I can always make a second bib with longer straps for the crossed-back option, while only using the current bib/straps for the straight back option.
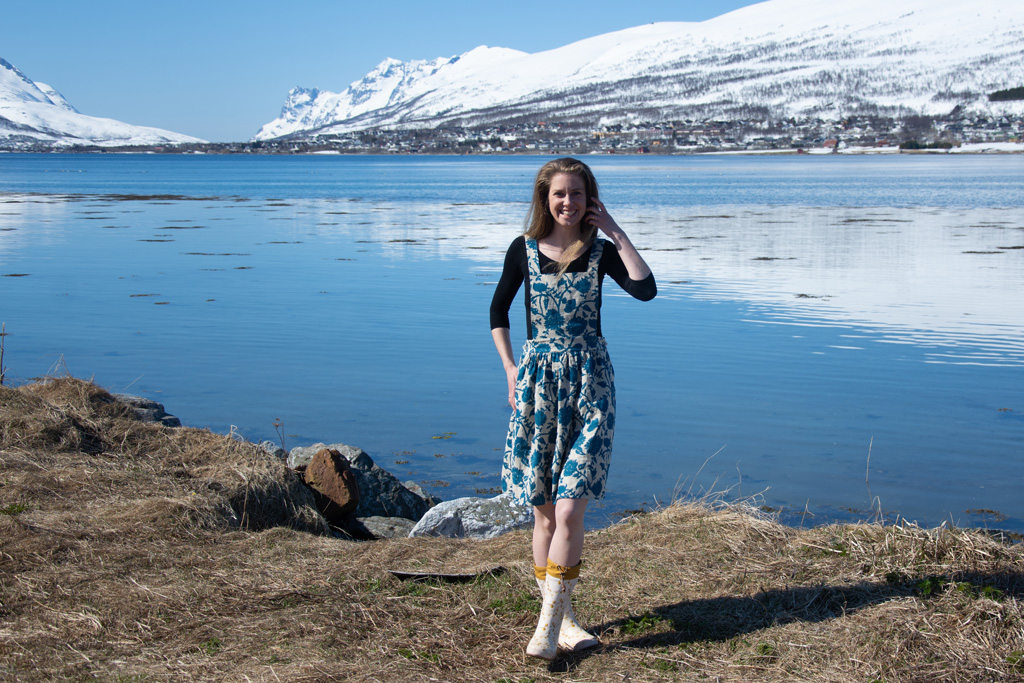
I am usually not a big fan of using my serger for projects with lightweight woven fabrics. However, French Seams weren’t an option since the side button plackets are formed by a very wide side seam allowance. I could have bound all the seams, but really didn’t feel like it. My fabric was fraying pretty easily, too, so I needed to make sure I finished it in the best way possible. I decided to give my serger a chance and played around a bit, until ending up with the perfect serged edge – the tiny stitches looked so pretty, the seam was soft, no fraying, no stretching – nothing! I actually ended up liking it so much, I even serged my hem and simply folded it up once instead of twice, since in my experience double folded hems made of double gauze can be hard to press sharply, in my experience. I gave myself a promise – I will try using my serger a little more often for lightweight wovens, especially when I can’t use my beloved French Seams.

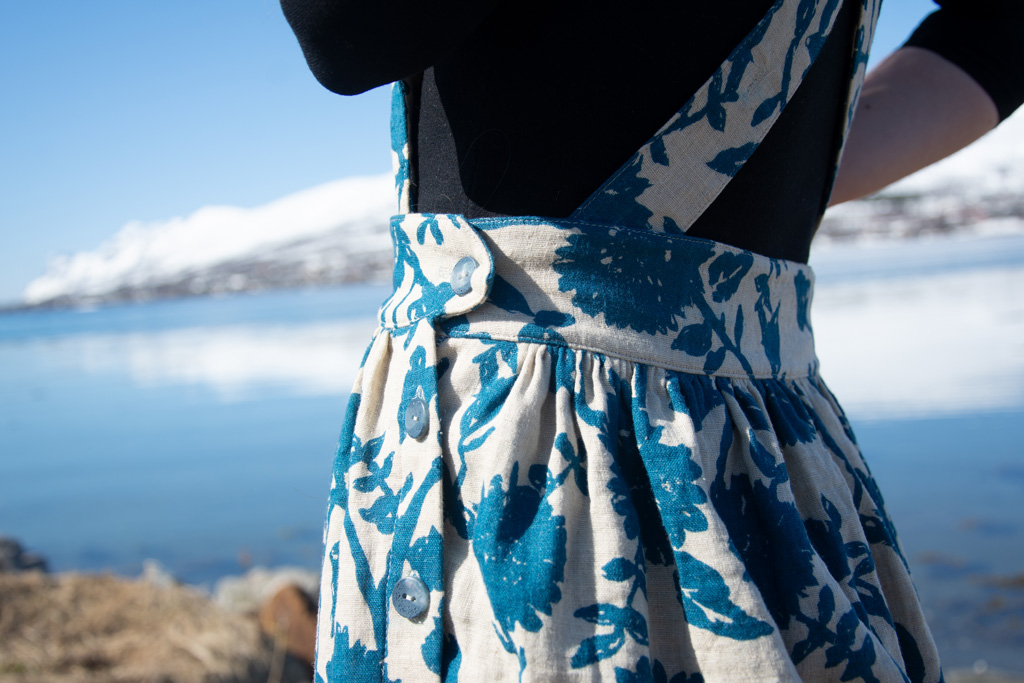
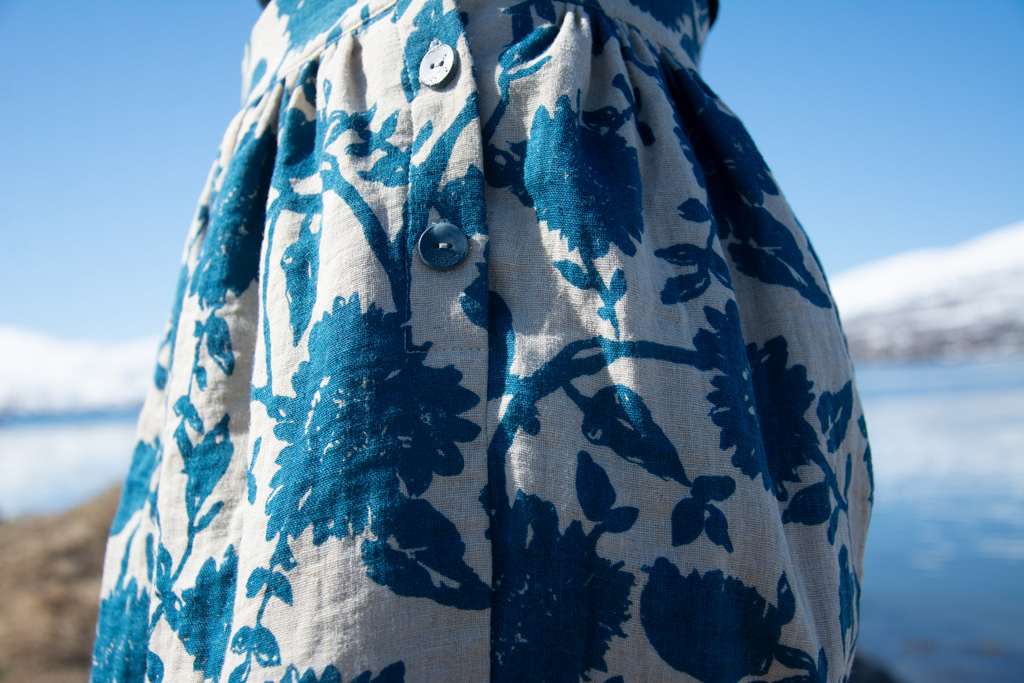
Other than lengthening the bib more right away, the only change I might make next time is sewing the waistband one size bigger, or at least placing the button holes slightly differently. As you can see on the close-up pic of the buttons on the side of the skirt, the top button isn’t exactly parallel to the button plackets, at least not as I would have liked them to be. Since the skirt is sitting rather tight (not too tight to be comfortable!), the buttons sit right at the edge of the top button hole, making the look of the buttons a little uneven. But that’s probably one of those things no-one else will ever notice.
Thank you so much for reading!

0 comments on “3 in 1 Fleur Pinafore”