Ann from Designer Stitch is not only designs indie patterns for her own shop, but also creates patterns for the Australian vintage sewing magazine Vintage Made. Not surprisingly, these patterns need to be tested, too. And they do not only need to be tested, Vintage Made is always looking for examples made from their patterns, too.

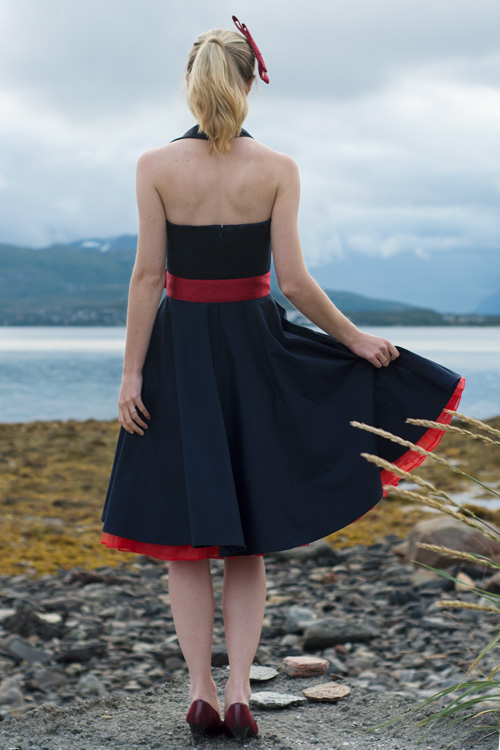
When Ann was looking for testers and sample makers for a Rockabilly dress, I knew that I needed to join. Not because I’m going to wear a dress like this very often, but because it’s such a different and fun project.
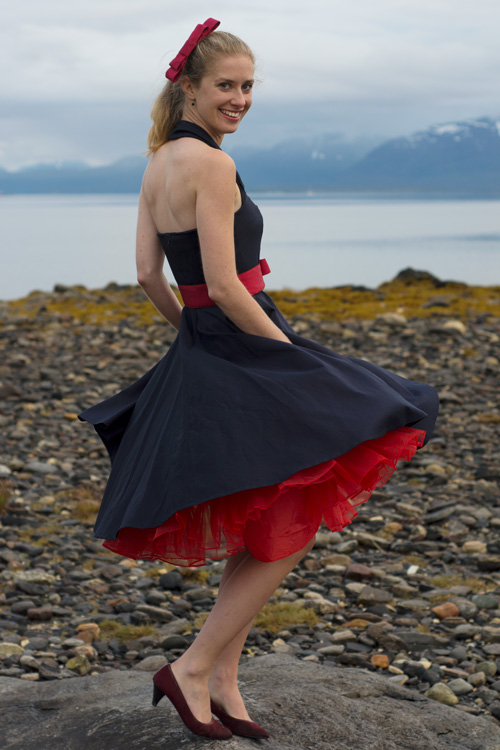
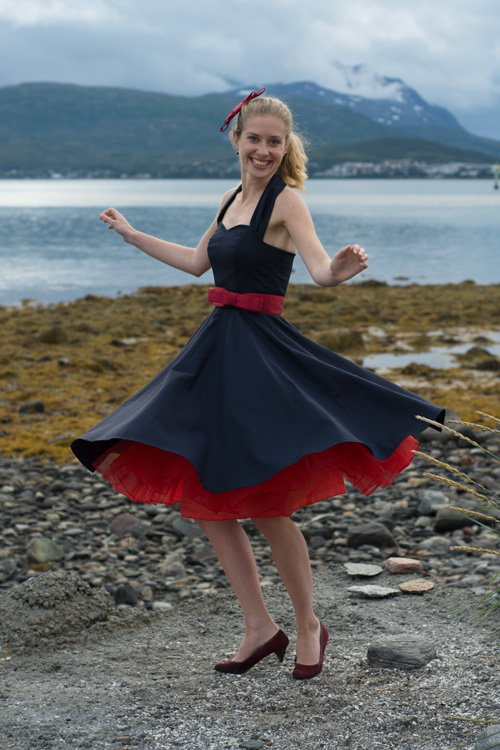
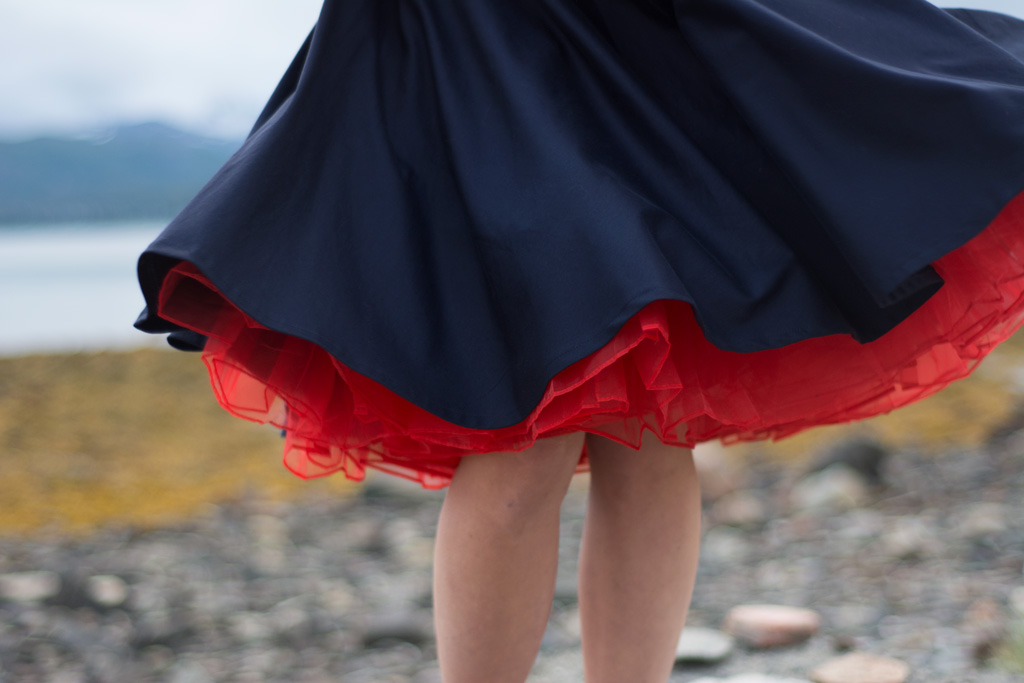
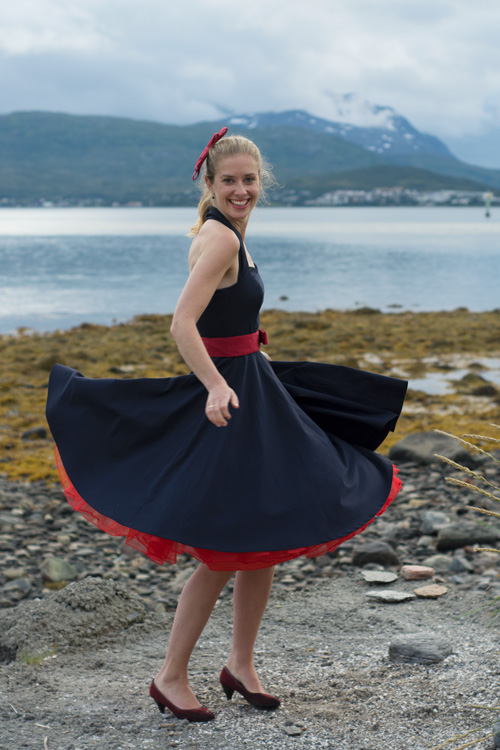
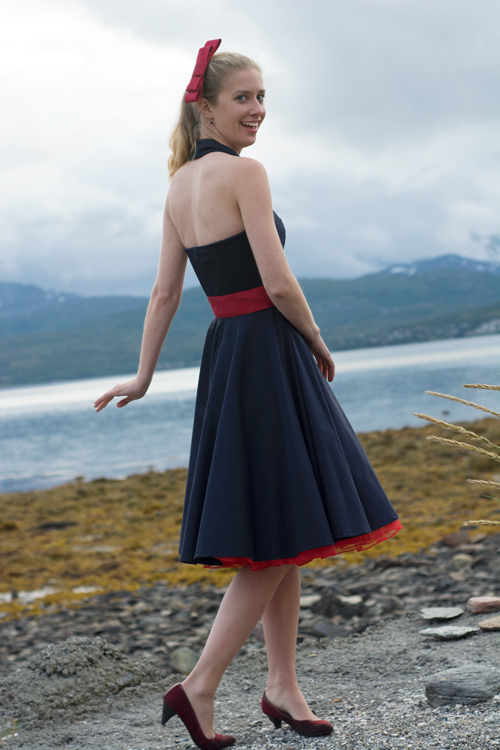
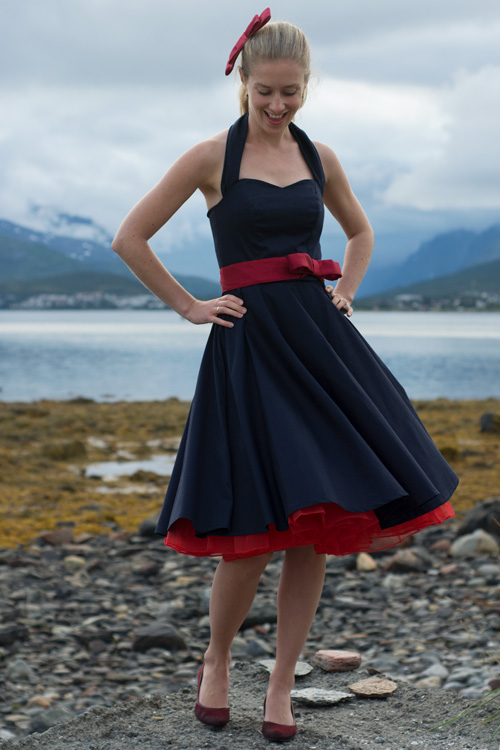
The Rockabilly Dress Ann designed for Vintage Made has a bodice with process seams, a halter neck and a circle skirt. The bodice is fully lined and there’s the possibility to add boning to shape the bodice even more. And of course – adding a petticoat makes the dress even more rockabilly!
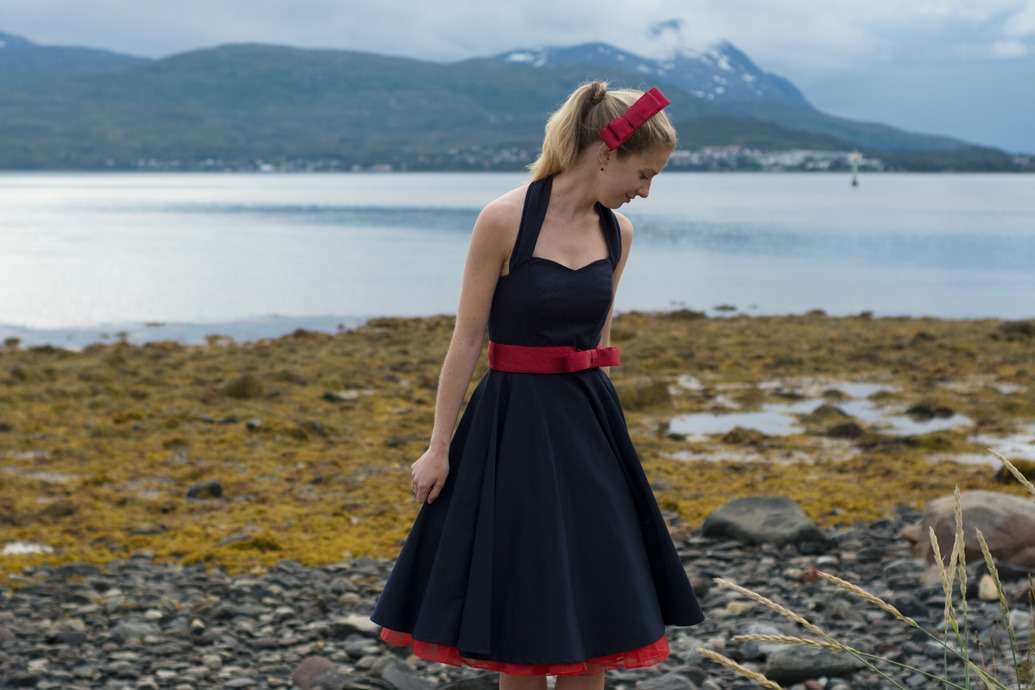

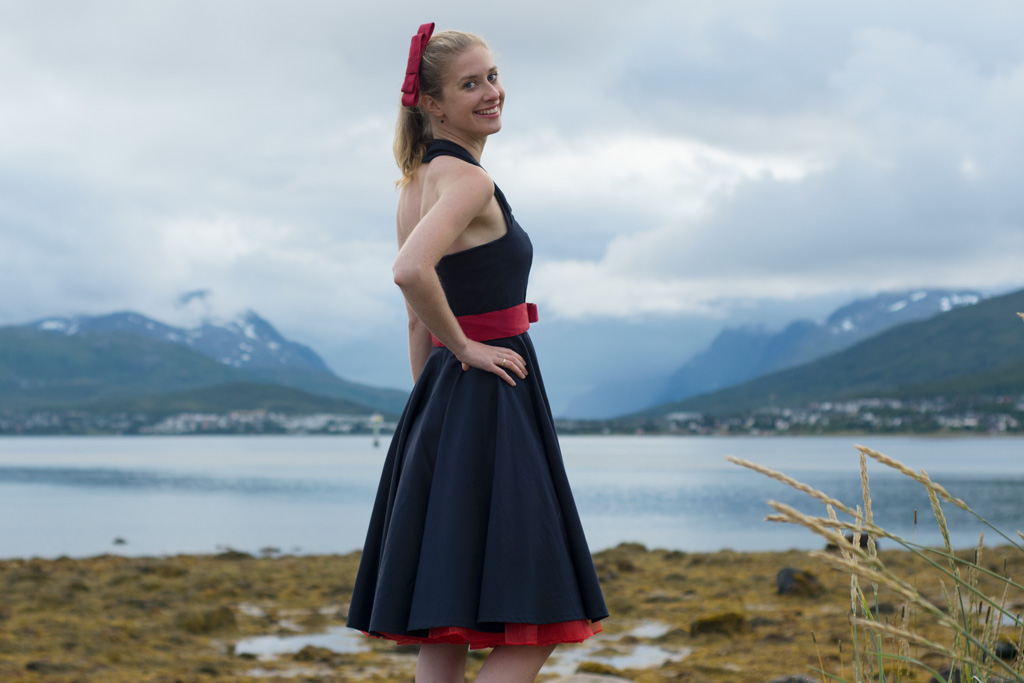
Fitting the Rockabilly Dress is surprisingly easy, since you can conture the princess seams as needed until the fit is just right. I had quite some excess fabric below the bust, since my ribcage is very slim. That meant sewing the front princess seams with a sharper curve. I made a muslin before cutting into my fabric, but since I added boning and the boning is sewn to a separate layer in between the main fabric and the lining, I used the cotton muslin as layer for the boning.

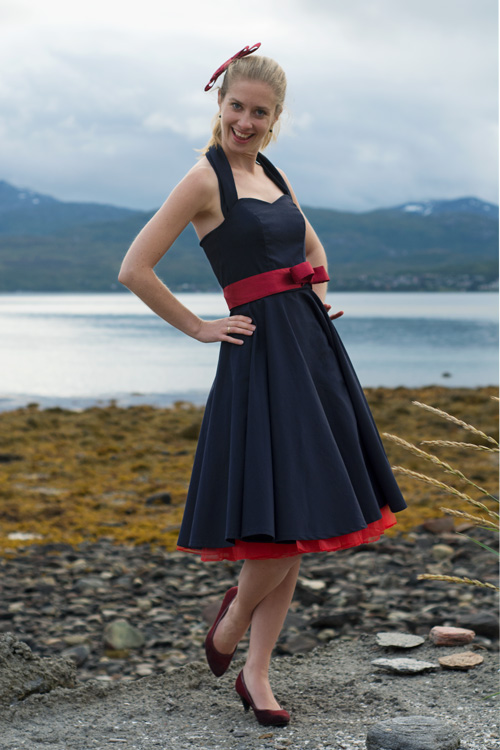
Another change I had to make was lengthening the bodice about 1″ / 2.5 cm and shortening the halter neck strap. The strap is designed to be extra long and can be shortened as needed.

The fabric I chose is a navy cotton sateen with a tiny bit of stretch. I love the subtle sheen of the fabric and how a little bit of stretch makes fitting even easier. The fabric is from Fabric Godmother – one of my go-to stores for unique quality fabric. The lining is a red poly crepe from Stylish Fabric, the bow and the belt are made of taffeta, bought from Stylish Fabric as well. The petticoat is a cheap one from a random Ebay-store. I thought about making one myself, but settled for a ready-made option.


Adding boning to a bodice was much easier than I thought. I bought plastic boning that was glued to cotton twill tape. That way I only had to sew the twill tape to each seam allowance on the front and back. Cutting the boning to the right length isn’t a problem, either, since it’s made out of plastic. The only thing that concerned me was that the sharp edges of the boning could poke through my fabric. To prevent that I filed the edges with a regular nail file. That way the edges are rounder and there’s little chance of the edges poking into my skin or through the fabric.
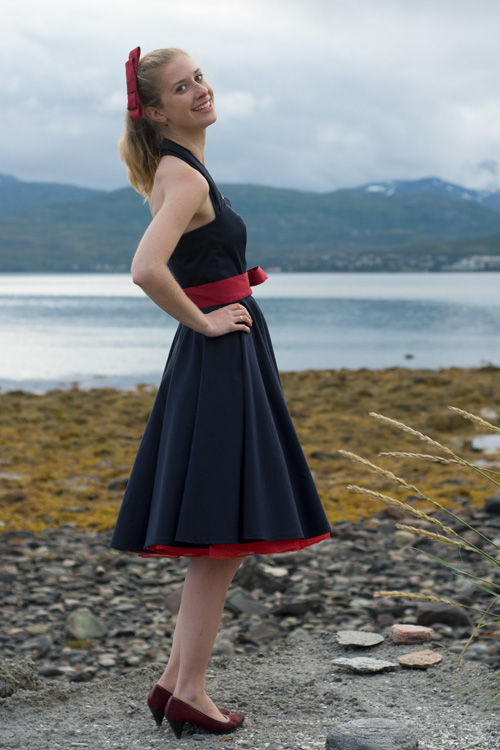

I don’t have a tutorial for the bow or the belt – I made each bow by sewing two rectangles right sides together, turning them right sides out and sewing them into circles. then I sewed a much smaller circle and pulled the bigger bow parts through the smaller circle. I sewed the belt, too, and sewed the bow to the belt. The hair bow is fastened with two regular hair pins.


I loved taking these special Rockabilly pics back in August and I am super happy with the result. I haven’t worn the dress since and to be honest, I am considering selling it, since I can’t see myself wearing it and it takes up quite some space in my closet. But I loved the experience of making it and I love having these pics. And having my picture in Vintage Made is pretty cool, too …

You can buy Vintage Made in print over here, or as a PDF version over here.

– This blog post is linked to the German blogger party RUMS. –


????
Your dress is so awesome!!! I love your petticoat. Congrats on making the magazine.
Amazingly beautiful!!! I love the dress, the colour combination, the pictures, … everything!!!