
If you are following Adrianna from Hey June or are a member of the Hey June Pattern group, you already know about the Charleston dress. People have been going crazy about it before it was even released! And for a good reason – Adrianna has outdone herself this time. The Charleston dress has an amazing fit, it has so many options and is incredibly versatile. What more do you want?
The Charleston dress is a knit dress with princess seams and a zipper in the back. It features several types of sleeves and two different skirts, one with pockets and a slimmer one.

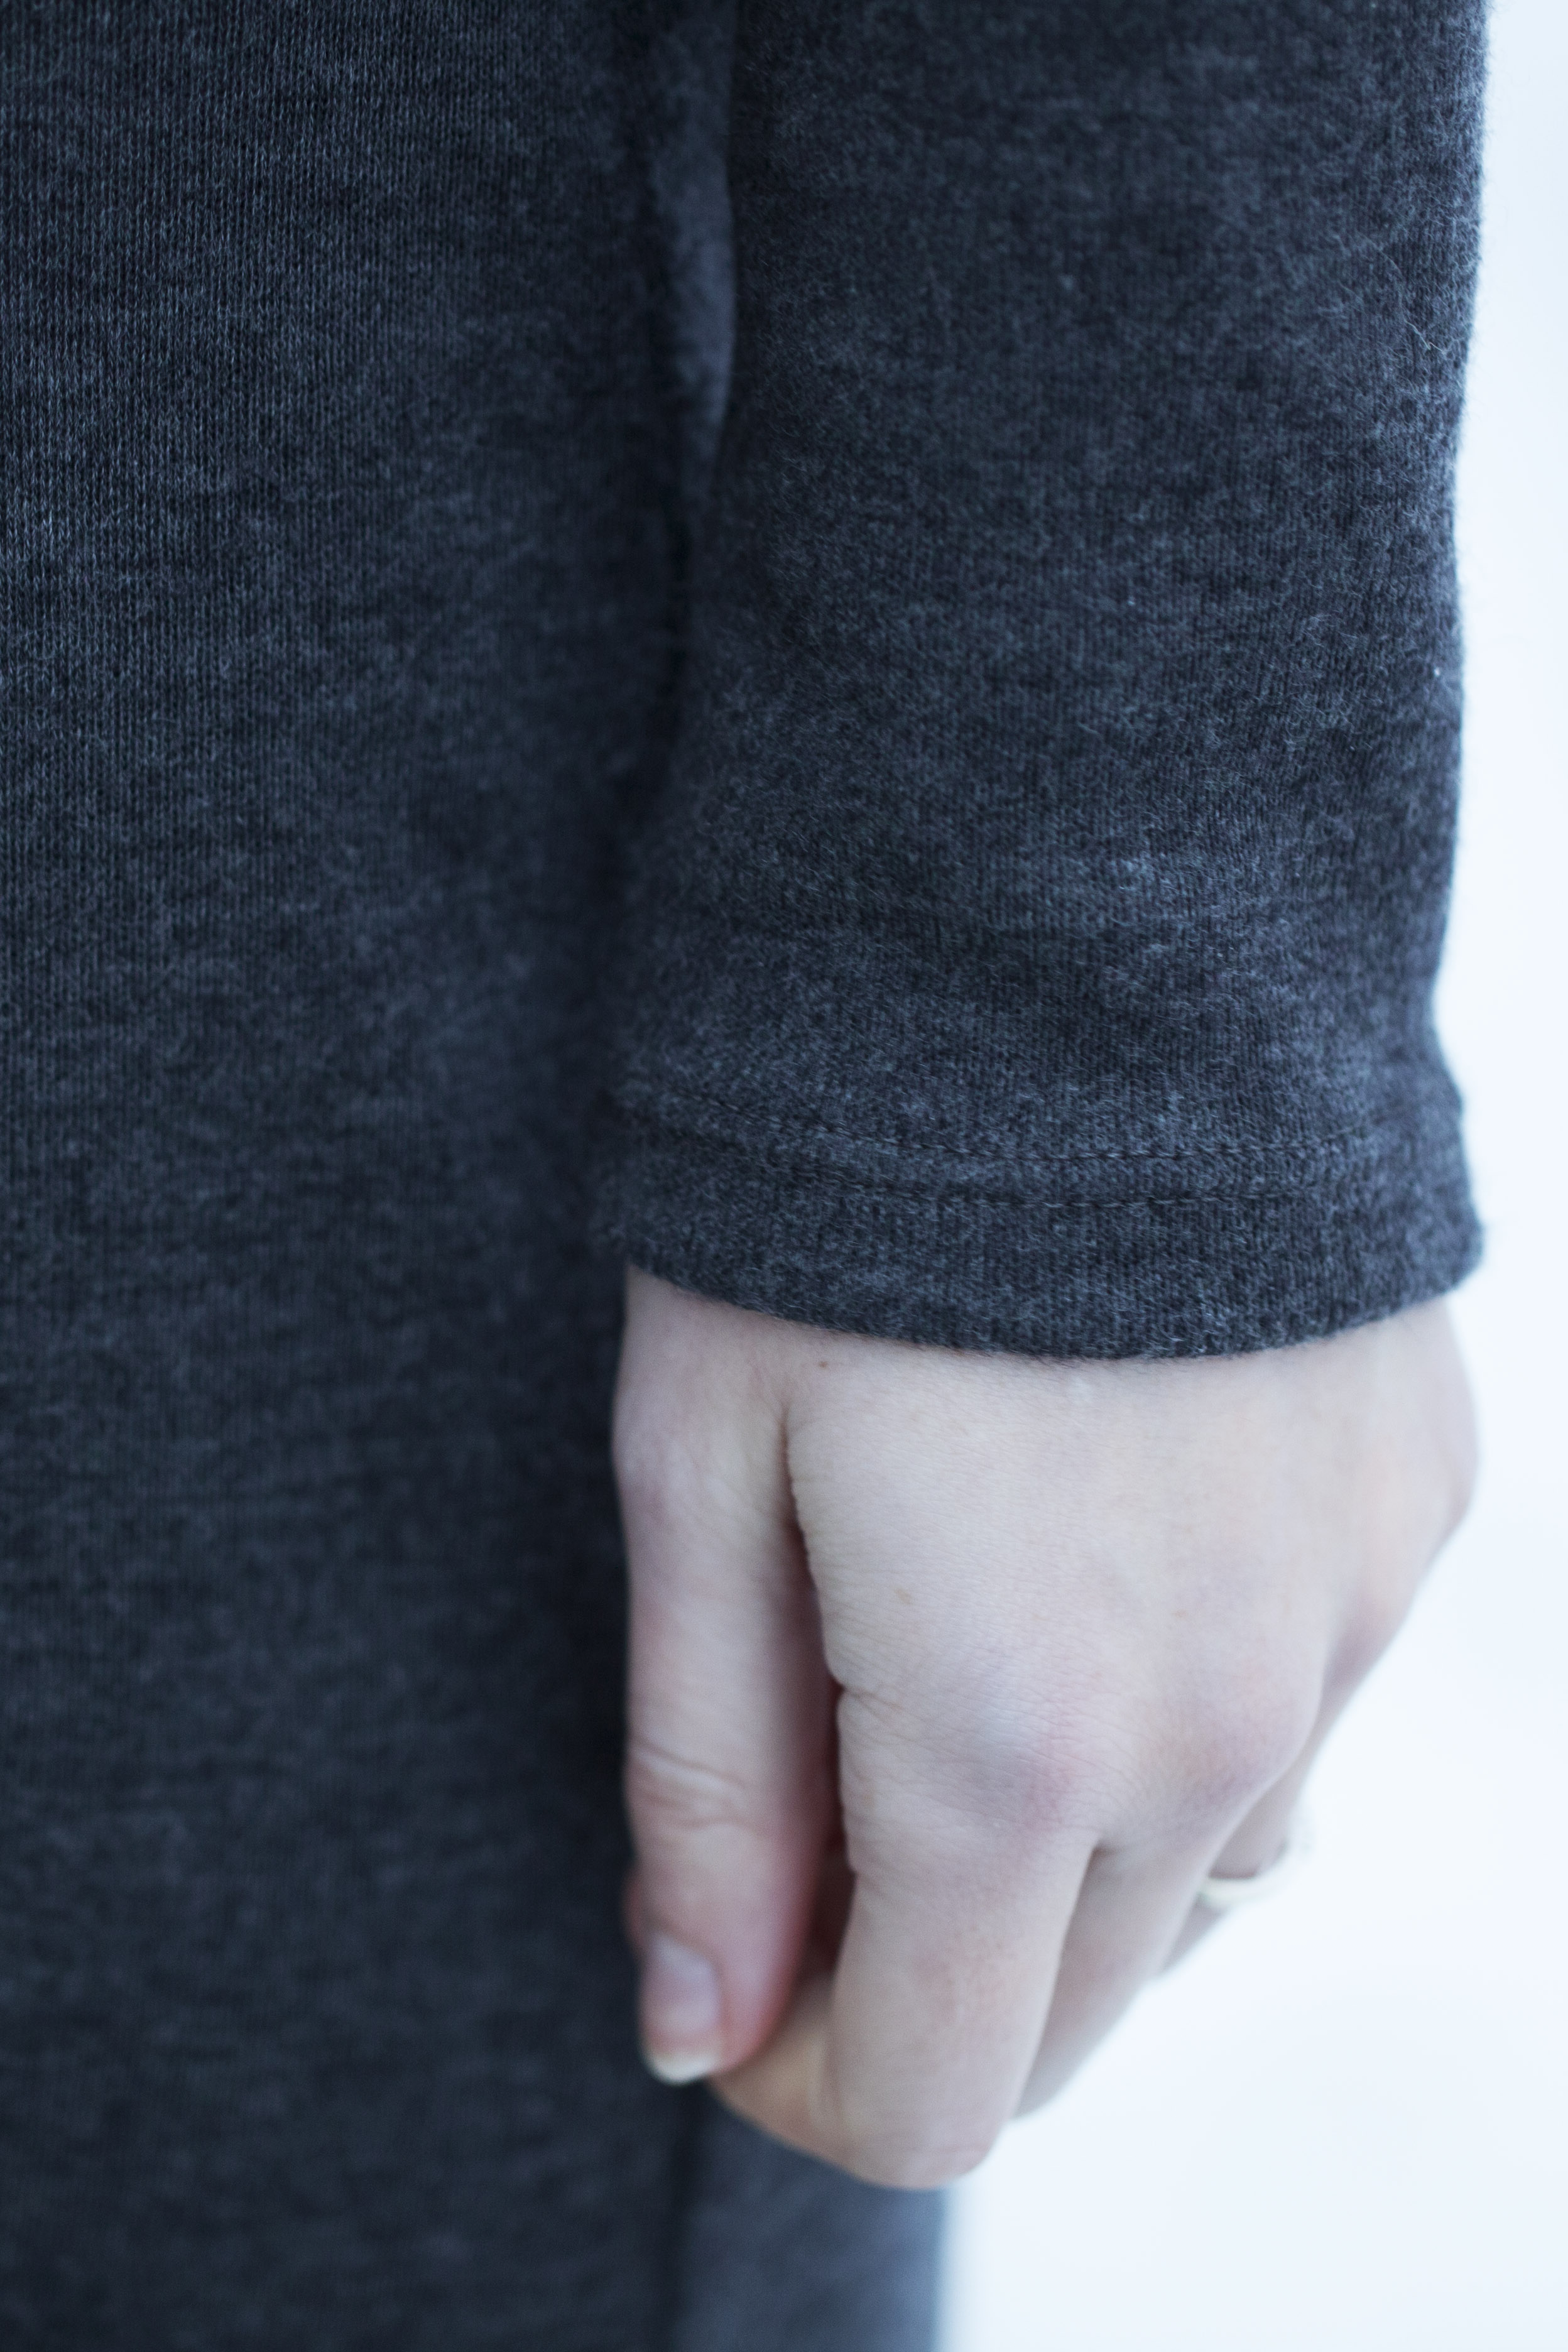
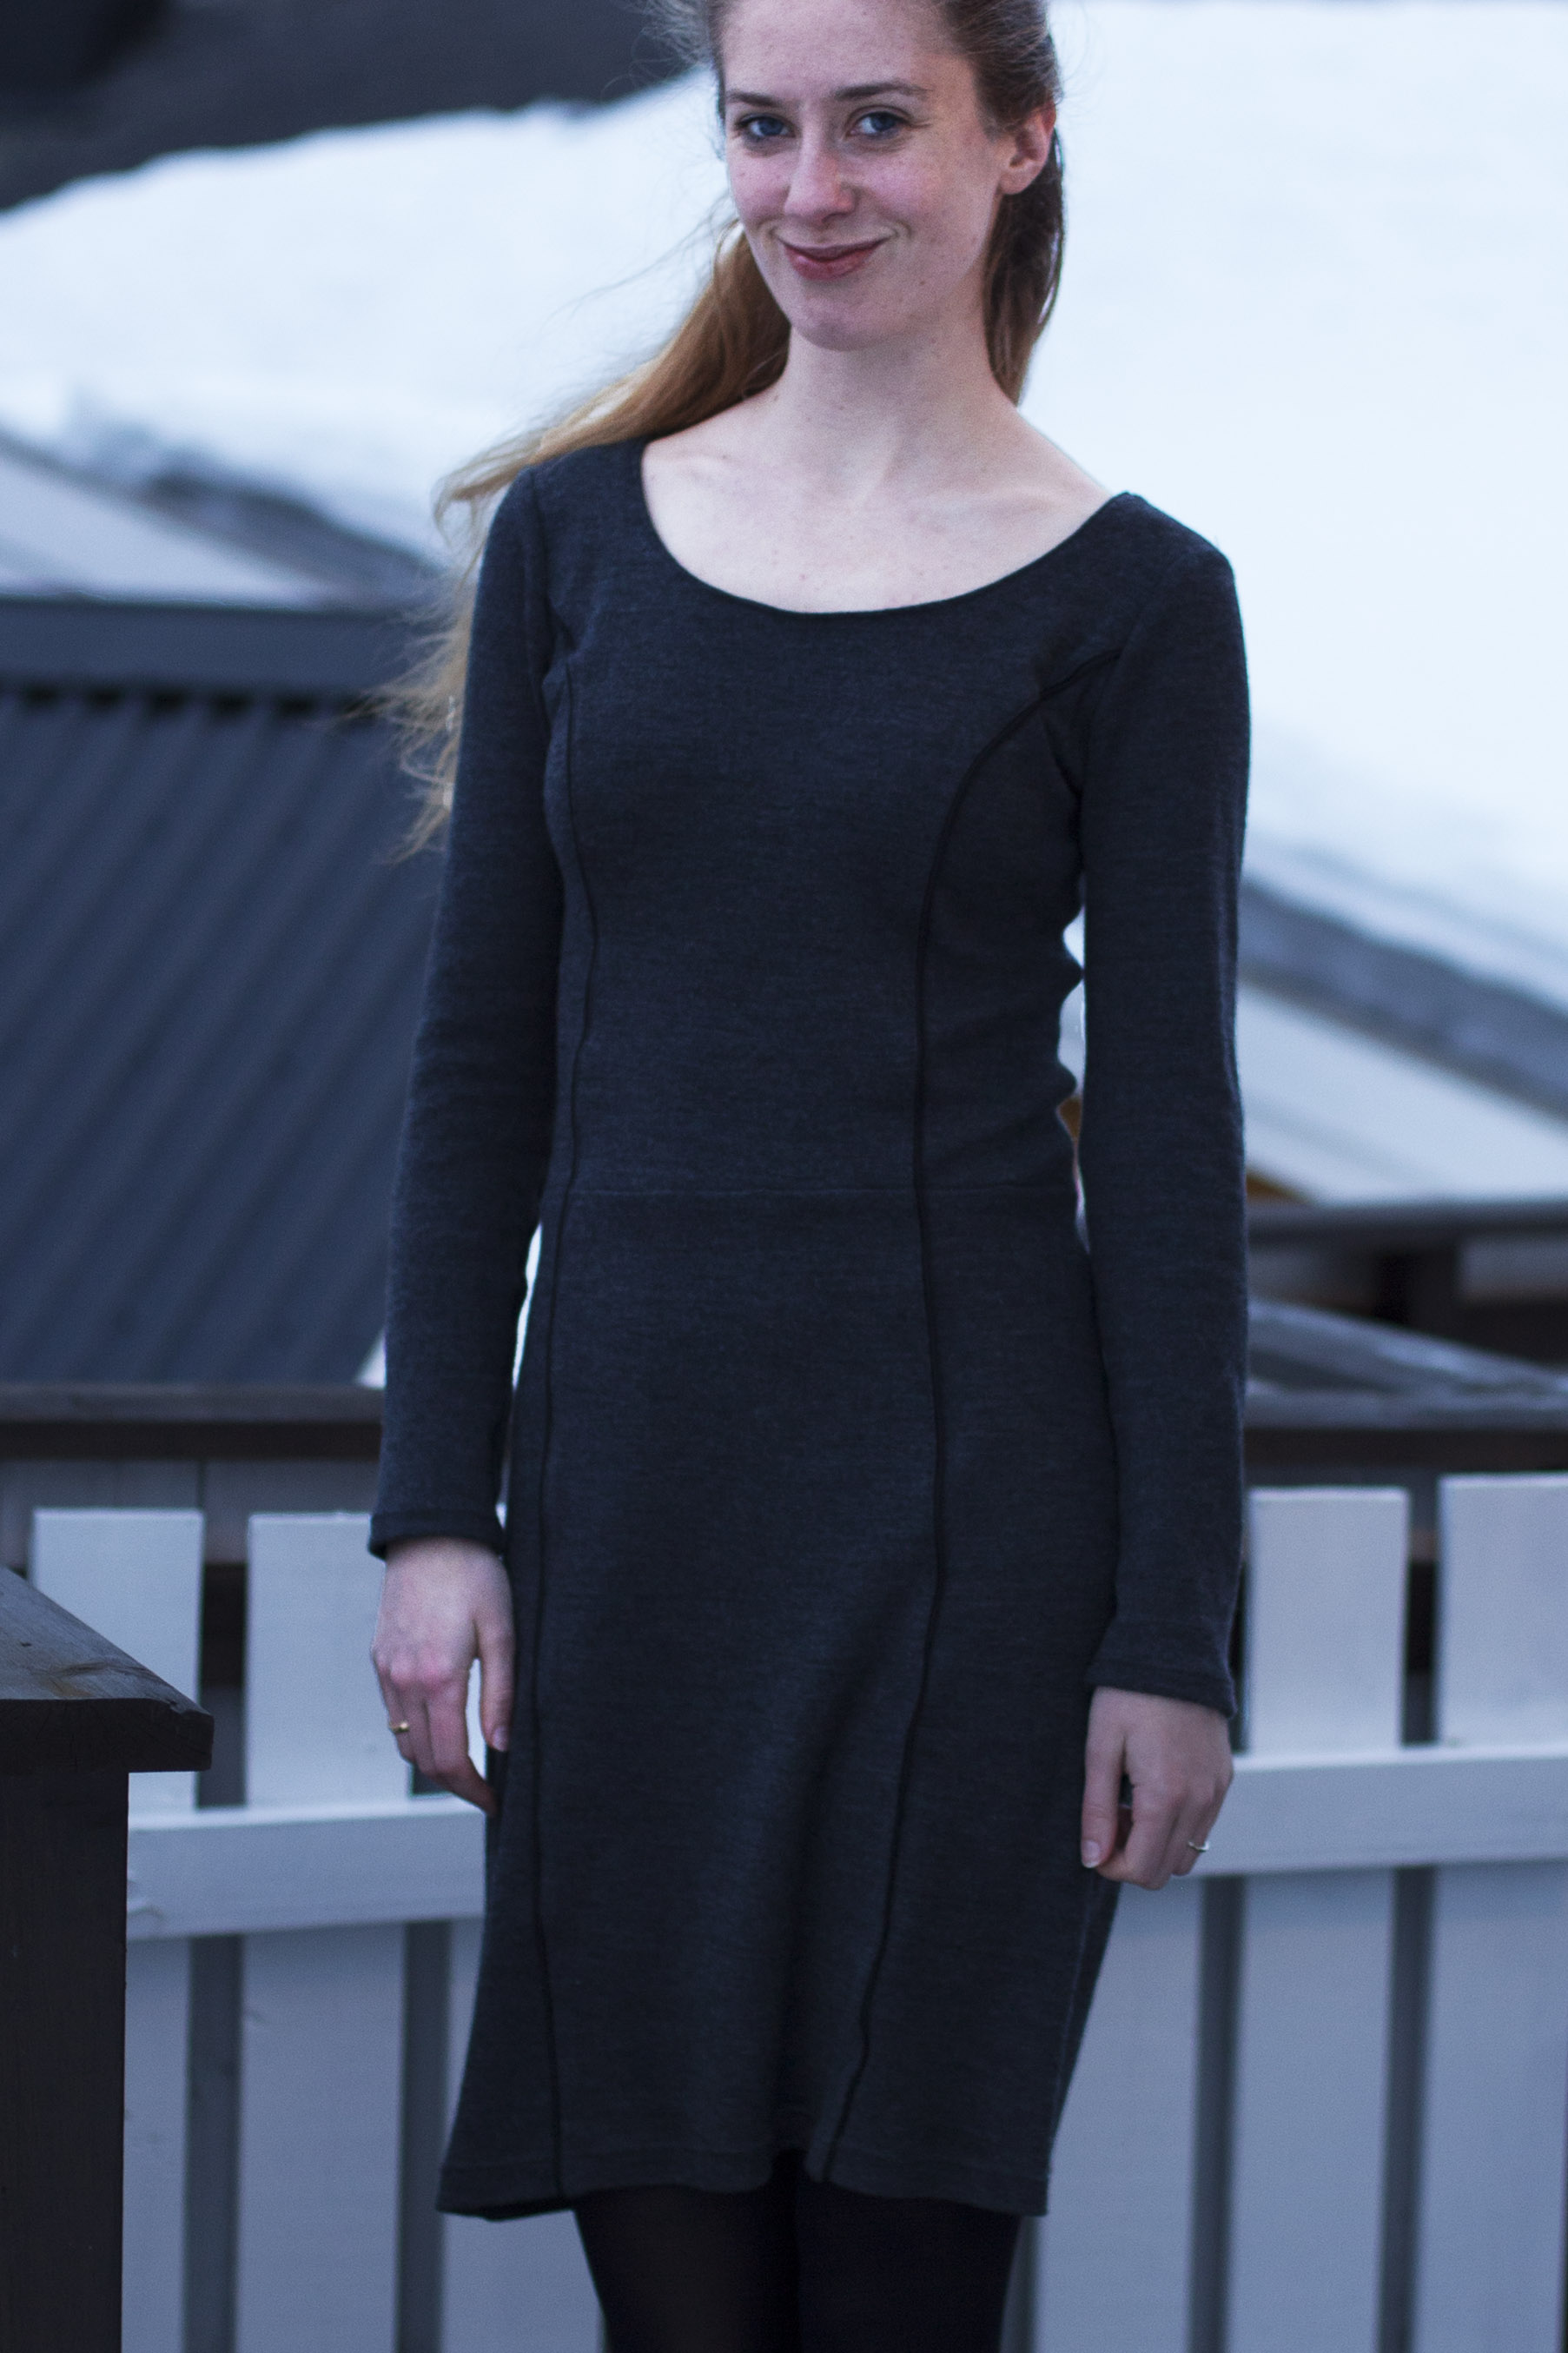
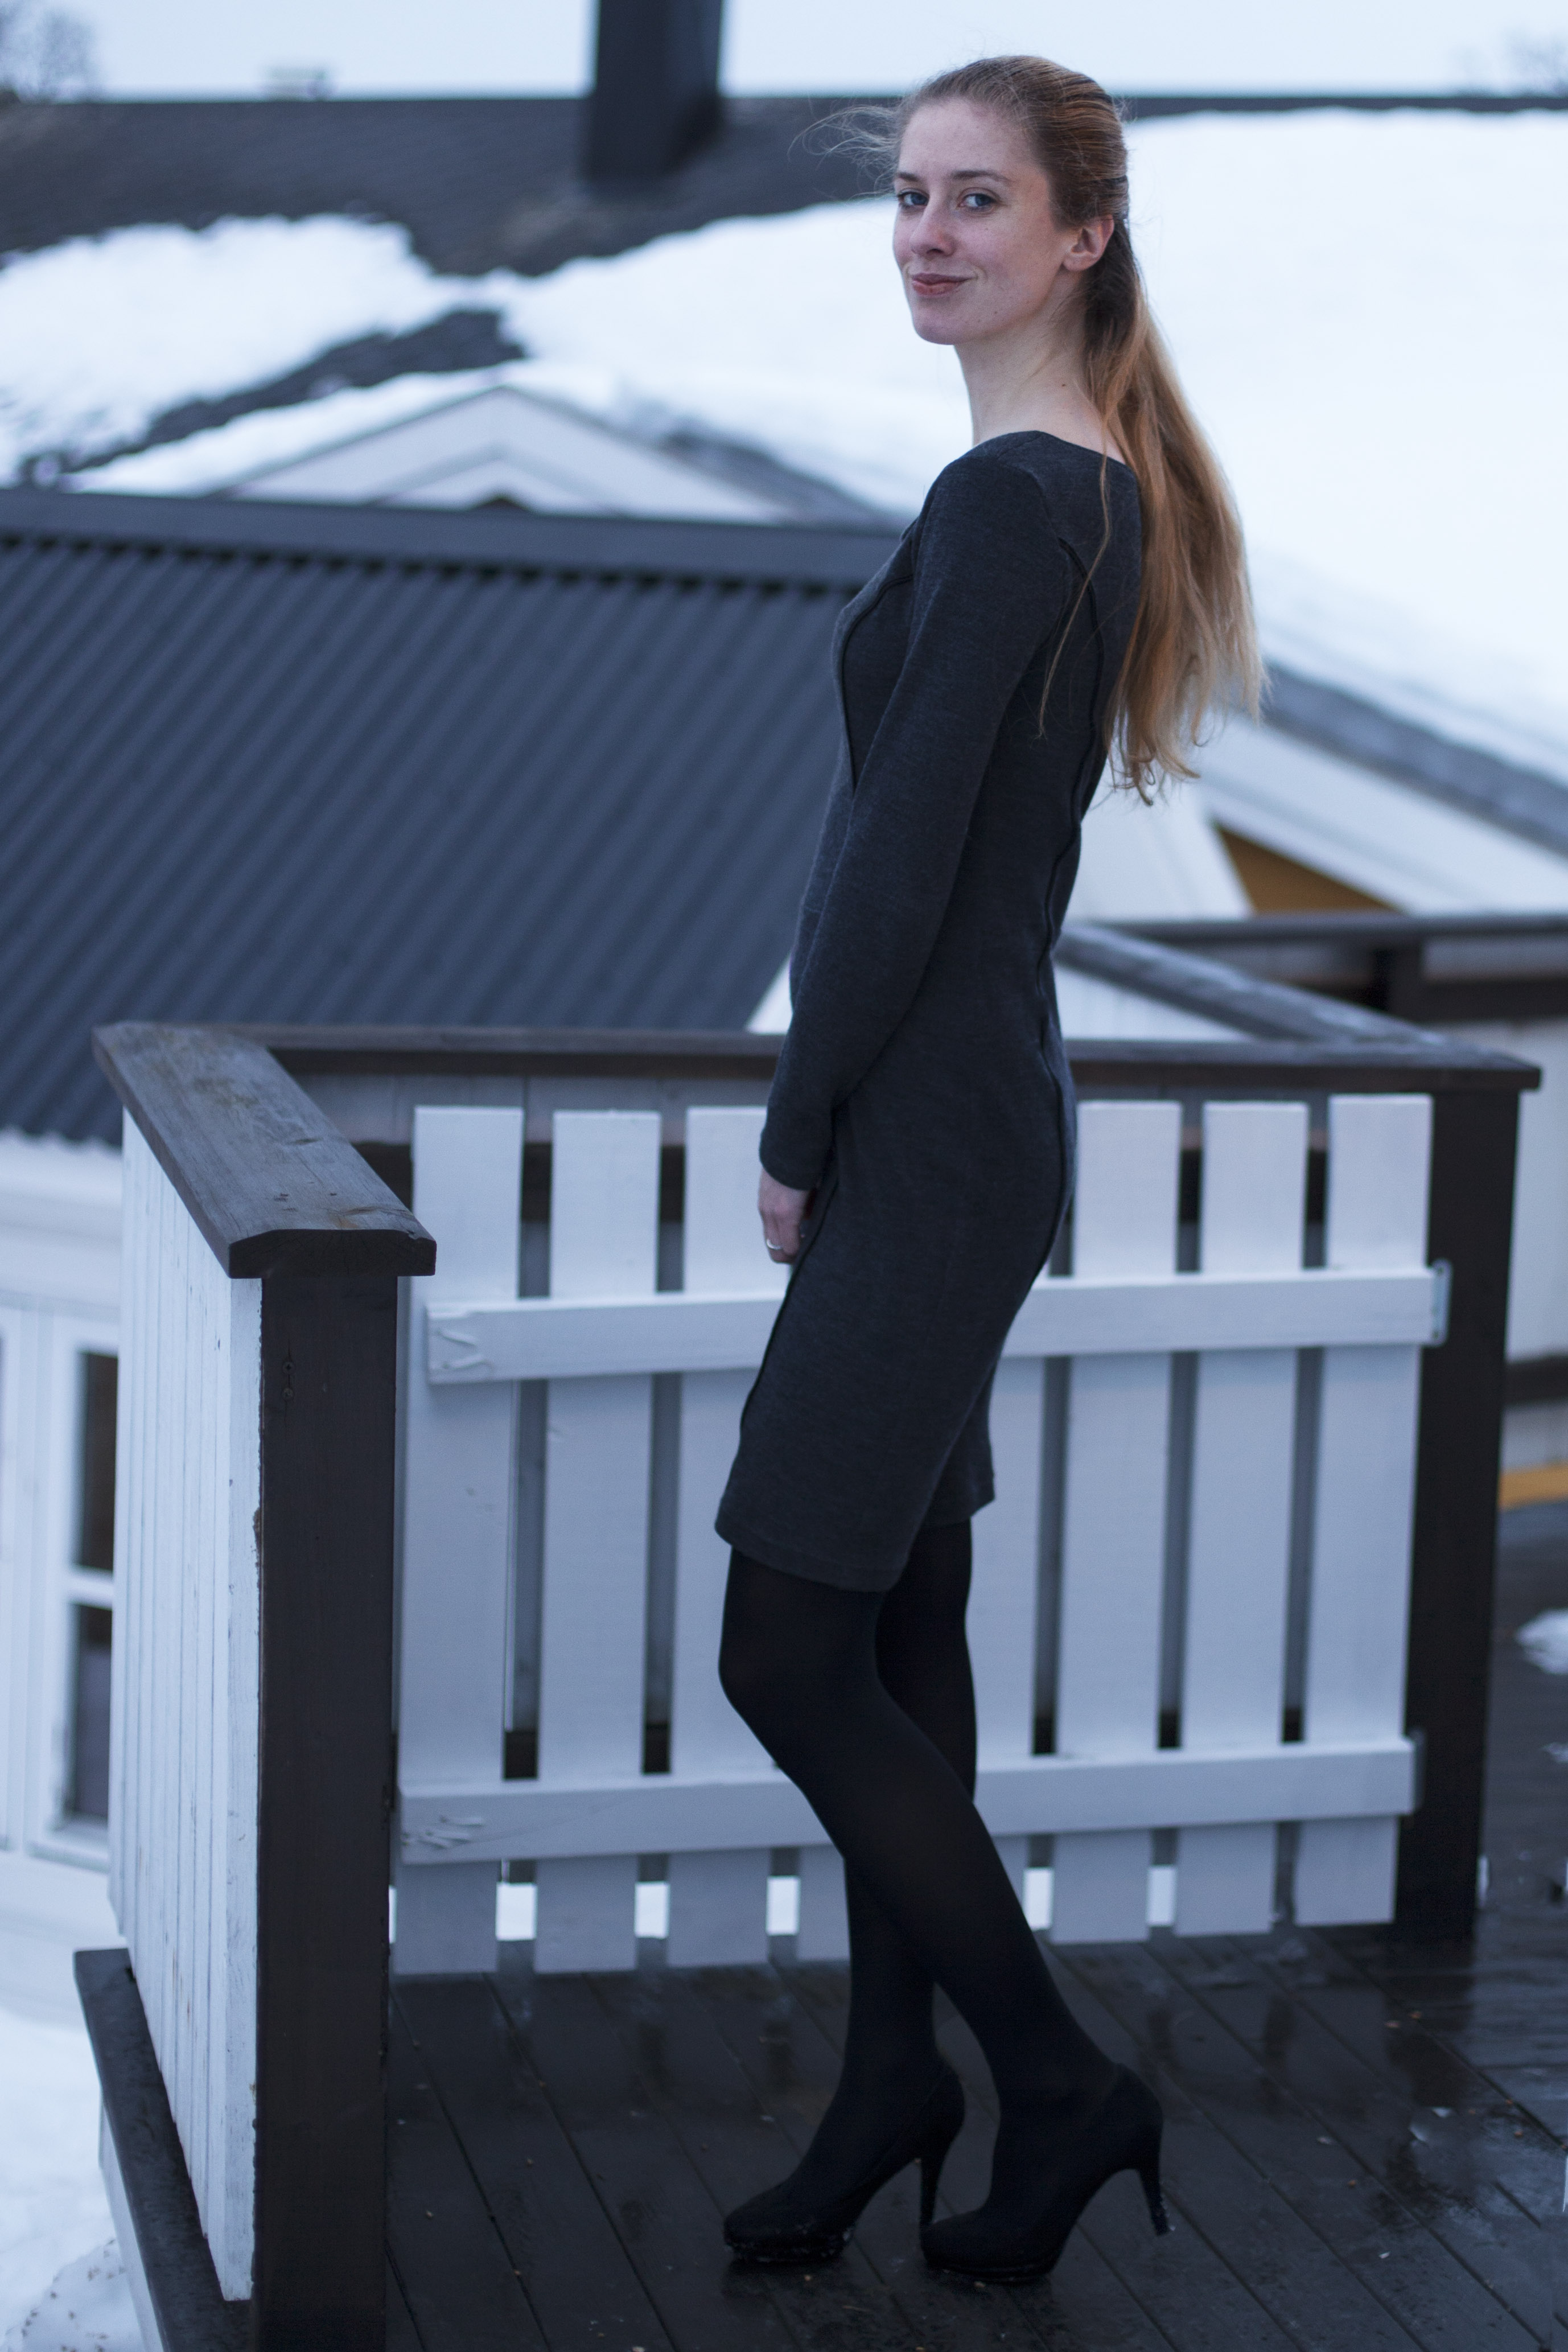
I have made the version with the slimmer pencil style skirt and long sleeves. Usually I follow the instructions more or less exactly in making my garments, but this time I got really creative (read: I changed things a little bit). I skipped the zipper, I piped the princess seams and I finished the neckline with a facing instead of a bias binding. Crazy, right? =p
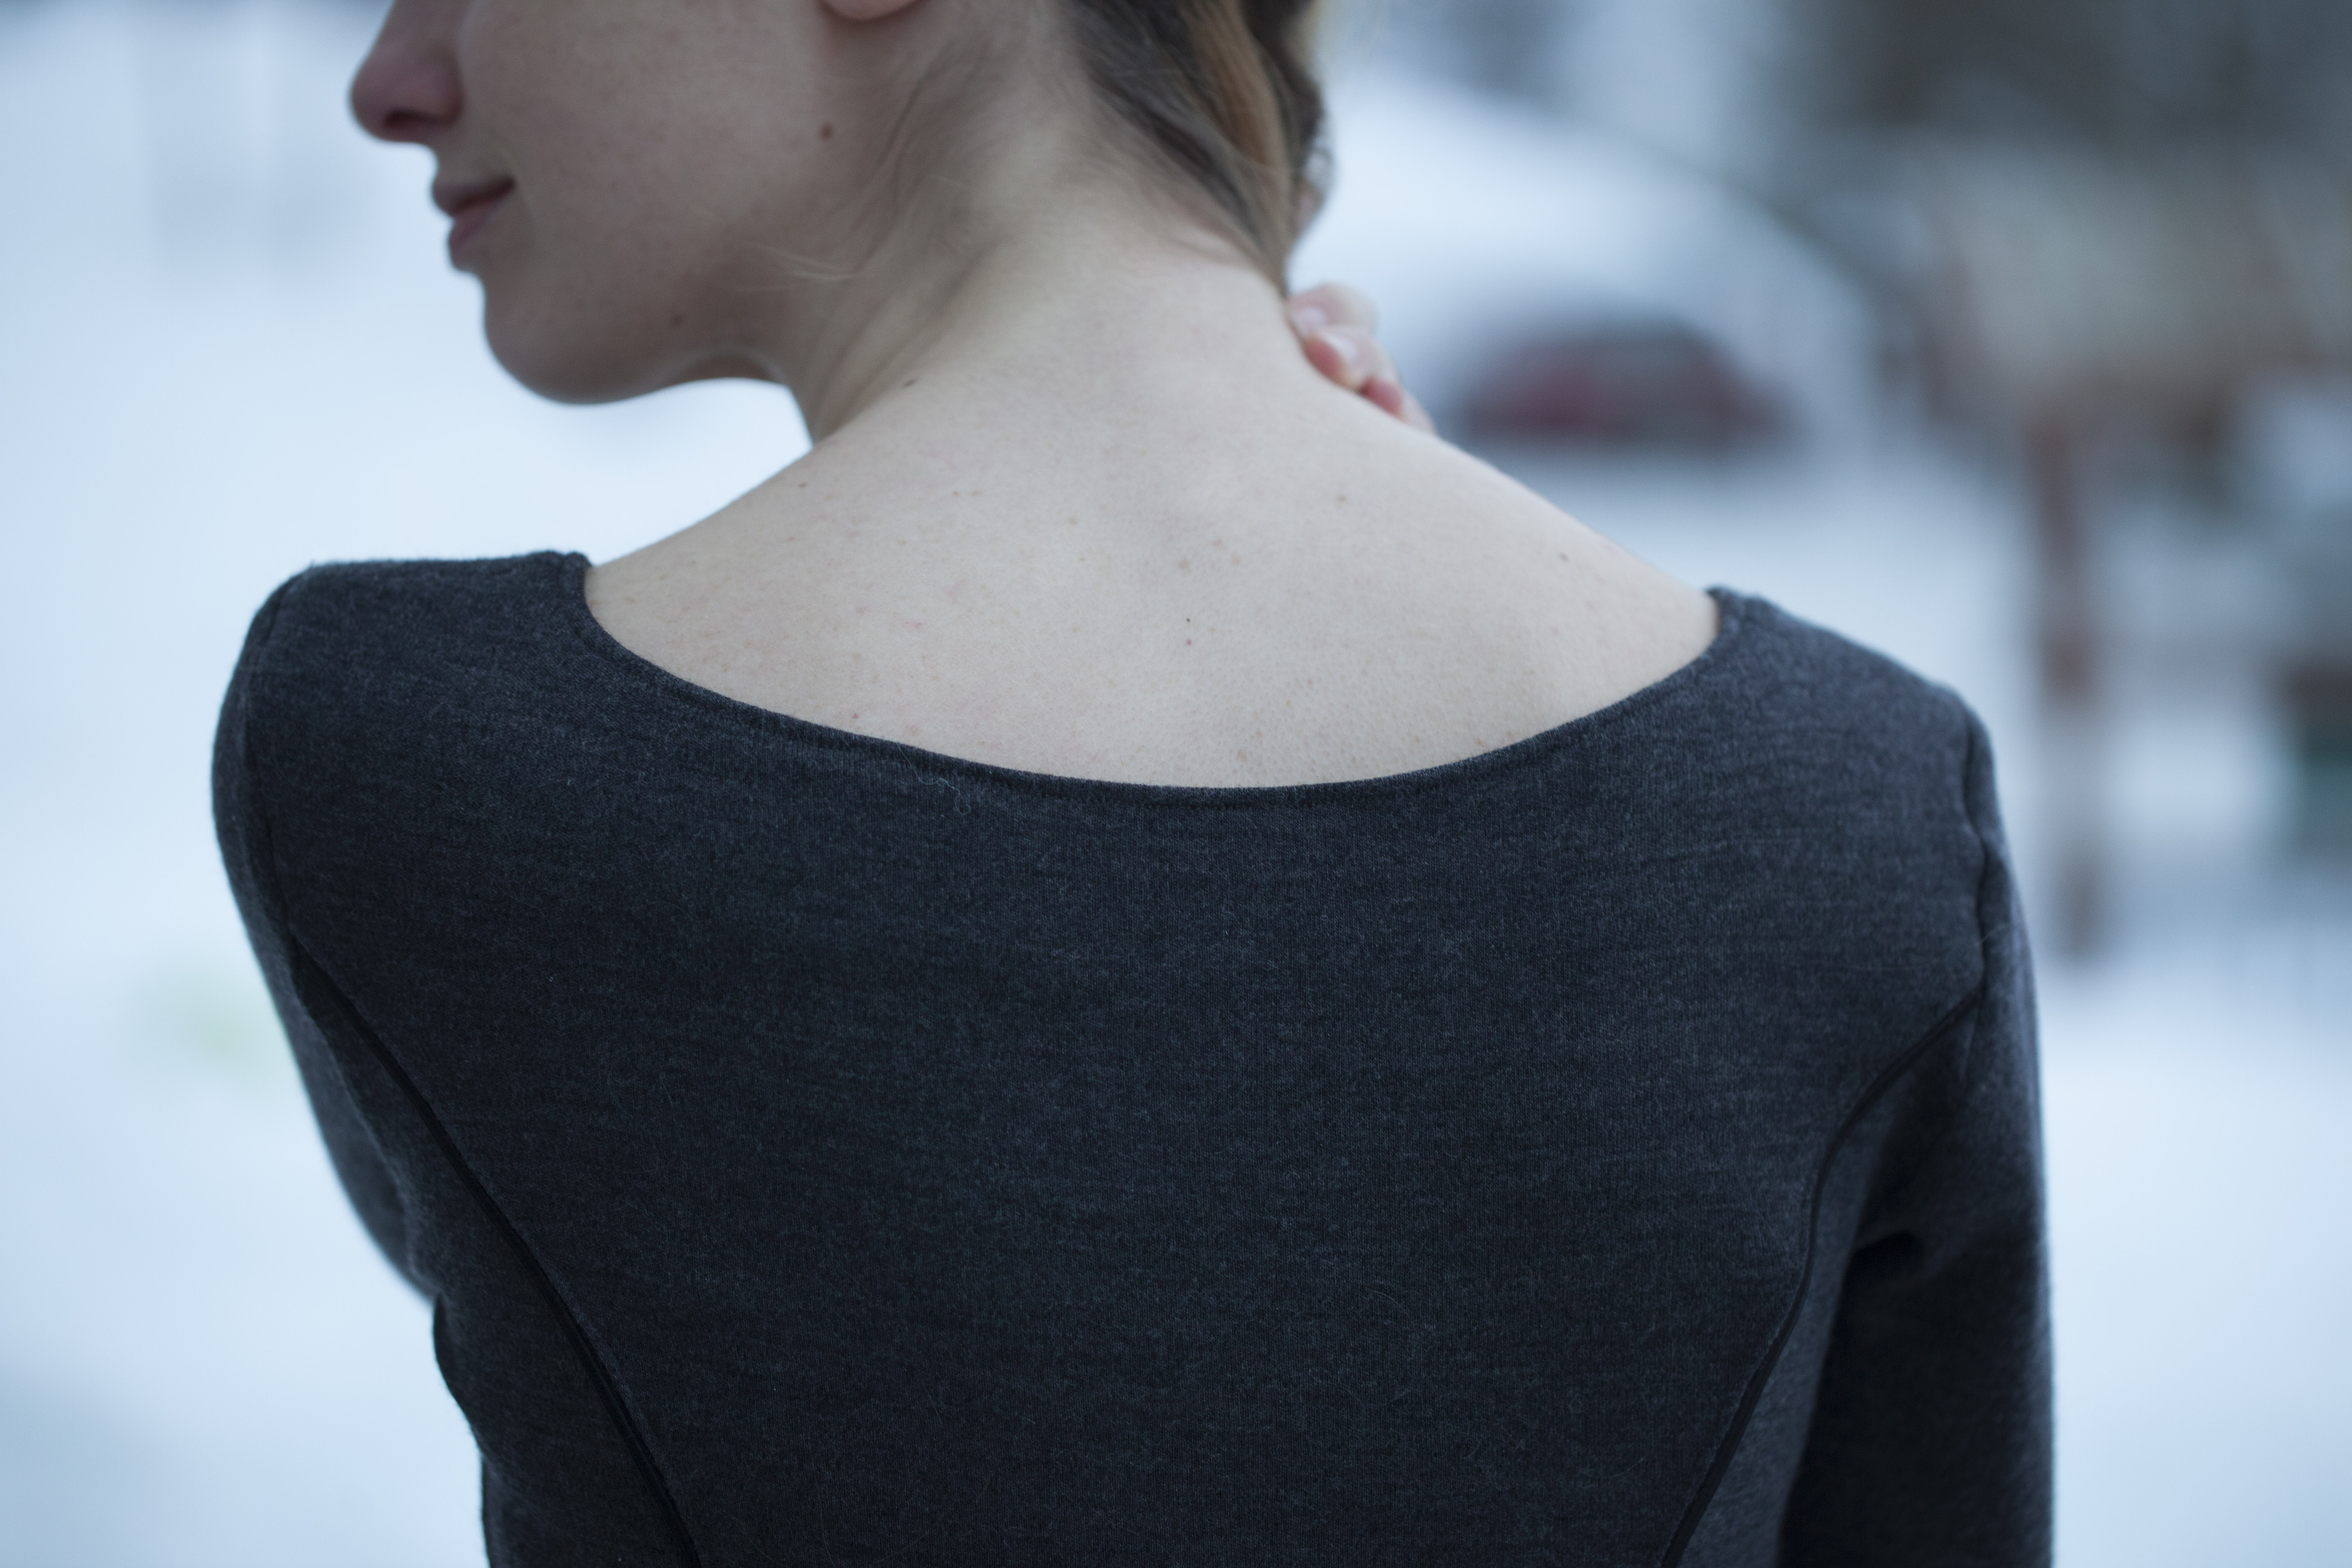
As I told you in my post about the Diane wrap dress and the Sneha tunic, I am somehow just using dark and neutral colours right now – and I have continued this trend with the Charleston. I used a super soft charcoal interlock merino wool from my stash and black stretch piping I found online in a Norwegian store. Walking around in garments made of wool is quite popular here in Northern Norway, since it keeps you warm without letting you sweat.
My Charleston is the perfect work dress! I feel good and comfortable on it all day, it’s very work appropriate and the piped princess seams give me a nice shape and prevent the dress from looking boring – especially since it’s a little wide at the waist, probably because my seam allowances were a little small or because the interlock is quite stretchy.
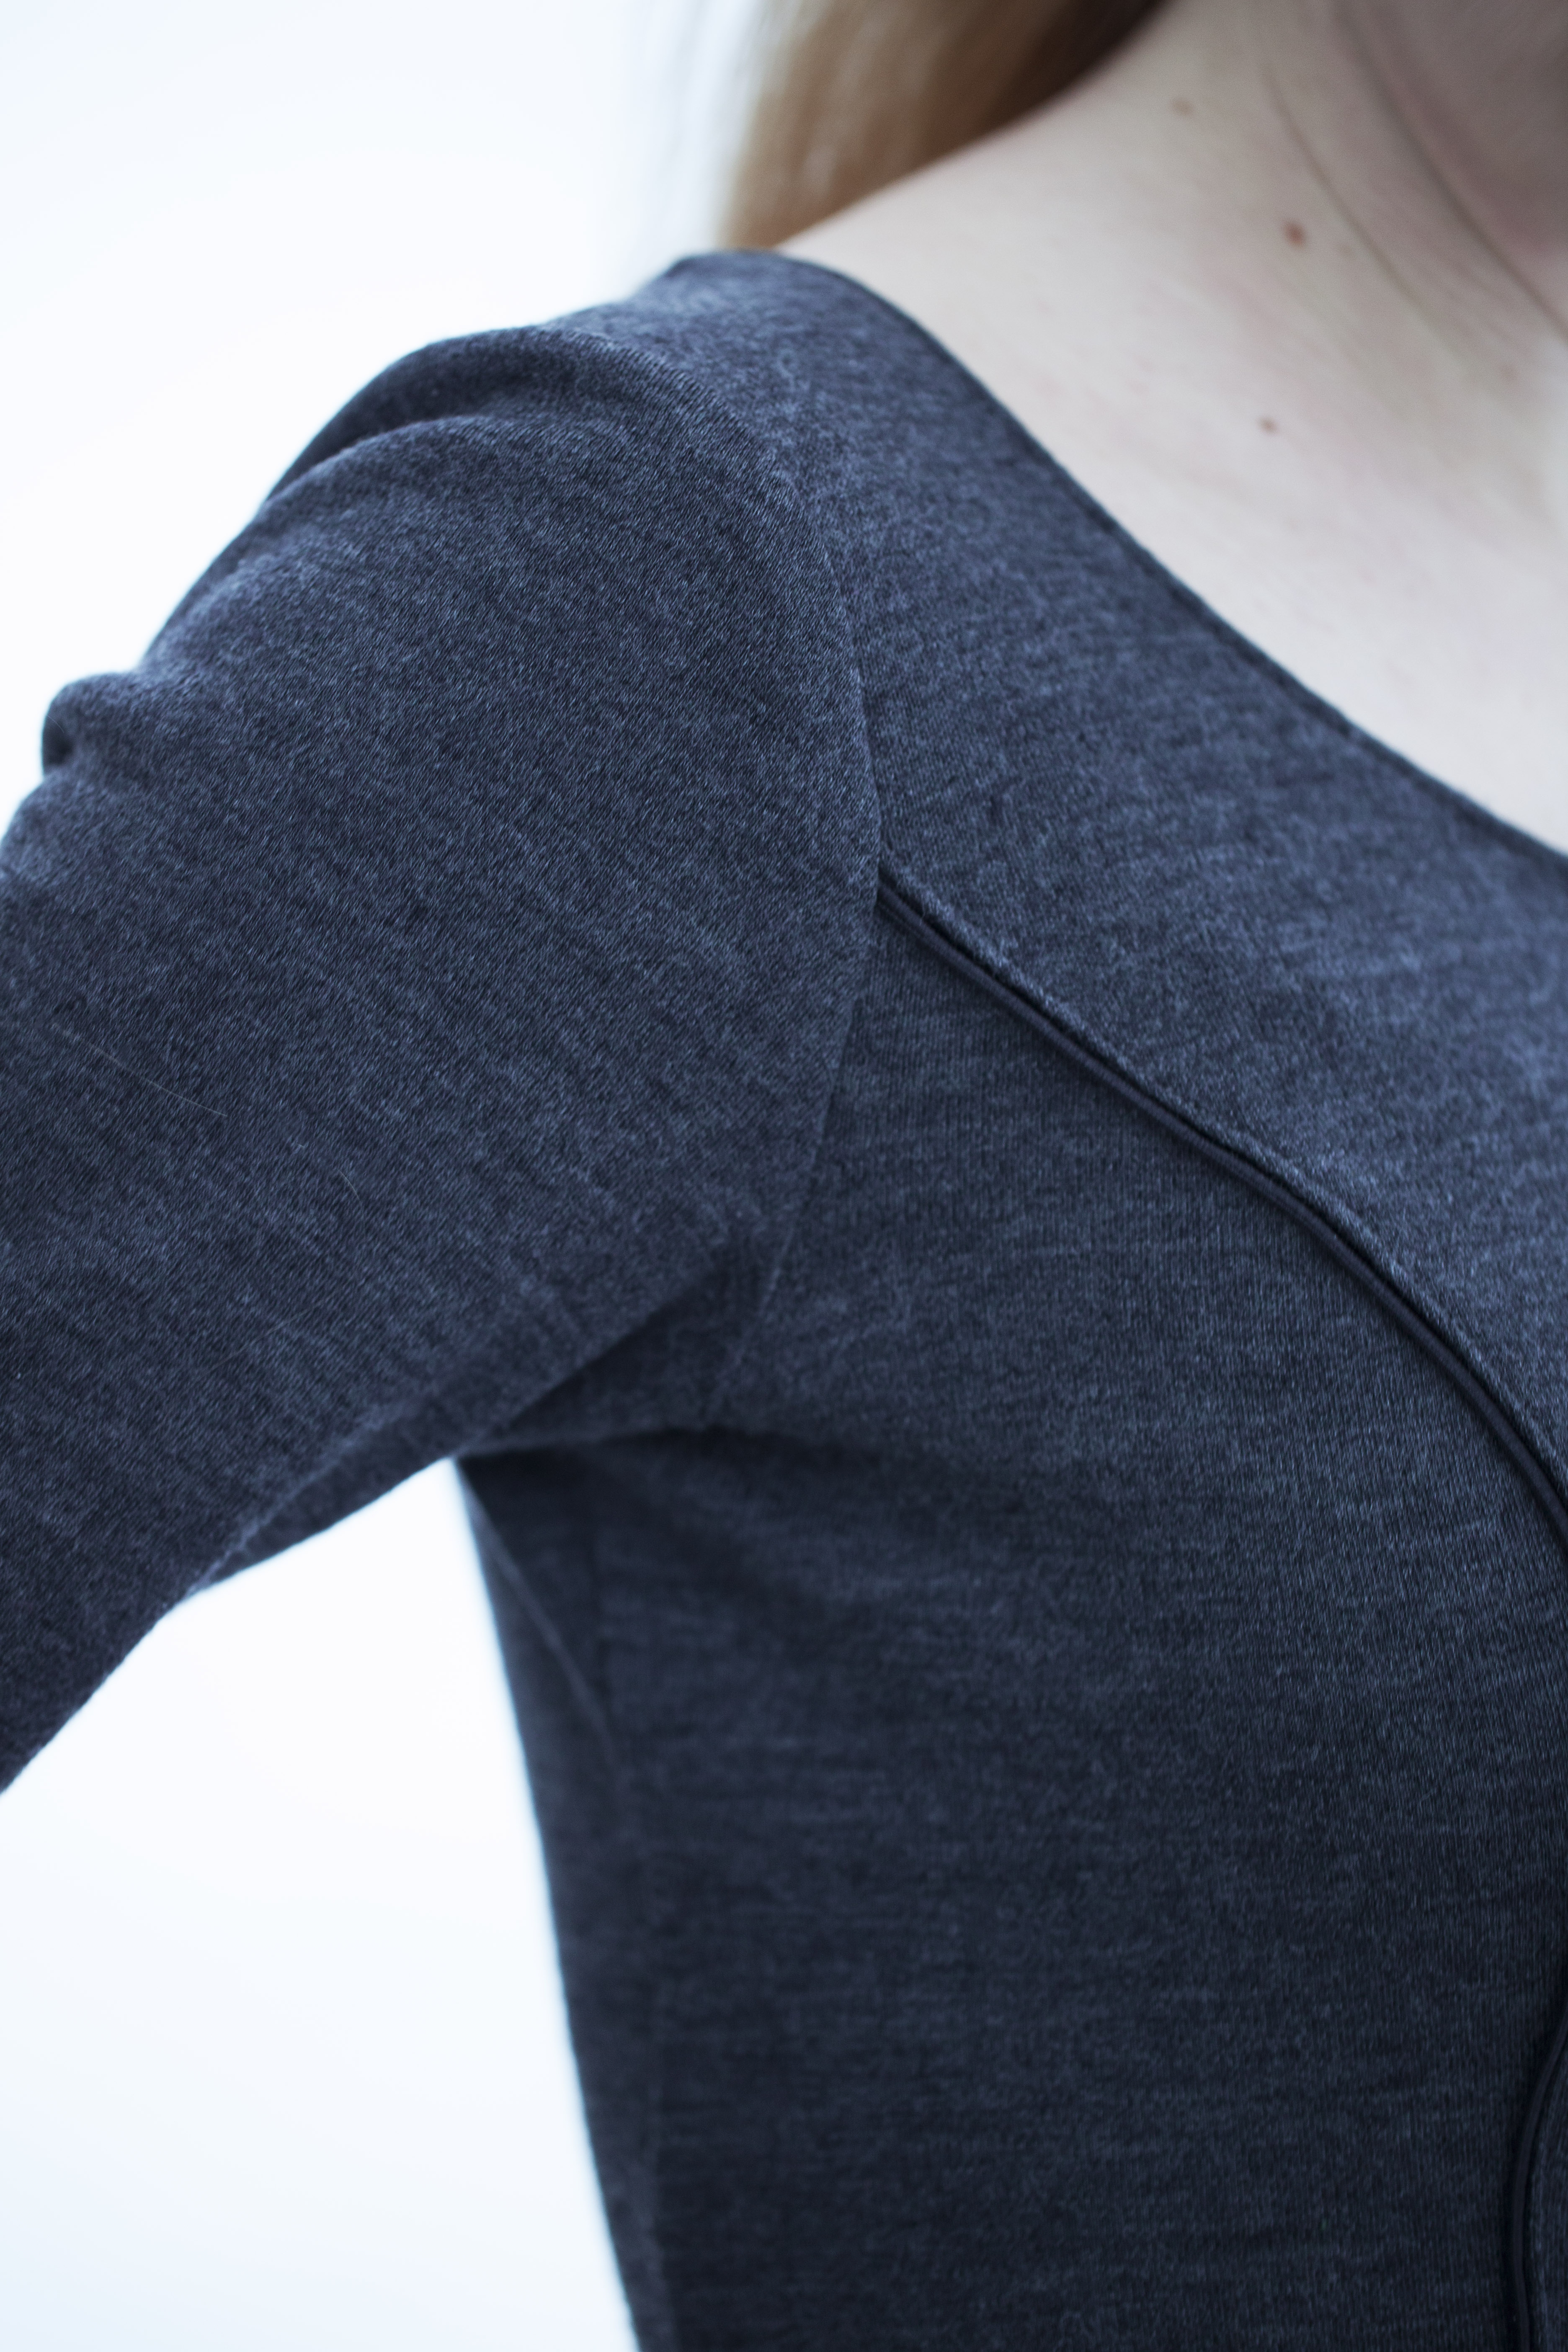
Piping the seams took me two extra steps – sewing the piping on first and topstitching the seams to make the piping lie flat – but wasn’t really difficult. I wanted the piping to go in one piece from top to bottom and to achieve that I sewed the coordinating top and bottom pieces together first, instead of sewing first the bodice and then the skirt.
To omit the zipper I just cut the back pieces on the fold, removing 3/8″/1 cm seam allowance in the middle of the pieces.
Since I wanted to finish the neckline with a facing, I cut a facing in the same form as the neckline. And I managed to forget interfacing it!! That makes it a little bit wonky, but I works fine. I sewed the facing to the neckline, understitched it and topstitched it to prevent it from turning. I let the facing extend all the way to the sleeves and basted it to the armscye before setting in the sleeves.
Head over to Adrianna’s blog to see more of the amazing tester versions! Seriously there are at least ten Charlestons there that I absolutely need to make (yeah right, like that is going to happen…) – both floral versions, colour blocked versions, LBDs, ruffled sleeves and more. And if you are quick you can even buy the Charleston and all the other amazing patterns in the Hey June Store at a 20% discount!

[…] Fleurine used piping all the way down the bodice and skirt for an elegant accent. I love the way it makes the princess seaming pop on a solid colored dress! […]
[…] of a circle skirt with raw edges, but I wanted a different bodice. Luckily I had just tested the Charleston and knew the fit was spot on. So the decision to hack the Charleston was pretty […]