
If you’re an active follower of the indie sewing community on instagram, you might already have seen that Adrianna from Hey June has been working on her next pattern – the Amalfi Dress. As soon as I saw it, I knew I had to test it, regardless of how close to our due date and regardless of its practicability.
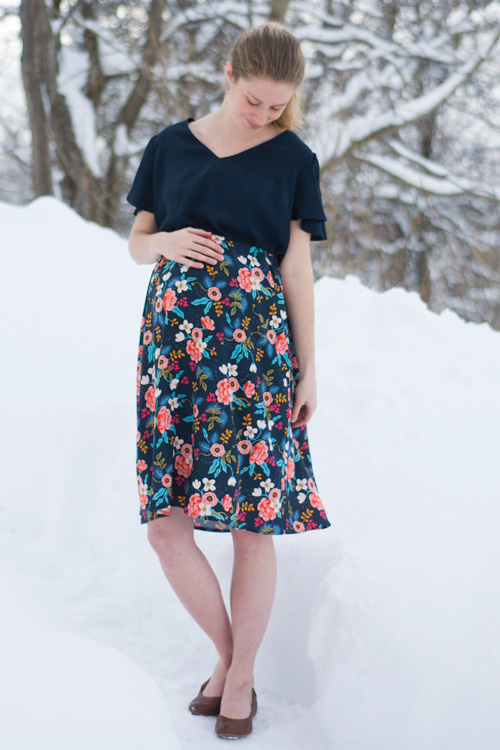
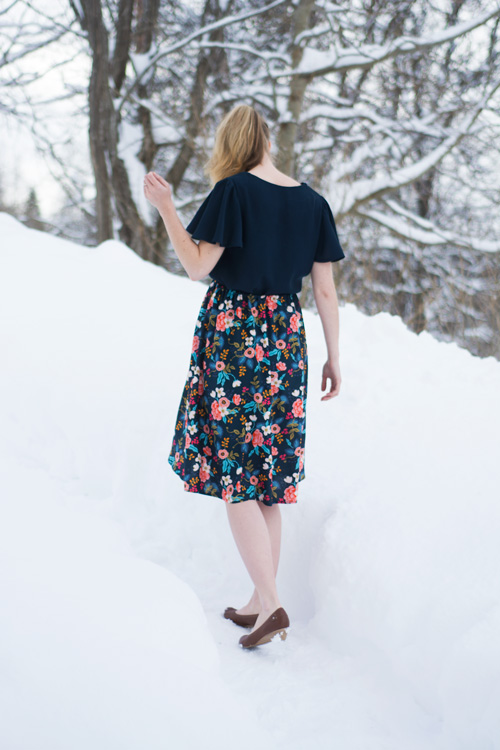
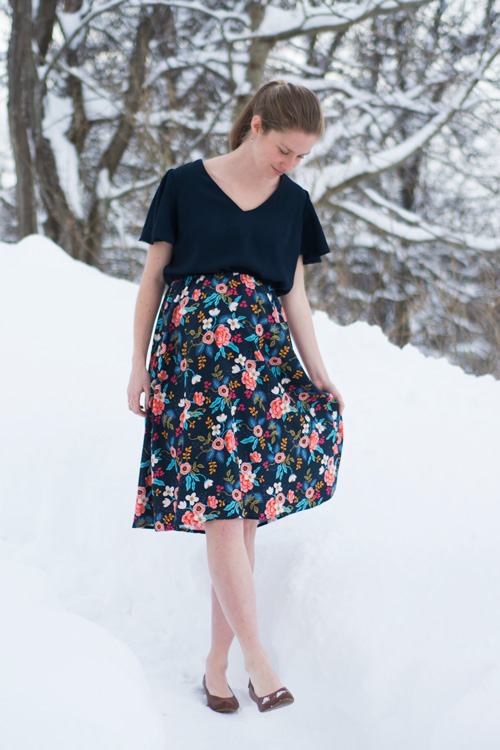
The Amalfi Dress is a dress with a V-neck, short sleeves, an elastic waist, and an A-line skirt. You can choose between slimmer gathered sleeves or wider flutter sleeves and between two different skirt lengths. And there’s the option to add in-seam pockets, too. The top is designed to be a little longer, so that it falls in a somewhat “blousy” way over the elastic at the waistline.
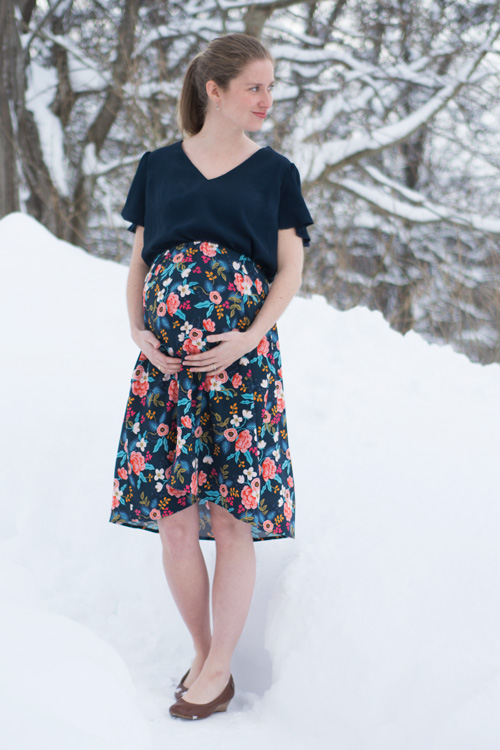
When thinking of how I could alter the dress to make it work with my baby bump and hopefully also latern while nursing, I came up with an idea: How about making a two-piece, looking like a dress, instead of hacking the top of the dress and raising the waistline? By lengthening the top a little and not attaching the skirt to the top, I am able to wear the skirt over my bump for now, and at my natural waist in a couple of weeks. The V-neck is too high for nursing, but since the skirt isn’t attached to the top, nursing won’t be a problem, either.
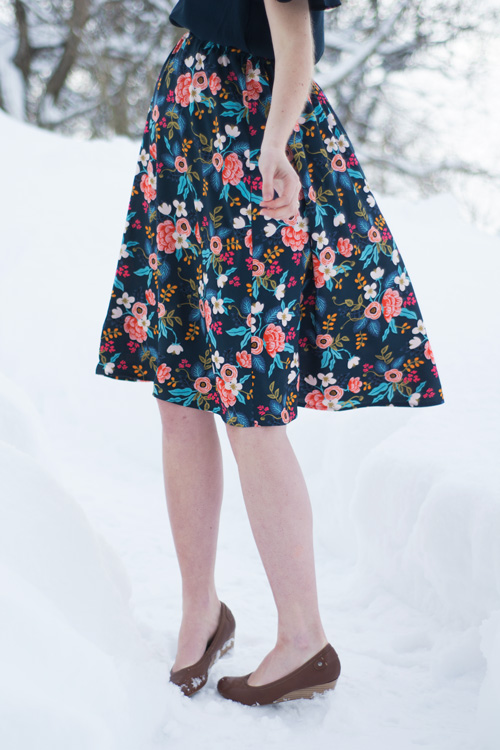
When going through my stash I thought that the “Les Fleurs” Birch Floral navy rayon challis, designed by Rifle, Paper & Co. for Cotton & Steel would be perfect for this summery dress. Unfortunately the flutter sleeves take quite some fabric and I couldn’t fit both the skirt and the top onto the two yards of fabric I had. And even though Adrianna is one of my most trusted designers out there – you wouldn’t make a first tester version of a dress using your beloved Les Fleurs rayon. You just wouldn’t. So I decided to order more Les Fleurs fabric for my top and to make a muslin out of some matching remnant fabric.
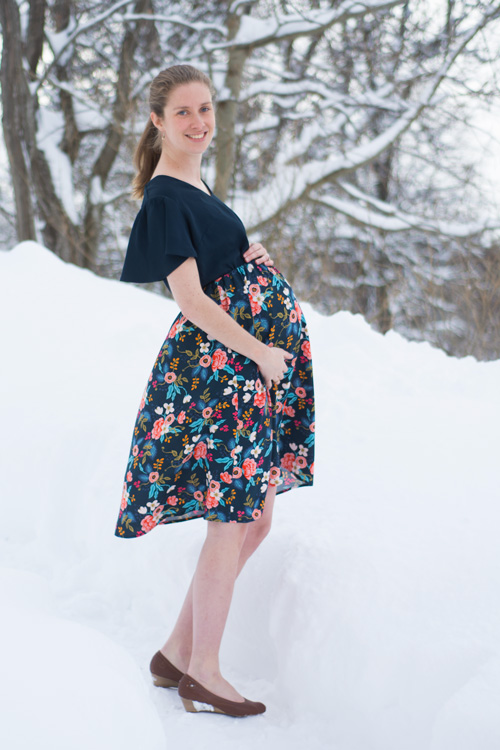
I had just enough left of the thin viscose crepe fabric I used a while back for the Magnolia Shorts by Sew Caroline. The colour matches the base colour of the Les Fleurs rayon perfectly! Especially when making the flutter sleeve, you want your fabric to be flowy and light-weight. And the blousiness of the top also looks best with a flowy fabric. The viscose crepe from Stoff & Stil checked all the right boxes. But the crepe texture of the fabric and its loose weave made it change its shape all the time. On the one hand that made it easy to work with, on the other hand it made it hard to assess the fit of the muslin in a good way – all the pieces fit together anyway, in one way or another.
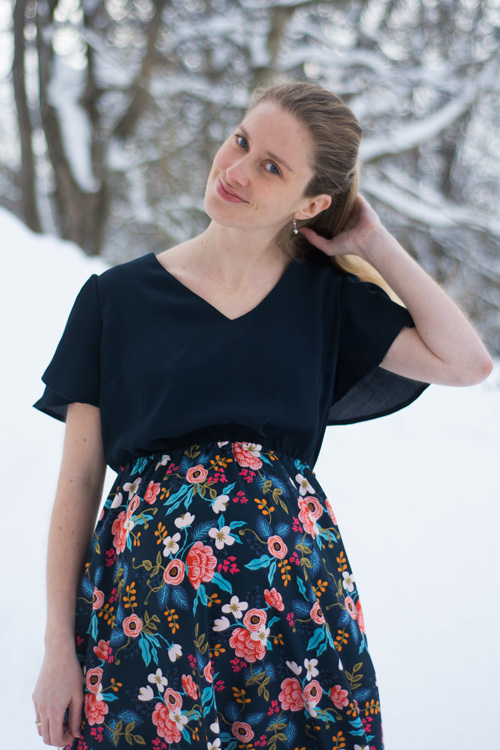
You can see that the shoulders of my top are a little wide and that the V-neck isn’t looking entirely symmetrical on every photo. If I remember correctly, Adrianna made the shoulders a little less wide for the final version of this dress. But I also think that my growing and flowy crepe fabric made my version extra wide. Also: Don’t skip staystitching the neckline! I staystiched, but I still think my neckline isn’t perfectly symmetrical. An unsymmetrical V-neck is going to be very visible, and especially when working with delicate fabrics, you will want to make sure that the pattern pieces keep their shapes.
I made a straight size 4, both for the top and the skirt. I’m usually making a size 2, but my bust size is slightly bigger these days and since I usually always have to widen the shoulders, I figured sizing up might be the right thing to do. I didn’t care too much about the size of the skirt, since it’s wide and flowy anyway and the width of the waist can be regulated with the inserted elastic. I lengthened the length of the top by about 2″/5cm, since I wanted the top to be long enough to stay cinched in under the elastic of the skirt.
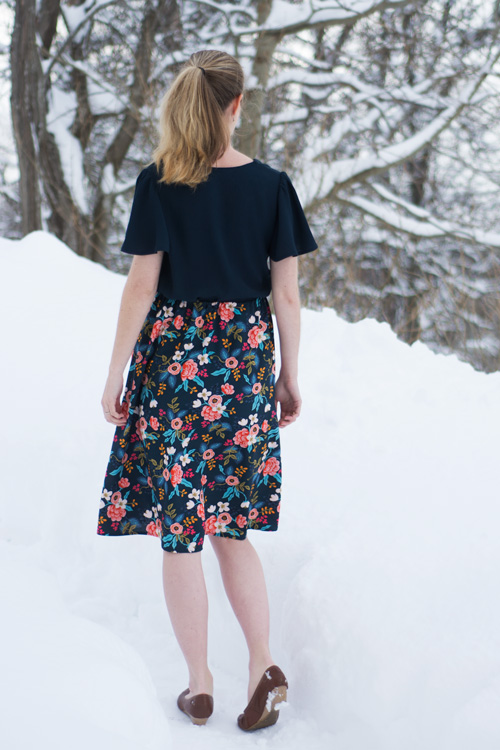
This is the tea length version of the skirt, since I knew I’d be wearing it much higher than usual and would need the extra length. After giving birth I will have a see how I like the length when wearing the skirt at my natural waist – maybe I’ll shorten it a little. I haven’t levelled the skirt to fit my baby bump – I prefer it to be a little higher in the front now and being levelled in a couple of weeks, rather than needing to level the it both now and after giving birth. Instead of following the instructions for attaching the skirt to the top and inserting the elastic, I simply folded the top of the skirt twice, creating a casing wide enough to insert a thin elastic band. You could also simple serge the top edge of the skirt and fold it down once.

I skipped the pockets when making this dress – since I’m wearing the skirt pretty high for now and will wear it much lower later, there was simply no way to attach them in a way where they’d work both now and later on. By the way – the instructions don’t call for French seams (except for the elastic casing), but I chose to sew the whole dress, except for the facings, with French seams. I simply like this way of finishing a garment and Adrianna’s added seam allowances are generous enough to let you choose freely between serging or French seams.
That’s all for today! I’ll show you the final version of this dress once I got a new yard of Les Fleurs rayon and once I can wear the skirt at my natural waist. Make sure to buy your copy of this dress pattern, it’s on sale right now! And check out Adrianna’s blog – she will post a tester round-up soon, including lots and lots of inspiration!
– This blog post contains affiliate links to the Hey June shop. However, all opinions are, as always, my own. This blog post is linked to the German pattern party RUMS. –

You are pretty in everything! Both pieces look as if they were meant to be worn this way!
Oh this is so beautiful! What thoughtful alterations you made. So excited to see it in its final form too!